This recipe for cheesy chili mac is another great one for a quick weeknight meal. The pasta cooks perfectly and soaks up all the great flavors of the chili. Plus the cheese on top really adds a nice touch.
This recipe is one that I use to teach the beauty of pressure cooked beans. If you aren’t a bean person, then you can leave them out of the recipe. I give two ways to approach the beans in this recipe. The first is to just use a can of beans, and this is definitely a bit quicker and easier. The second approach gives directions to use dried beans instead of canned beans. For dried beans, you will need to clean and soak 1 cup of beans about 8-12 hours ahead of cooking. Your cooking time will be slightly longer using dried beans.
About cooking pasta in the instant pot – pasta tends to continue absorbing water as long as it is in liquid. If made as written, you may want to eat it pretty quickly after cooking. You can expect that the leftovers may have soggy pasta. I recommend trying the recipe once to see how you like the pasta. If you are averse to pasta cooked in this manner, you can cook the pasta separately from the rest of the meal and stir it into the chili before serving.
Instant Pot – Cheesy Chili Mac
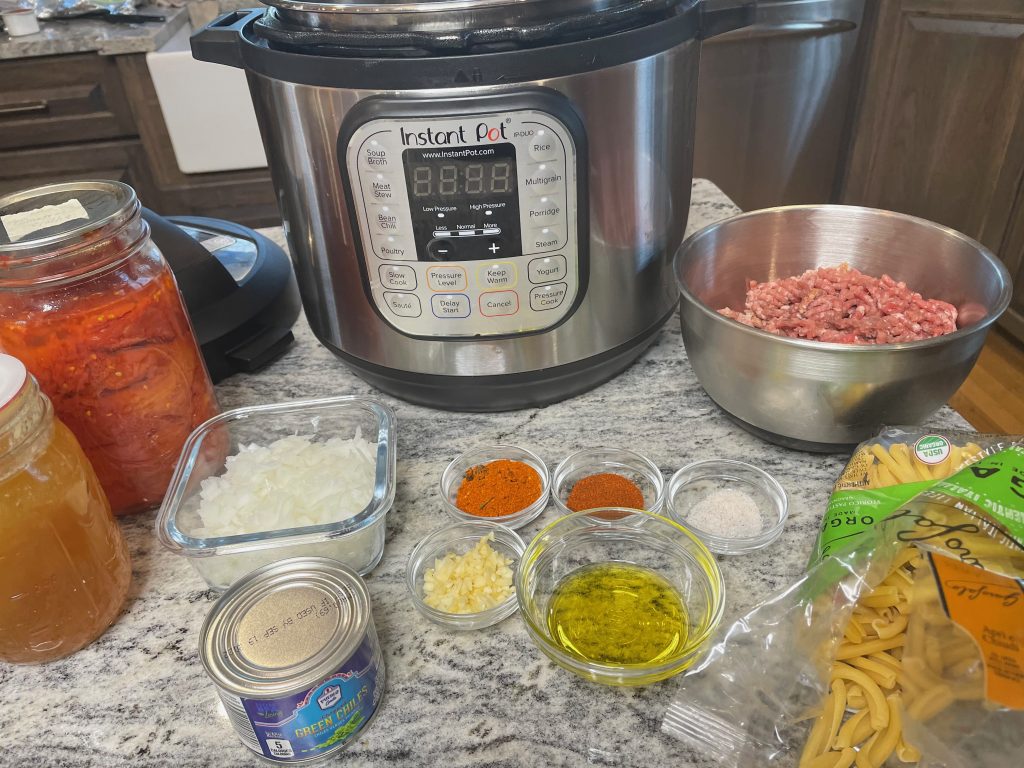
Ingredients
- 2 T olive oil
- 1 medium yellow onion, chopped (about 1 cup)
- 2 – 4 1/2 ounce cans mild or hot chopped green chiles (1 cup)
- 1 medium garlic clove, peeled and minced (1 teaspoon)
- 1 1/2 pounds lean ground beef
- 1/2 cup chile powder (adjust to taste – if it is spicy powder, use less)
- 2 t ground cumin
- 1/2 t table salt
- 2 cups beef or chicken broth
- 28 ounces crushed tomatoes (canned is fine)
- 15 ounce can of kidney beans, drained and rinsed (1 3/4 cups) or one cup of soaked, dried kidney beans
- 8 ounce dried ziti
- 4 ounce shredded cheddar (1 cup)
Directions
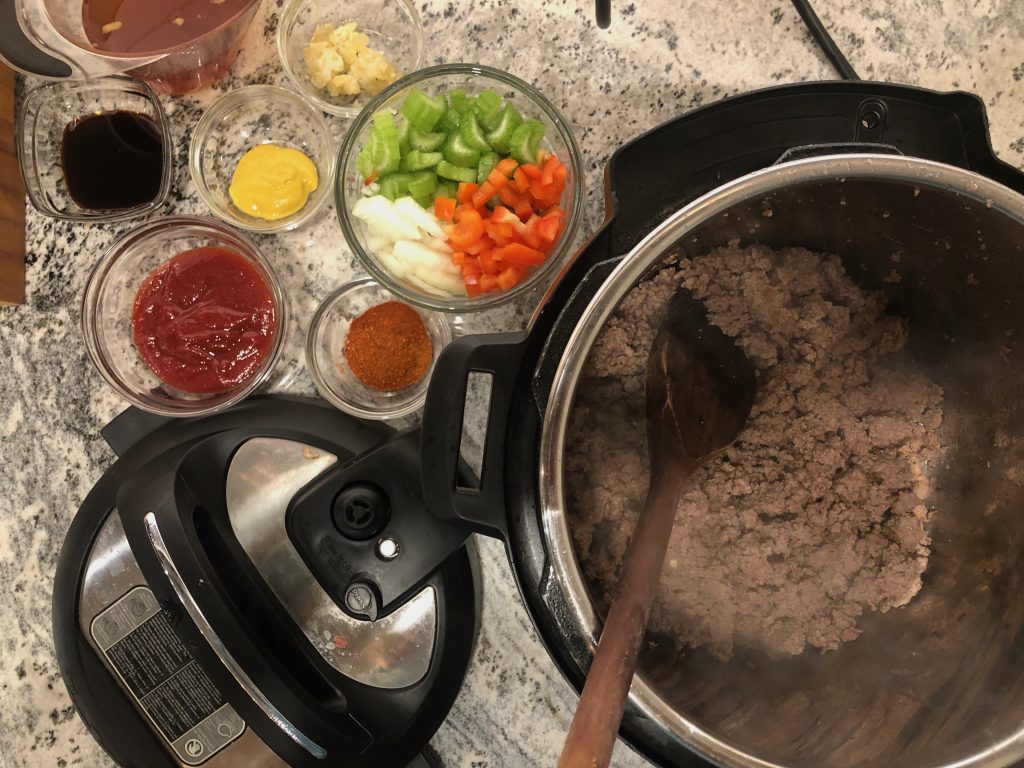
- With the insert in the electric pressure cooker, turn the cooker to medium heat on Saute setting and allow to warm up 1-2 minutes. Add the olive oil and onion and cook, stirring often, until the onion begins to soften, about 3-4 minutes. The onion should not brown. Add the chilis and garlic and continue cooking until the liquid has mostly evaporated, about 2 more minutes.
- Add the ground beef to the the pot. Cook, stirring often to break up the meat. Cook 3-4 minutes until the meat is no longer pink. Add the chili powder, cumin and salt, stir, and allow to toast the spices for about 30 seconds.
- Add the broth to the pot and stir to scrape the bottom of the pan and loosed all of the browned bits off of the bottom of the pan. This step is important so that the pot does not default to the burn warning later in the cooking process. Once the pot bottom is cleaned, turn off the pot.
- Stir in the tomatoes and beans. If you are using canned kidney beans, add the pasta also at this point. Lock the lid on the pot.
- Cook at high pressure for 7 minutes.
- Use the quick-release method to bring the pot’s pressure back to normal.
- If you used dried, soaked kidney beans, unlatch the lid, open the pot and stir in the pasta. Replace the lid and cook for another 7 minutes. This approach allows your beans and pasta to cook perfectly.
- Unlatch the lid and open the pot, stir in the cheddar cheese. Set the lid back on the pot for 5 minutes to melt the cheese and mellow the flavors. Stir again before serving.