My Kitchen Clatter

Real Food - Real Life

  • About Me
  • Classes
    • Upcoming Classes
    • Baking Classes
    • Pressure Cooking Classes
    • Fermentation Classes
    • Canning Classes
    • Kombucha Classes
  • Equipment
    • Nutrimill Plus Grain Mill
    • Nutrimill Classic Grain Mill
    • Nutrimill Harvest Grain Mill
    • Bosch Universal Mixer
    • Ankarsrum Original Assistant
    • Filter Pro Dehydrator
  • Grains & Supplies
  • Recipes
  • Clatter in the Kitchen

Pumpkin Spice Bagels

September 24, 2021 by andrea Leave a Comment

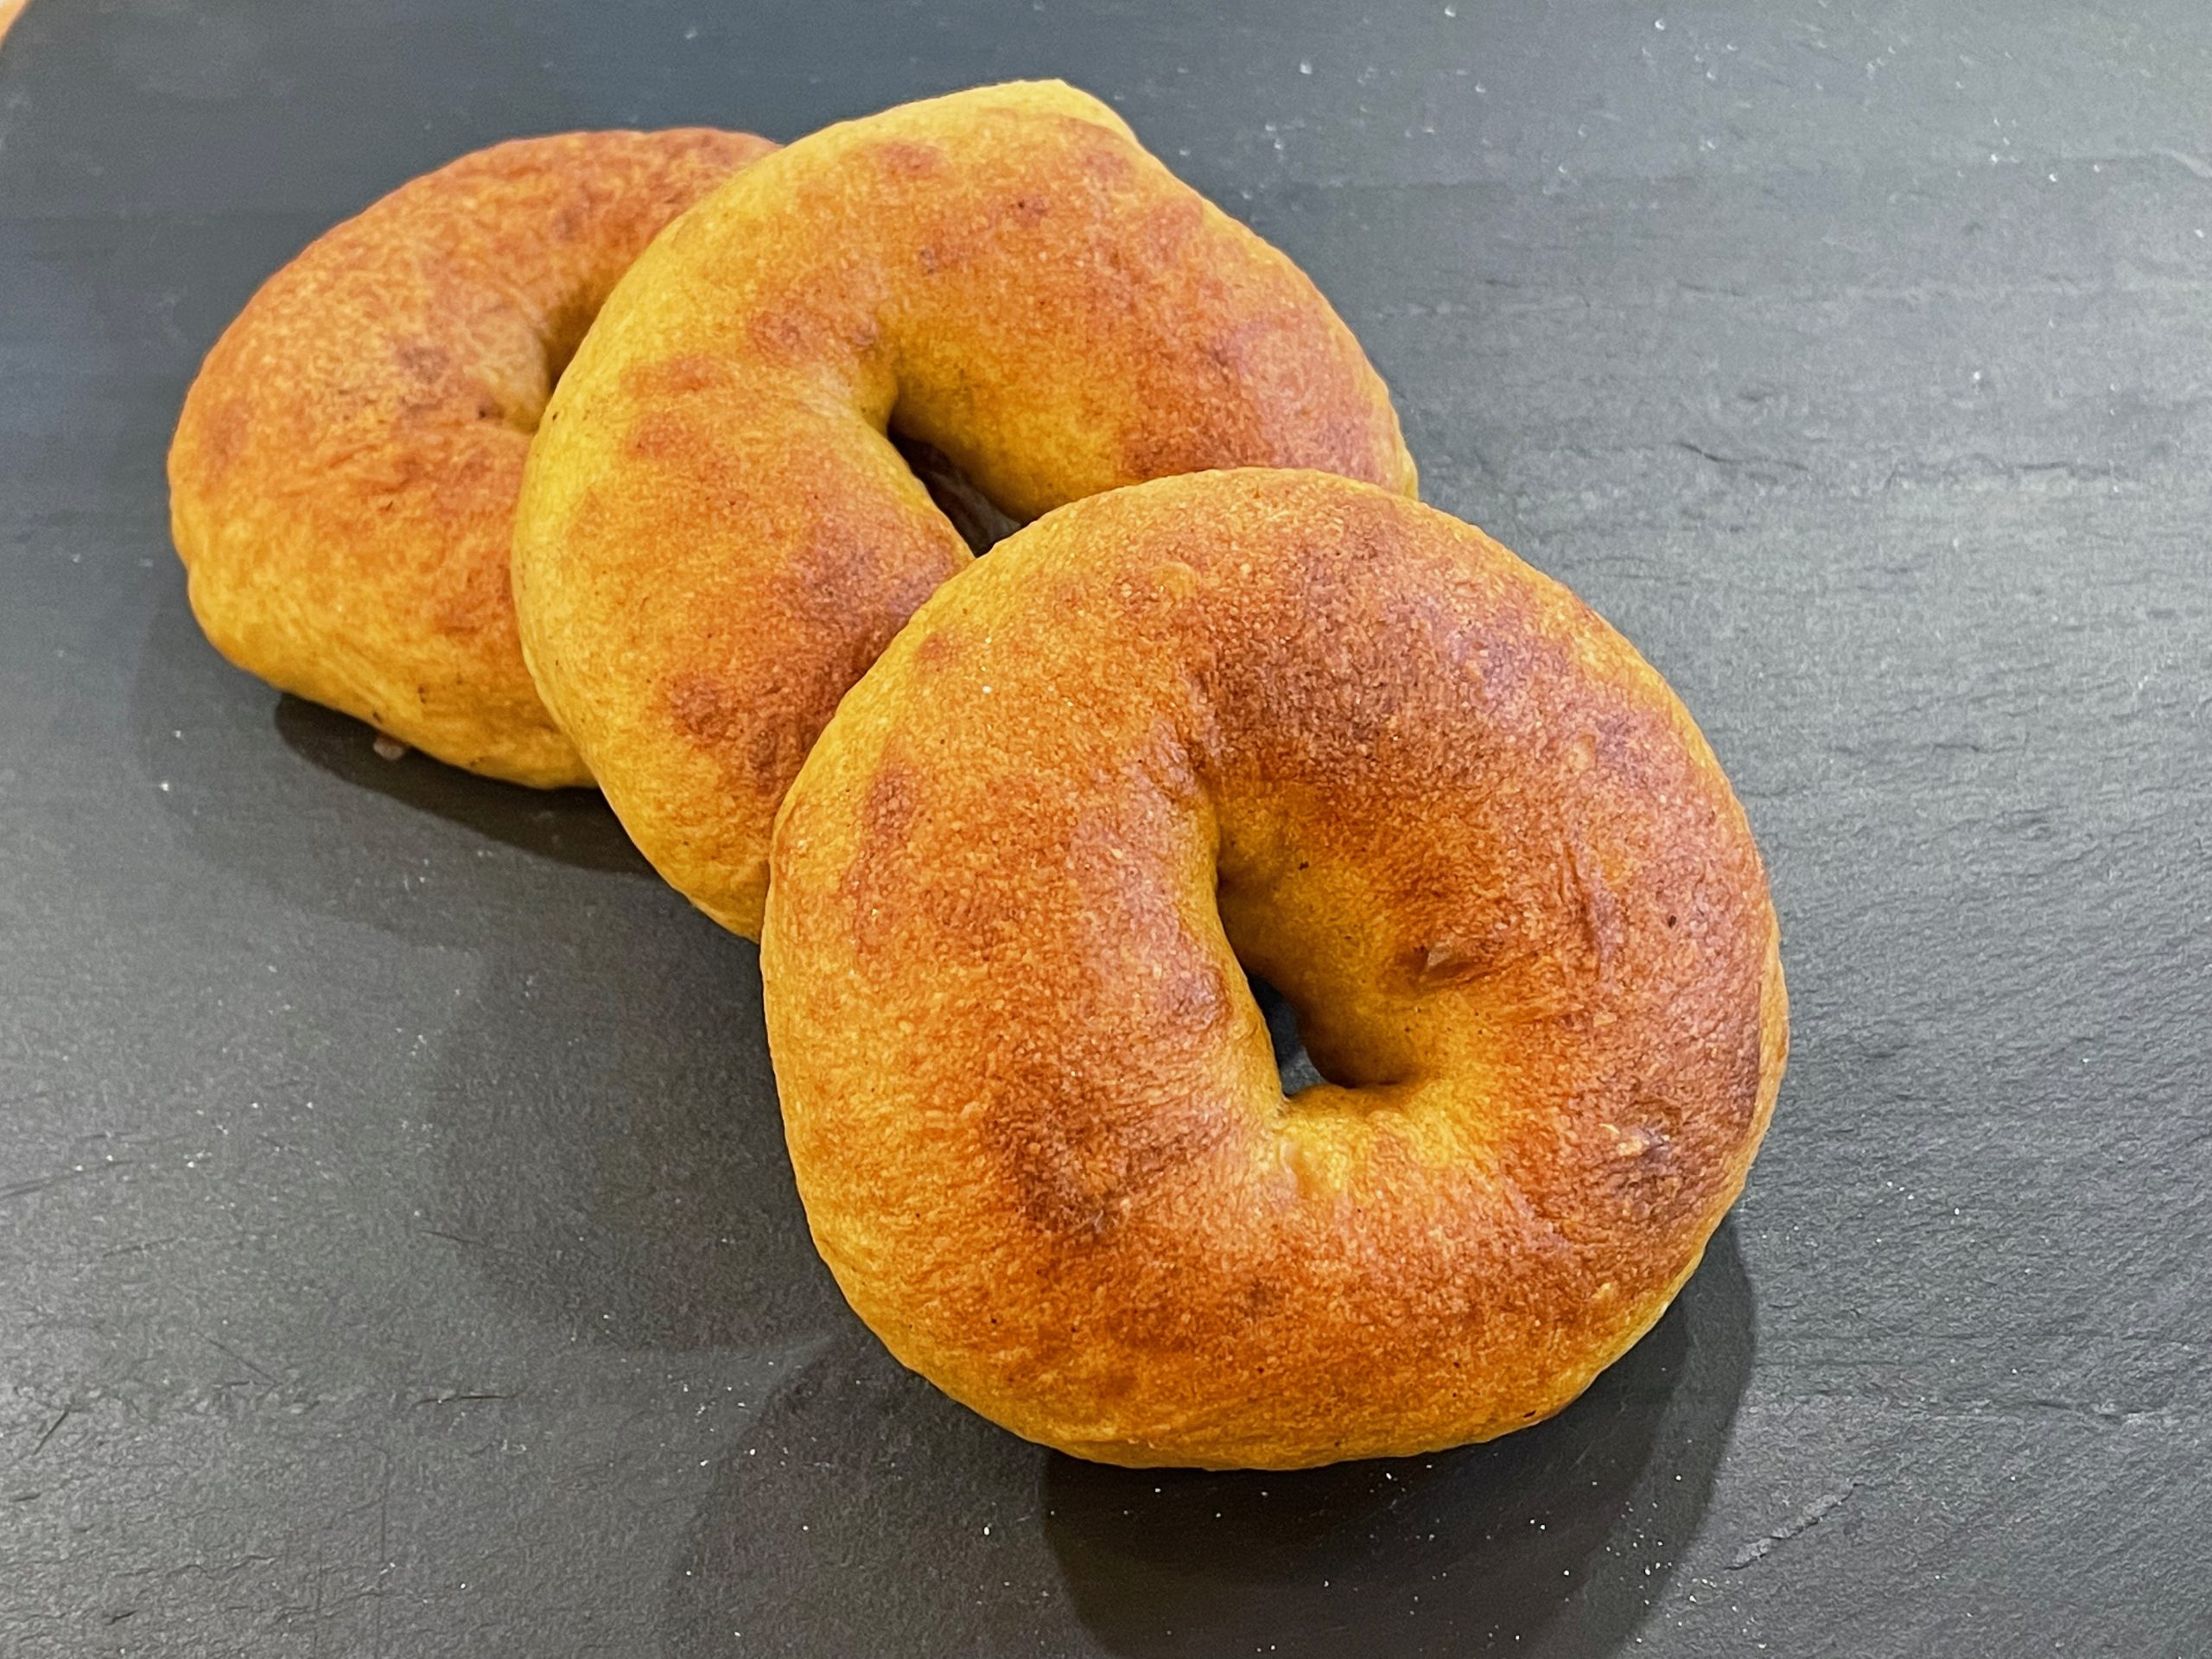
I have lots of things to say about these pumpkin spice bagels, but lets start with – they are AMAZING and EASY. I hope you give them a try.

Quick & Easy – Start to Finish in under 3 hours

First off, this recipe is quick and easy as far as yeast breads and bagels go. My go-to standard bagel recipe uses a sponge and an overnight proof in the refrigerator – these things help develop flavor, which is necessary when we are working with so much white flour. But here, with these pumpkin spice bagels, we have added flavor in the pumpkin and spices. So, we are going to skip the long proof and make these bagels in a morning. From start to finish, you can have a hot bagel in your mouth in under 3 hours.

That being said, you can still choose to make the dough the night before. Just follow the recipe up to the point where you let the dough rise at room temperature for an hour. Instead of doing the the room temperature rise, pop the dough into an oiled bowl, cover, and put it in the fridge overnight. In the morning, pull the dough out and follow the shaping and cooking instructions.

Mix by hand or with a Stand Mixer

Bagel dough should be a tight dough. The dough should be soft, but not sticky. It is a lower hydration dough, which helps give a nice dense texture to the bagel. You will want to add as much flour into the dough as possible without drying out the dough. The easiest way to mix bagel dough is to use a stand mixer and let the dough knead for about 8 minutes. If you are kneading by hand, you’ll want to knead the dough for about 15 minutes. Expect to get a good shoulder workout if you are kneading by hand. You are looking for the dough to be smooth, and not sticky.

I use homemade pumpkin puree in this recipe. Sometimes the moisture content varies in the puree, so it’s important to adjust the flour accordingly. If you are using canned pumpkin, your moisture content will be a bit lower, and you’ll use a little less flour in the recipe.

Some other tips

  • This recipe calls for bread flour. I like King Arthur’s bread flour with a 12.7% protein content. This helps to give a nice chewy bite to the bagel. If you don’t have bread flour, substitute with King Arthur’s all-purpose flour. I recommend King Arthur’s flours because they have high protein content, which helps with successful and consistent yeast breads. Feel free to substitute whatever flour you can access, but be aware of the difference that protein content can make in yeast breads.
  • This recipe makes 10-12 nice medium-sized bagels. You can make them larger or smaller as you wish. If you are using a scale: 4.5 ounces makes a large bagel, 3.5 makes a medium, and 2.5 makes a smaller bagel. Boiling and baking times are the same no matter the size.
  • Shaping the bagels takes practice. Don’t stress out if you don’t get it right away. I recommend pre-shaping them into balls, letting them rest 10 minutes, and then shaping the bagels by poking a hole in the middle and rolling the bagel around your fingers. The pre-shaping into balls helps get a round shape. You make the balls by pinching the dough to a point, making a smooth ball, sort of like a dumpling. With the pinched part on the counter and your hand cupped over the ball like a claw, give it some movement with your hand to seal the pinched part closed. Once you have the balls made, cover them and let rest for ten minutes. The rest allows the dough to relax so it will shape nicely into the final bagel shape. After resting, I just poke my finger into the middle of the ball and start rolling the dough around my fingers. Make the hole larger than you think you need, because it will shrink during the cooking.
  • We boil these bagels in a baking soda mixture before baking. This helps with creating a chewy crust and a traditional style bagel. Don’t skip this step. The bagels will puff up while boiling and it’s a lot of fun to watch.
  • Any bagels that we don’t eat right away, go into the freezer. I hate stale bread. Some people will be fine with letting these sit on the counter for a couple days, but anything longer than that should go in the freezer. Just pull them out one by one, thaw in the microwave for a few seconds, slice and toast. Perfect.
Bagels after the boiling step, but before baking.

Pumpkin Spice Bagels

Serving Size:
10-12 medium bagels
Time:
3 hours
Difficulty:
Medium

Ingredients

  • 1 cup water, room temperature
  • 1 cup pumpkin puree
  • 1 1/2 t instant yeast
  • 3 3/4 cup (15 ounce) + 1 cup (4.5 ounce) bread flour
  • 1 1/2 t salt
  • 1/2 t cinnamon
  • 1/4 t nutmeg
  • 1/4 t allspice
  • 1/8 t cloves, ground
  • 1 T brown sugar
For Boiling Waterbath
  • 2 T baking soda

Directions

  1. Combine all ingredients except flour in the bowl of a stand mixer or large bowl, if you are mixing by hand. Add in 2 cups of your flour and stir. Continue adding remaining 1 3/4 cup of flour until dough is formed. If your dough is still sticky and not forming a ball, then add remaining 1 cup of flour, 1/4 cup at time until the dough comes together in a ball. It may still be sticky, but it should form a ball. Knead for 8 minutes by machine or 15 minutes by hand. While you are kneading, the dough should come together in a smooth, soft ball and not be sticky to the touch.
  2. Cover the dough, and allow to rise at room temperature for about an hour and a half until the dough has almost doubled in size. At this point, instead of rising at room temperature, you could cover the dough and refrigerate up to 12 hours until you are ready to bake.
  3. When the dough has risen, gently turn out onto an oiled surface and divide into about 12 pieces for medium sized bagels.
  4. Preshape the dough into balls. To do this, form each piece into a ball by pinching the ends together at the bottom (like a little dumpling) and then rolling the pinched part on the counter to seal the bottom. Cover balls and allow to rest 10 minutes.
  5. Shape the balls into bagels by poking a hole through the middle of each ball and rolling the dough around two fingers until a large hold is formed in the middle. The hole will shrink while baking.
  6. Cover the shaped bagels and allow to rest for about 30 minutes.
  7. While the bagels are resting, preheat the oven to 400 degrees and bring a large pot of water to a boil. An ideal pot should be wide to fit 4 or 5 bagels, but the water depth only needs to be a couple inches deep. Prepare two baking sheets by oiling or lining with oiled parchment or silicon baking sheets.
  8. After the bagels have rested, with the water boiling, add 2 Tablespoons of baking soda to the water. It will foam up temporarily.
  9. Gently slide a bagel into the boiling water. It will float. You can boil as many bagels at a time that will fit comfortably into your pot – usually 3 to 5. After 30 seconds, turn each bagel. After another 30 seconds, pull each bagel out with a slotted spoon. Place bagels onto prepared pan. Continue to boil all the bagels.
  10. Bake the bagels about 15 minutes until they are lightly browned on the top, rotating pans halfway through the baking time.
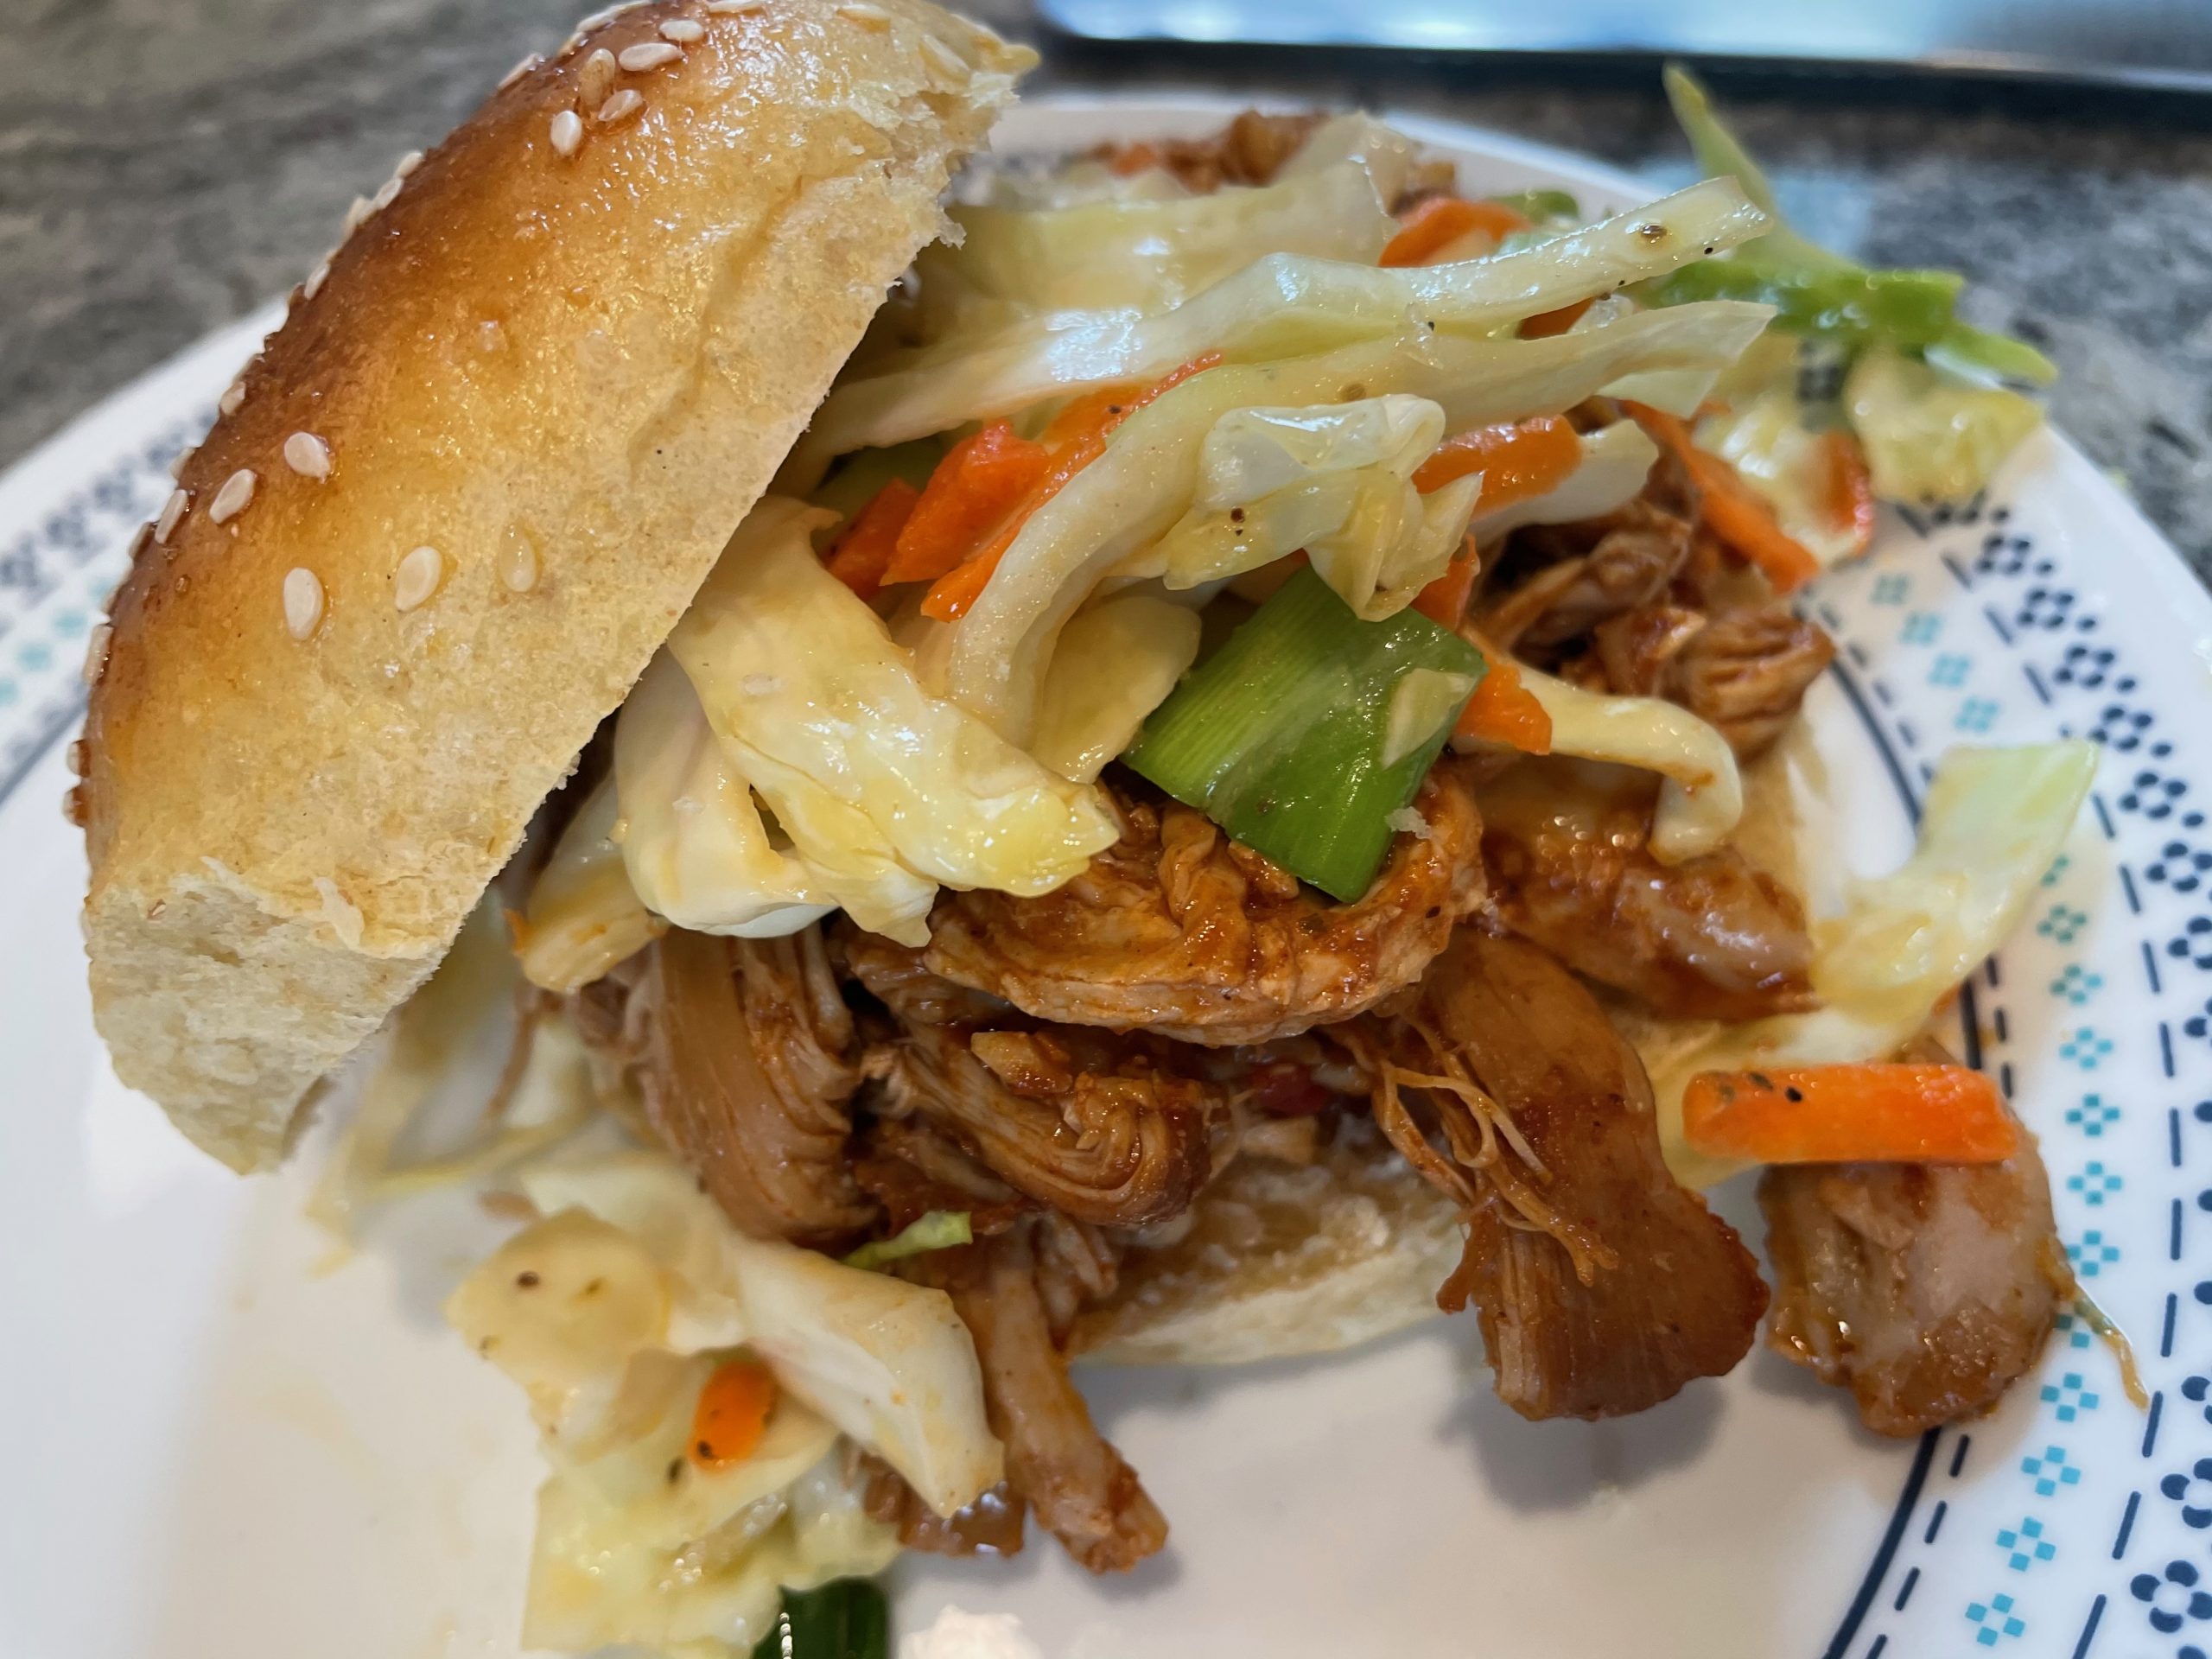
  11. Serve with cream cheese or use for sandwiches. Extras that don’t get eaten right away should be cooled and frozen. They will keep about 3 days at room temperature or up to 3 months frozen.
The bagels should float while they boil.

Filed Under: recipes Tagged With: bread, pumpkin, yeast

Wheat Berry Salad

July 13, 2021 by andrea Leave a Comment

This is my go-to summer salad because it is easy, healthy and super flexible. And by super-flexible, I mean that I can usually pull off making it without an extra trip to the grocery store. I often find myself emptying out lots of odds and ends of vegetables or cheese into this salad. And it always turns out great. I think the secret is in the salad dressing.

A Bit About Wheat Berries

Wheat berries are the unprocessed wheat kernel which includes the bran, endosperm and germ. They are most often milled to make flour, but in this recipe we are going to cook and use the whole wheat berries. If you are a person such as I who mills their own flour, then you most likely already have wheat berries around the pantry. For the rest of you, you will need to search out wheat berries or another whole grain at the grocery store. The wheat berries can be substituted in this recipe with farro, spelt, kamut, or barley. If your grocery store carries Bobs Red Mill Grains or if they have a bulk food section, you will find one of these grains in those sections.

Step one is cooking up your wheat berries. I use my pressure cooker to cook the wheat berries for about 35 minutes. If you don’t have a pressure cooker, they can be cooked on the stovetop for about 60 minutes. Either way, I usually plan for about an hour of cooking time for the wheat berries before assembling the salad.

About the Dressing

I use my favorite homemade vinaigrette, Green Herby Dressing, to make this salad. This dressing is pretty simple and only uses olive oil, apple cider vinegar, garlic and fresh herbs. You can assemble the dressing as the wheat berries are cooking.

If Green Herby Dressing isn’t happening for you, you can substitute it with a fresh pesto.

About the Rest of the Salad

Once you have the wheat berries and the dressing figured out, the rest of the salad is pretty flexible. I like to add:

  • lots of fresh veggies such as chopped cucumbers, snap peas, fava beans, celery, sliced fennel, and sliced onion.
  • chopped greens such as spinach, radicchio, or kale,
  • a handful of dried fruit such as dried cherries, cranberries, raisins, or blueberries,
  • a bit of cheese such as feta, goat cheese

The wheat berries on their own can be a bit heavy, so I usually add enough veggies and greens to lighten the salad up quite a bit.

Wheat Berry Salad

Serving Size:
4-6
Time:
75 minutes total
Difficulty:
easy

Ingredients

  • 1 cup of wheat berries or other whole grain such as farro, Kamut, spelt or barley
  • 4 cups of water
  • Green Herby Dressing or a 1/2 cup of pesto
  • 4 cups of chopped greens such as kale, spinach or radicchio
  • 2 cups of fresh vegetables such as snap peas, celery, sliced fennel, cucumber
  • 1 cup of dried fruit such as cherries, blueberries, or raisins
  • 1/2 cup of crumbly cheese such as goat cheese, feta, or blue cheese

Directions

  1. Cook the wheat berries in four cups of water. If using a pressure cooker, cook 35 minutes on high pressure with a 10 minute natural release. If using a stovetop, simmer covered for 60 minutes, stirring occasionally.
  2. While the wheat berries are cooking, prepare the Green Herby dressing or pesto. Prepare the vegetables and greens by chopping into bite size pieces.
  3. Once the wheat berries are done cooking, drain the extra liquid off and place the wheat berries into a large bowl. Toss the warm wheat berries with the dressing. Add the kale and any hardy veggies while the berries are warm.
  4. Toss the cheese into the salad before serving.
  5. This salad can be served at room temperature or cold from the refrigerator.

Filed Under: recipes Tagged With: homemade, salad, wheat berry

Green Herby Dressing

July 13, 2021 by andrea Leave a Comment

This is a recipe of sorts for my favorite salad dressing – one I have lovingly nicknamed Green Herby Dressing. In case you are wondering, in my head, I pronounce Herby with a hard H. It just makes me want to sing and dance around the kitchen…

Back to salad dressings, if you follow a couple basic rules of thumb, you can be creative with most of the recipe. That being said, I’ve written this recipe for Green Herby Dressing as I currently make it.

I use this recipe as my potato salad dressing and as a dressing for my wheat berry salad. I toss it on those salads while they are warm so the vinaigrette can infuse a bit with the salad. Green Herby would also be good on a kale salad.

All of the herbs in this dressing would make Green Herby a little strong for a lighter salad such as one based with spring greens. If you want a lighter vinaigrette for spring greens, just back off on the fresh herbs or eliminate them all together.

Vinaigrette Basics

So… lets start with the basics of making homemade salad dressings. We are going to be focusing on vinaigrettes with this post. I’m going to save creamy dressings like ranch and blue cheese for another day.

The trick here is to remember to keep it simple. A few ingredients and a quick spin with the immersion blender. Don’t get bogged down with the fact that you are MAKING YOUR OWN DRESSING! It is actually really easy to do and lots healthier that the store bought stuff. I also usually make just a small batch. Usually enough for the salad I’m making or maybe enough for a week or maybe two. It won’t last in the fridge much longer than that, anyway.

The base for vinaigrettes is usually olive oil. After that, you add a touch of vinegar and seasonings to test. I find it helpful to remember that the rule of thumb for the ratio of oil to vinegar is 3:1. So that means 3 tablespoons of olive oil and 1 tablespoon of vinegar. Don’t get these swapped around or you’ll need to start over – ask me sometime how I know that! Anyway, three tablespoons of oil and one tablespoon of vinegar.

To mix the ingredients together, I use my handy dandy immersion blender and the tall beaker that came with it. The immersion blender does most of the chopping and emulsifying for me. I also use the beaker to measure the oil and vinegar as I pour them in. If you don’t have an immersion blender, you can pull this off with a regular blender or a little whisking and chopping. Note that for this particular recipe of Green Herby Dressing, there is a lot of chopping of herbs involved.

Vinaigrette Ingredients:

  • Oil for the vinaigrette base. Usually this will be olive oil.
  • Vinegar of choice, this will add a little acid and kick to the vinaigrette.
  • Dijon mustard adds a little creaminess and flavor, but it is optional.
  • Sweetener such as honey or maple syrup. This is also optional, but you can use it to balance out the vinegar if you added too much.
  • Garlic gives a good flavor, but it can be substituted with a shallot or left out completely.
  • Salt and pepper.
  • Other additional ingredients include fresh or dried herbs.

Green Herby Dressing

Serving Size:
1/2 cup
Time:
5 min
Difficulty:
easy

Ingredients

  • 6 T olive oil
  • 2 T apple cider vinegar
  • 1 garlic clove, sliced or chopped
  • 1 large bunch of herbs of your choice (parsley, dill, cilantro, basil, oregano, chives, etc)
  • Salt & Pepper to taste

Directions

  1. Remove stems of the herbs.
  2. If you are using an immersion blender or blender, combine all ingredients except the salt and pepper in the blender or a small bowl. Blend until combined and the herbs are finely chopped.
  3. If you are not using an immersion blender or blender, finely chop the herbs and garlic. In a small bowl, whisk together the olive oil, vinegar, chopped garlic and herbs.
  4. Taste and season with salt and pepper. You may also add a touch more vinegar to taste.

Filed Under: recipes Tagged With: herb, homemade, vinaigrette

Barbecue Beef and Pasta in the Instant Pot

May 3, 2021 by andrea Leave a Comment

I will admit – this recipe for barbecue beef and pasta did not appeal to me the first time I came across it. However, I have come around to really like it. The recipe is easy, doesn’t require any fussy ingredients and it covers most of the food groups. If you really want to get crazy, you could add some green peas in at the end when you have the option of adding cheese. Personally, I serve the veggies on the side because peas would put it over the top for my kids!

Instant Pot Barbecue Beef & Pasta

Serving Size:
6
Time:
25 minutes
Difficulty:
easy

Ingredients

  • 2 T vegetable oil
  • 1 yellow onion, chopped (about 1 cup)
  • 1 medium bell pepper, stemmed, cored, and chopped
  • 1 pound lean ground beef
  • 2 cups beef or chicken broth
  • 1 1/4 cups barbecue sauce
  • 8 ounces dried rigatoni
  • 1 cup shredded cheddar cheese (optional)

Directions

  1. With the insert in the electric pressure cooker, turn the pot to saute on medium heat. Add the oil and allow to heat for a minute. Add the onion and bell pepper and cook, stirring often, until the onion has softened – about 4-5 minutes. The onion should not brown. Add ground beef and cook, stirring to break up any chunks. The meat should be lightly browned, but doesn’t need to cook through. Drain any fat from the pot, if necessary.
  2. Pour about 1/4 cup of the broth into the pot and scrape the bottom of the pot to loosen any browned bits off the bottom of the pot. Turn off the saute setting. Pour in the remaining broth, barbecue sauce and pasta. Stir.
  3. Lock the lid on the pot. Cook at high pressure for 7 minutes.
  4. Use the quick-release method to bring the pot’s pressure back to normal. 
  5. Unlatch the lid and open the pot. If you are adding cheese, stir cheese into the pot and set the lid askew on the pot for 5 minutes to allow the cheese to melt. Stir well before serving. 

Filed Under: recipes Tagged With: easy

Air Fryer S’mores Hand Pies

April 26, 2021 by andrea Leave a Comment

These are a sweet little dessert that are made even better by the air fryer. Sure, you can make these in the oven, but the air fryer is quicker to heat and bake, plus it gives the s’more hand pies some extra special crispiness.

Feel free to use this template as a starter into all sorts of hand pies that can be air fried. Apple pie filling, cherry pie filling, or even your favorite jam would all make great fillings for these little hand pies.

S’mores Hand Pies

Serving Size:
10-12 small pies
Time:
20 minutes
Difficulty:
easy

Ingredients

  • pie dough – either homemade pie dough or store bought.
  • mini marshmallows or larger marshmallows chopped into small pieces, about 2 T per pie
  • chocolate chips, about 1 T per pie
  • graham crackers, about 1/2 cracker per pie

Egg Wash

  • 1 egg

Topping

  • Sugar (course sugar is nice, but not necessary)

Directions

  1. Preheat your air fryer to 400 F.
  2. Put the graham cracker into a plastic baggie, seal the baggie, and crush with your rolling pin or your hands. You want a nice fine crumb like bread crumbs. 
  3. Take one dough ball out of the fridge and unwrap it. Lay a piece of parchment paper down on your work surface and lightly flour the parchment paper and rolling pin. Place the dough in the center of the parchment paper. Sprinkle a little flour on top of the dough and place a second piece of parchment on top of the dough. Roll the dough out by going from the center of the circle to the outside. Move the dough and unstick from the parchment often, adding flour if it gets sticky. Roll the dough into about a 6-inch circle.
  4. Have a small bowl of water, fork and baking sheet nearby. Dip your fingers in the water and moisten the dough around the edge of your circle. Take your topping and sprinkle them over one half of the dough circle. Fold the top of the circle in half, over the toppings. Press on the edges with a fork and move onto the baking tray. 
  5. Prepare an egg wash by cracking the egg in a small bowl and break it up with a fork. 
  6. Lightly brush or wipe the egg wash onto the top of the hand pie and lightly sprinkle with sugar. Use the fork to poke the top of the pie three times. Place the pies on the prepared trays. Pies can be kept in the fridge while working on the remaining pies. (The pies also freeze well at this point – freeze them on the tray until they are solid and then move into a freezer bag. They will keep about three months like this and can go straight into the oven from the freezer.)
  7. Repeat with until all the pies are made.
  8. Bake in preheated air fryer for 8-12 minutes, check around 6 minutes for browning.
Shaped S’mores hand pies, ready for the air fryer

Filed Under: recipes Tagged With: hand pie, s'more

Butter Pie Crust

April 26, 2021 by andrea Leave a Comment

Sure, I know pie crusts can be found pretty easily in the refrigerator section of the grocery store. But I would argue that it can be a really fun process to learn how to make your own crust. For me, my pie crusts have been a labor of love over the years. I’m constantly perfecting my pie crusts with lots of practice. I play with how I crimp the edges, mess with the latices, and design different patterns on the top. But really, in the end, if I’m going to bother to make a pie filling, then it seems that the least I could do is surround the filling with a little extra love.

Pie crust recipes are not super complicated. The ingredients don’t vary much between one recipe and the other. The difference between a flakey crust and a less perfect crust comes out in the techniques. This post is intended to give you a quick start into making a crust. I learned originally from a basic recipe in my Betty Crocker cookbook, and that’s still where I sometimes send people for help.

If you decide you want more pie crust in your life, then I recommend delving into more details after you have tried a basic recipe a few times. This will give you a feel for where you need to polish your technique. There are lots of good classes, books, and videos available with tips to a great pie crust. But for beginners, I recommend keeping it simple and not getting too bogged down in the details.

Here are a couple of my tips to get started:

  • One, keep things chilled – this includes both the ingredients and yourself.
  • Two, roll from the center of the dough out.
  • Three, give yourself time. Start the dough the morning or even day before you want to bake the pie. This allows time for chilling and also time for mistakes.

Butter Pie Crust

Serving Size:
2 crusts (for one double crust pie or two single crust pies)
Time:
20 minute + rest time
Difficulty:
easy

Ingredients

  • 2 1/2 cups (300 g) all-purpose flour
  • 1/2 teaspoon salt
  • 14 T unsalted butter, chilled and cut into cubes (see notes) 
  • 1/2 cup ice water + 1-2 T more as needed
  • Additional flour for rolling out dough

Directions

  1. In a large bowl, add the flour and salt and stir to combine. Add the butter to the flour and toss with your fingers. At this point, you can use a pastry blender, or your fingers to cut the butter into the flour. You should try to work quickly here. If you are using your fingers and it is a warm day, you can chill your fingers with ice cubes before you start. The key is to try to keep the dough chilled. If using your fingers, rub the butter into the flour. Cut the butter into the dry ingredients until the mixture looks crumbly and the largest pieces are the size of peas. 
  2. Sprinkle ice water, one to two tablespoons at a time, over the mixture and toss with your fingers or two forks. Add water by the tablespoon until the dough holds together when you squeeze a handful of it.
  3. Turn the dough out onto the counter and divide the dough in half. Gently shape each half into a disc about 4-5 inches across. If you are making a lattice top pie, you can shape the dough into a 6×3 inch rectangle. Wrap the dough in plastic wrap. Seal any broken edges by rolling the wrapped dough along the edge. Place in the refrigerator and chill for at least a couple hours before rolling out. Ideally, the dough can be made the day ahead. 
  4. At this point, the dough will keep about 2 days in the fridge or it can be put into plastic bags and frozen for up to 6 months. If frozen, remove it the day before you plan to use and thaw in the fridge. 

Filed Under: recipes Tagged With: crust, homemade, pie

Homemade Burger Buns

April 26, 2021 by andrea Leave a Comment

These are the absolute favorite burger buns around our house. I’ve tried others – brioche buns, pretzel buns, you name it – but I keep coming back to these. They have a touch of whole wheat flour in them for great flavor, but you can make them with all white flour if that’s what you have around the house.

I recommend trying these with barbecue pulled chicken or pulled pork.

I hope you enjoy them as much as we do.

Homemade Burger Buns

Serving Size:
12
Time:
3 hours start to finish
Difficulty:
medium

Ingredients

  • 1 cup (120 grams) whole grain flour (home ground, if you have it) or sub with all-purpose flour
  • 2 1/2 cups (300 grams) all-purpose flour (such as King Arthur all-purpose)
  • 1 cup (8 ounces) lukewarm water
  • 2 Tablespoons unsalted butter, at room temperature
  • 1 large egg
  • 2 Tablespoons sugar
  • 1 1/4 teaspoons finely ground salt
  • 2 teaspoons instant or active dry yeast

For Topping

  • 1 large egg, beaten with 1 Tablespoon of water for the egg wash
  • Sesame seeds, poppy seeds, or Everything Bagel Topping, for sprinkling on the top

Directions

  1. Add the water to a large mixing bowl or to the bowl of your mixer. Set aside about 1/2 cup of the all-purpose flour. Add the remaining flour (whole wheat and all-purpose), the butter, egg, sugar, salt and yeast to the water and stir until combined. Add additional flour until the dough forms a ball. Mix and knead until you have a soft, smooth dough. This should take 6-12 minutes depending on your mixer or kneading method.
  2. Place the dough into a lightly oiled bowl and cover. Place in a warm (around 75-80 F), draft free spot and allow to rise for 1-2 hours, or until it is nearly doubled in size.
  3. Gently deflate the dough, and divide into 12 pieces about 60-65 grams each. Shape each piece into a smooth ball and gently flatten out between the palms of your hands. Place onto one or two parchment or silpat lined baking trays. Gently cover the buns (oiled plastic wrap or a large bag works well) and allow them to rise for about an hour, until they are nice and puffy.
  4. While the buns are rising, prepare the egg wash. In a small bowl, beat an egg with a tablespoon of water.
  5. Preheat the oven to 375 F.
  6. When the buns are risen, brush the tops gently with the egg wash and sprinkle with whatever seeds you are using.
  7. Bake the buns in the pre-heated oven for 14-18 minutes until golden brown. Remove them from the oven and cool on a rack.
  8. Extra buns can be frozen when cooled. They will keep for up to three months in a freezer bag. Thaw at room temp for a couple hours (or use a microwave to speed the process) before slicing. They can be warmed, covered, in a 300 F oven.
Look at that bun in action!

Filed Under: recipes Tagged With: bread, buns, whole grain

Instant Pot BBQ Pulled Chicken

April 26, 2021 by andrea Leave a Comment

This is a super easy way to make barbecue chicken for an quick dinner. It’s a nice summer recipe and the pressure cooker has the added advantage of not heating up the kitchen.

With this recipe, you just throw everything into the pressure cooker and let it do its thing. The recipe calls for a natural release of 10 minutes. But if you have other things going on, you can easily let the pot go into the keep warm setting after cooker.

Be sure to use a barbecue sauce that is on the lower end of added sugar. The sugar seems to concentrate in flavor when its under pressure. I used our favorite Trader Joe’s sauce for this post, but you can you anything you have around. Even a homemade sauce, if you have one.

I alway like to serve a vinegar based slaw with barbecue. And of course, a really good bun takes these sandwiches to another level. Making homemade buns takes a little more planning, but I think they are worth it. My recipe makes 12 buns, which gives a few extra to throw in the freezer for a future menu.

Instant Pot Pulled Barbecue Chicken

Serving Size:
6-8
Time:
30 minutes
Difficulty:
Easy

Ingredients

  • 3 lbs of boneless, skinless chicken breasts and/or chicken thighs
  • 3 T of barbecue seasoning
  • 1/4 cup of chicken broth or water
  • 1 cup of your favorite barbecue sauce

For Serving

  • Extra barbecue sauce
  • Pickles
  • Sandwich buns
  • Coleslaw

Directions

  1. With the insert in the electric pressure cooker, add the chicken to the pot. Add the seasoning and toss the chicken in the seasoning. Add the water and barbecue sauce.
  2. Lock the lid on the pot.
  3. Cook at high pressure for 10 minutes.
  4. Use the natural-release method for 10 minutes, then use the quick release method to bring the pot’s pressure back to normal. 
  5. Unlatch the lid and open the pot, remove the chicken to a cutting board and allow to cool for a few minutes. Use two forks to pull the chicken apart. You can also use a mixer with the dough hook to shred the chicken. Add some of the cooking liquid back to the pulled chicken – just enough to keep it moist. If you like a stronger barbecue flavor, you can toss the cooked, pulled chicken in barbecue sauce to taste. 
  6. Serve on buns with toppings of your choice.
This chicken is just out of the pressure cooker. I’ve started shredding one of the breasts with a fork. Thigh meat will shred even easier.
Shredded barbecue chicken with a vinegar based coleslaw and homemade burger buns.

Filed Under: recipes, Uncategorized Tagged With: dinner, Instant Pot

Homemade Coleslaw (Vinegar Based)

April 26, 2021 by andrea Leave a Comment

This recipe for vinegar based coleslaw is so delicious and easy. You may never go back to the store bought stuff again. Try it with your favorite barbecue recipe. It is perfect on pulled barbecue chicken or pulled pork. Personally, I like it as an easy side to any picnic. And I’ve been known to snack on the leftovers straight out of the bowl.

In my opinion, the best part of this recipe is that you can control the sugar and fat. The store-bought versions never taste just right to me, probably because they are loaded in sugar.

If you have a food processor or grater attachment for your mixer, this is the time to get it out. A mandolin with a shredding blade would be a good friend to this recipe also. But you can definitely use a sharp knife to slice the veggies. It doesn’t take that much time and there are no hard and fast rules of how finely cut anything needs to be. The main tip that I have is that you try to cut all the veggies to the same width. Of course, there is one easy time saver – just substitute with a bag of coleslaw mix and make the dressing. You’ll save lots of time and still have the big health advantage of making the homemade dressing.

If you don’t have all of the veggies called for in the recipe, you can adjust the recipe to whatever you have on hand. No green onion? Use a little red onion. No green cabbage? Just use all red cabbage. You get the idea. I only had green cabbage when I made it for this post, so there you go.

Vinegar Based Coleslaw

Serving Size:
8
Time:
20 min
Difficulty:
medium

Dressing Ingredients

  • 1/4 cup of apple cider vinegar
  • 1 T of dijon mustard
  • 1 T of honey or 1 teaspoon of sugar
  • 1/4 cup of olive oil
  • 1 teaspoon of celery seed
  • kosher salt and pepper, to taste

Salad Ingredients

  • 1/4 of a green cabbage
  • 1/4 of a red cabbage
  • 2 whole shredded carrots
  • 3 thinly sliced green onions

Directions

  1. To make the vinaigrette, add the vinegar, mustard, and sugar to a small bowl. Whisk while slowly drizzling in the olive oil until emulsified and then finish with celery seed, salt and pepper. Taste to see if you like the sweet/sour flavor. Add a little vinegar if you want it more sour or more sugar if you want it a little sweeter. If the flavor seems flat, try adding a little salt.
  2. Cut the cabbage in four quarters and remove the core. Chop the vegetables and add to a large bowl. Season with celery seed, salt and pepper and toss everything together.
  3. Pour the dressing over the veggies and toss together. Tongs or your hands work really well to toss.
  4. This salad is best if you make it an hour or two before you want to serve it. If you want to make it much further ahead of time, keep the dressing and veggies separate and toss together a bit before you want to serve.

Filed Under: recipes Tagged With: homemade, vegetables, vinegar

Air Fried Potato Wedges

April 23, 2021 by andrea Leave a Comment

These air fried potatoes are so simple – they make for an easy beginner recipe using an air fryer. Added bonus – the kids like them. I have taught this recipe several times now as one of my library courses. The recipe lets me focus on the features of the air fryer, and sometimes, I think I forget about how great the actual fries are.

Russet potatoes are great for these fries. The outside gets nice and crisp while the inside gets kind of melty. If you don’t have russets around, try it with whatever potatoes you have. I’d love to hear your findings on different potato types.

If you do not have an air fryer, you can cook the potatoes in a 400 F oven (use the convection setting, if you have it). They don’t get as crispy in the oven, but it will still work.

Air Fried Potato Wedges

Serving Size:
2-3
Time:
20 min
Difficulty:
easy

Ingredients

  • 2 medium russet potatoes, scrubbed
  • 1 1/2 Tablespoons olive oil
  • 1/2 teaspoon paprika 
  • 1/4 teaspoon garlic powder
  • 1/8 teaspoon cayenne pepper (optional)
  • 1 teaspoon fine salt
  • 1/4 teaspoon ground black pepper

To Serve (optional)

  • 1/2 cup parmesan cheese
  • 1 Tablespoon chopped parsley (or 1 teaspoon dried)
  • ketchup or ranch for dipping

Directions

  1. Slice the potatoes in half lengthwise. Then put the cut side down and slice in half lengthwise again to make quarters. Place each potato quarter cut side up and create wedges along the long length. 
  2. In a large bowl, combine olive oil, paprika, garlic powder, cayenne pepper, salt and black pepper. Add the potato wedges and toss to coat the potatoes with oil & seasoning. 
  3. Place wedges in the basket of the air fryer in one layer. and cook for 12-15 minutes at 400F. No need to preheat the air fryer. Shake the basket and check for browning every 5 minutes.  Depending on the size of your air fryer, you may need to make two batches. 
  4. While potatoes are cooking, combine grated parmesan cheese and parsley. 
  5. When potatoes are golden brown and crispy, remove from air fryer and toss with the parmesan and parsley. 
  6. Serve with ketchup or whatever dipping sauce you prefer.

Filed Under: recipes Tagged With: air fryer, easy, potato, quick

  • « Previous Page
  • 1
  • 2
  • 3
  • 4
  • …
  • 9
  • Next Page »

Posts

  • Clatter in the Kitchen
  • recipes
  • Uncategorized

Recent Comments

  • Pam on (Sourdough Optional) Carrot Muffins
  • andrea on Cinnamon Rolls – Tangzhong method
  • Helen Lazzaro on Cinnamon Rolls – Tangzhong method
  • andrea on Hot Cross Buns
  • Susan Toth on Hot Cross Buns
  • Facebook

Copyright © 2023 · Foodie Child Theme by Shay Bocks · Built on the Genesis Framework · Powered by WordPress