My Kitchen Clatter

Real Food - Real Life

  • About Me
  • Classes
    • Upcoming Classes
    • Baking Classes
    • Pressure Cooking Classes
    • Fermentation Classes
    • Canning Classes
    • Kombucha Classes
  • Equipment
    • Nutrimill Plus Grain Mill
    • Nutrimill Classic Grain Mill
    • Nutrimill Harvest Grain Mill
    • Bosch Universal Mixer
    • Ankarsrum Original Assistant
    • Filter Pro Dehydrator
  • Grains & Supplies
  • Recipes
  • Clatter in the Kitchen

Sourdough Chocolate Chip Cookies

March 5, 2022 by andrea Leave a Comment

I like my cookies to have a nice chewy bite, be soft in the middle, and have crispy edges. Oh, who am I kidding? I like my cookies in any form as long as they are fresh out of the oven. I pretty much have zero standards for cookies other than that they be homemade. All that said, this cookie comes out soft in the middle with crispy edges. It’s pretty darn great. It’s not overly sweet or difficult to make.

A little about sourdough starter…

I wrote this recipe specifically to use up extra sourdough starter. I think the starter helps to give the cookie its excellent crumb and softness. Your starter can be well fed or just your discard. The recipe does call for a full cup of starter, but it can easily be divided in half, depending on how much starter you have available.

And some words on flour…

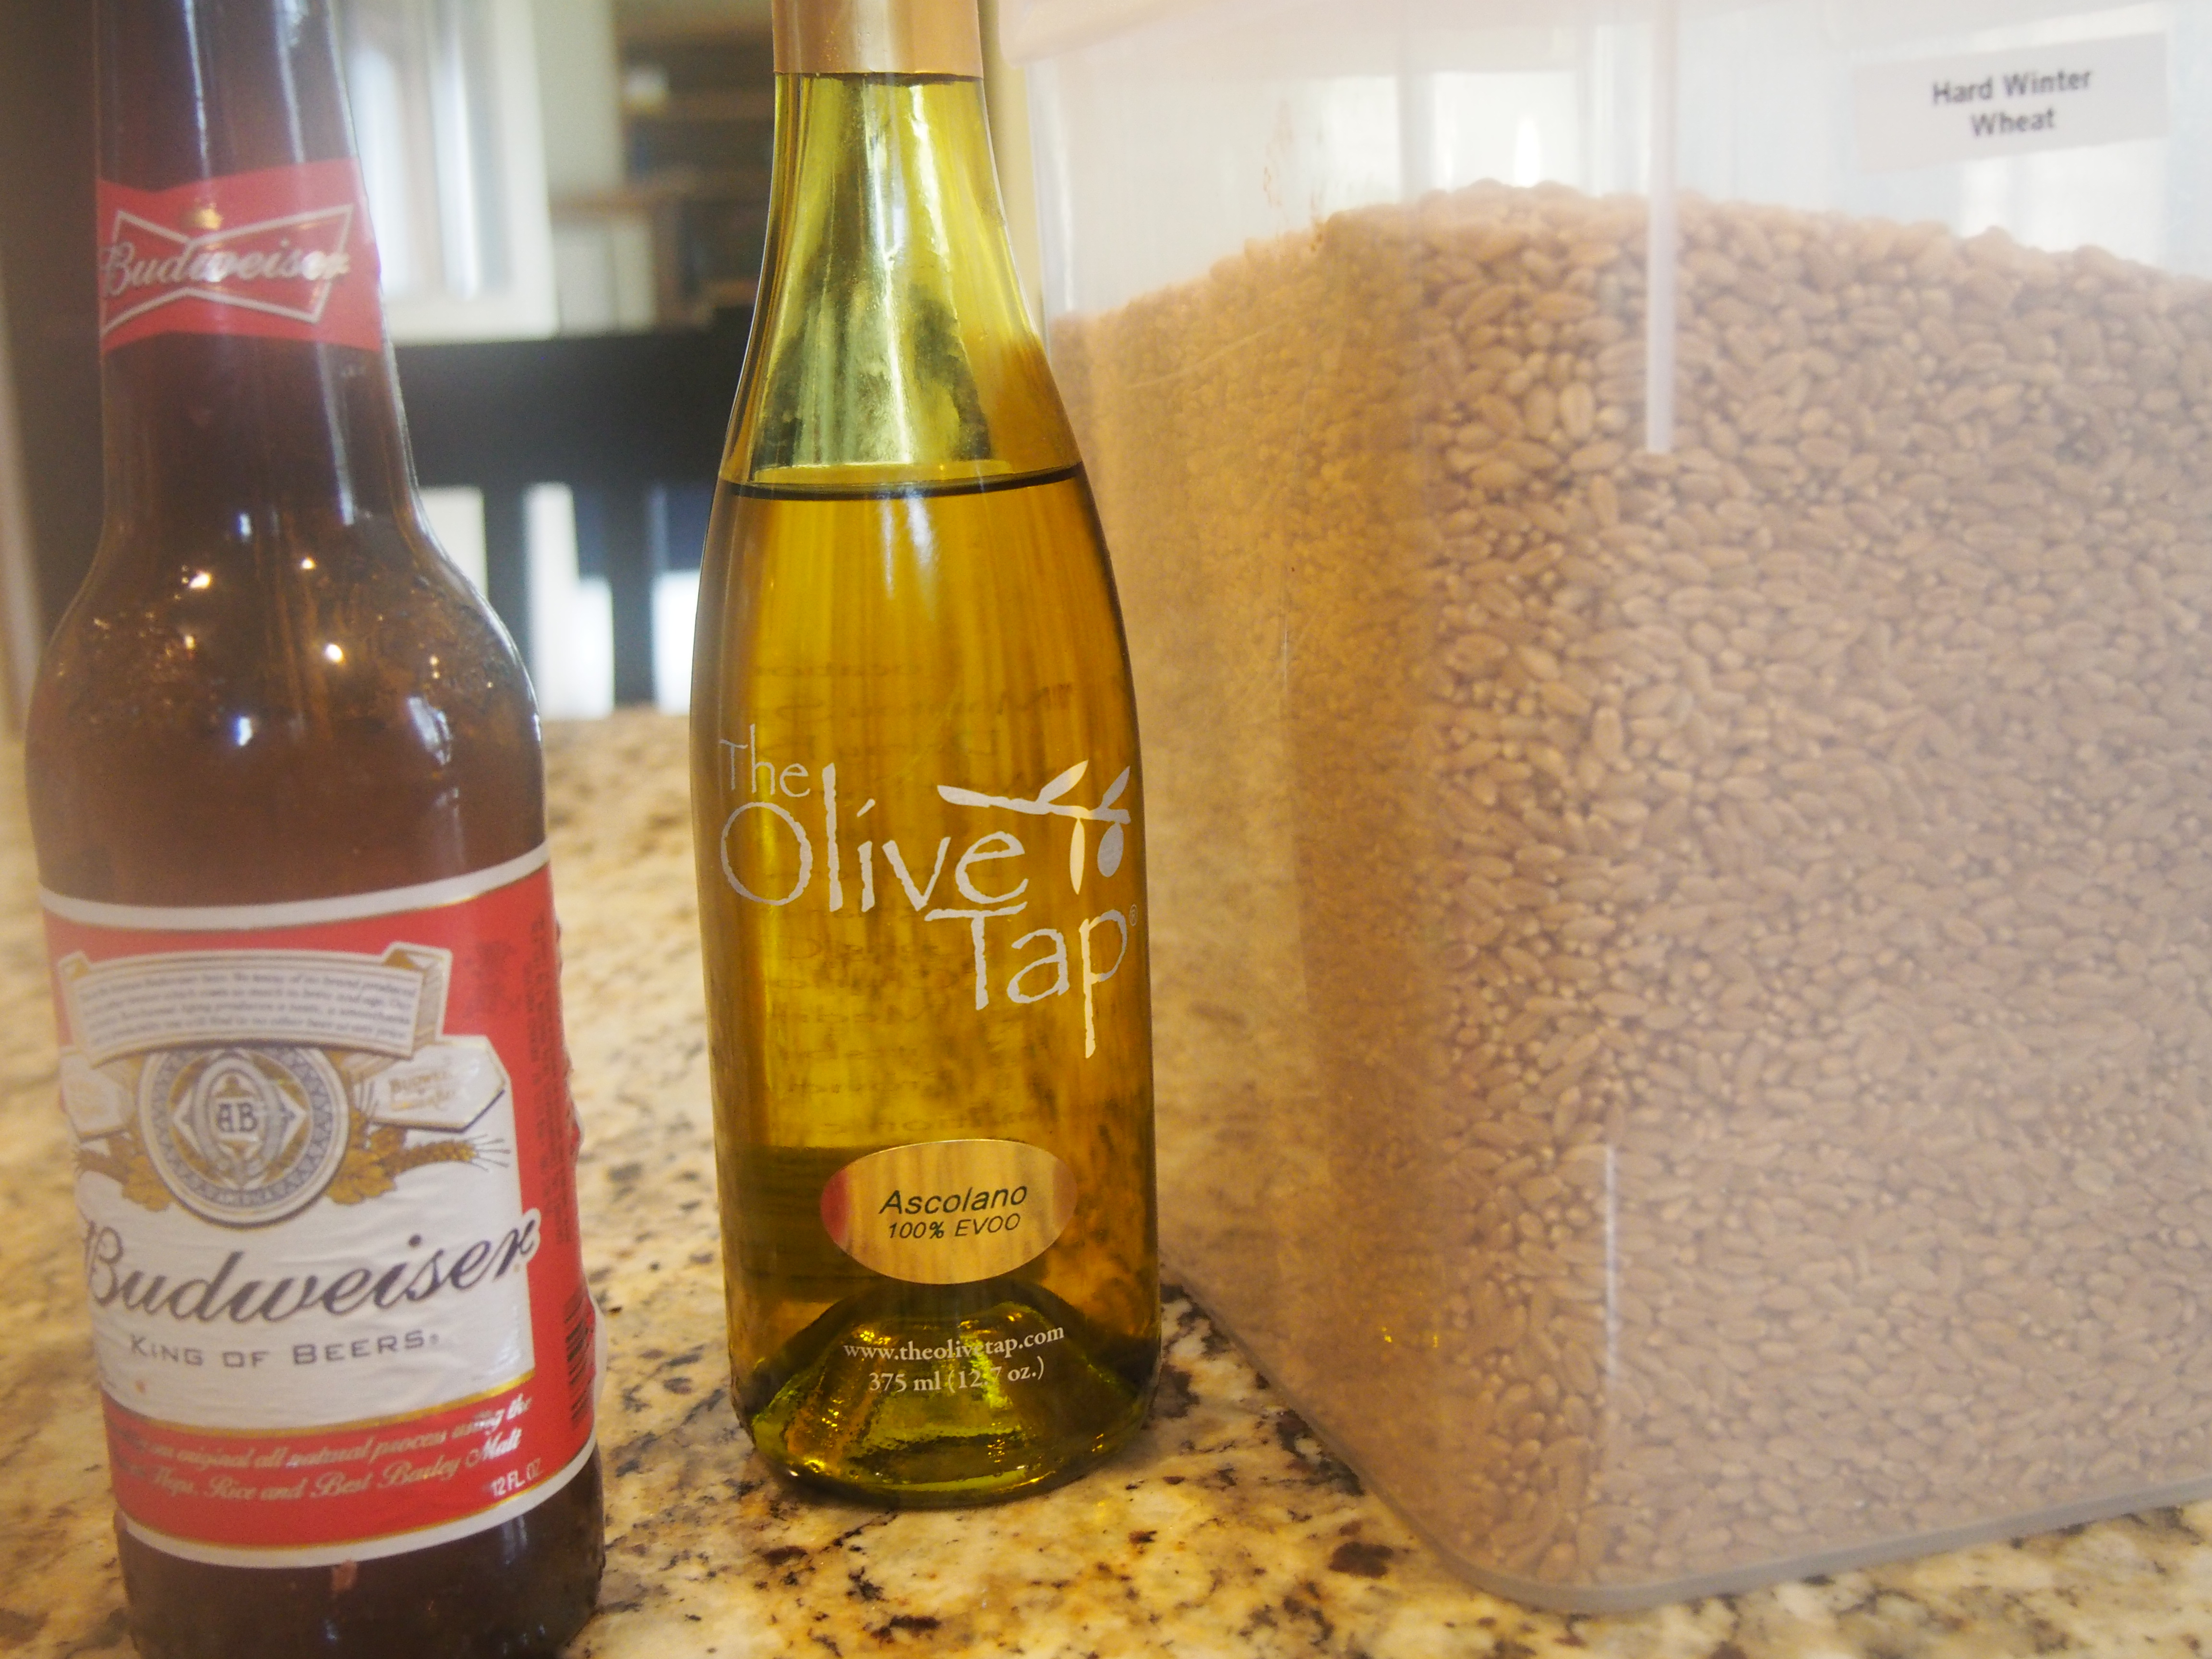
Whole grain flours really make this cookie. If you only have all-purpose flour on hand, go ahead and use it. But if you’d like to increase the flavor, fiber and nutrients of your baked goods, be sure to give these a try with your favorite whole grain flour. My standard go-to for this cookie is normally a soft white wheat or a spelt flour. Both will make a chocolate chip cookie that has a nice mild flavor with slightly more depth than you’d find using all-purpose flour. But honestly, try this with any flour you have on hand. My favorite flour that I’ve tried with these cookies was buckwheat flour. Let me know in the comments what flours you try them with.

Sour Dough Chocolate Chip Cookies

Serving Size:
4-5 dozen cookies
Time:
20 minutes, plus rest & baking
Difficulty:
Easy

Ingredients

  • 3 cups + 2 tablespoons (380 g) of soft white whole grain wheat flour or all-purpose flour
  • 1 teaspoon baking powder
  • 1 teaspoon baking soda
  • 1/2 teaspoon fine sea salt or table salt
  • 16 tablespoons (2 sticks) of unsalted butter, room temperature or softer
  • 3/4 cup (180 g) granulated sugar
  • 1/2 cup (120 g) light brown sugar
  • 2 eggs
  • 1 cup (240 g) sour dough starter discard
  • 1 teaspoon vanilla extract
  • 2 cups chocolate chips

Directions

  1. Combine the dry ingredients (flour through salt) in a medium sized bowl. Whisk to combine.
  2. Combine the butter and both sugars in the bowl of a stand mixer and beat on high speed for 3-4 minutes. The sugar butter mixture should be light colored and fluffy.
  3. Add the eggs, on at a time to the butter mixture and mix until combined.
  4. Add the sour dough starter and the vanilla extract to the butter mixture and beat for 2-3 minutes until well combined.
  5. Add the flour mixture to the stand mixer. Combine on low speed, just until the flour is incorporated.
  6. Add the chocolate chips to the dough and mix until just combined.
  7. The dough can be baked right away, but it benefits from at least 30 minutes rest in the fridge. Wrap the dough in parchment paper and rest in fridge for 30 minutes or up to 2 days.
  8. Preheat the oven to 350 degrees. Line a cookie sheet with parchment paper. Drop heaping tablespoons on dough on the pan and bake for 10-12 minutes. Allow to cool on the pan for 3-4 minutes before transferring to a cooling rack.

Filed Under: recipes Tagged With: buckwheat, chocolate, cookie, homemade, snack, sourdough, whole grain

(Sourdough Optional) Carrot Muffins

April 3, 2021 by andrea 1 Comment

Okay! I’ve been eyeing making these carrot muffins for a while now and I have to admit that the thought of shredding carrots has kept me away from this recipe. But the ten pound bag of Costco carrots kept my mind coming back to this recipe. This morning, I finally got out the shredder. Honestly, sometimes (well, probably most of the time) I avoid certain recipes or steps because of the thought of doing extra dishes. Dishes are done now and the muffins are out of the oven. And these carrot muffins were worth the extra dishes.

These muffins have a great balance of flavor and spice. However, based on my kid’s responses to them, they may have more of an appeal to an adult palate. Next time, I may try to back off on some of the spices to see if that helps the boys. Maybe.

I made this recipe with discarded sourdough starter. You can’t really taste that the starter is in the muffins – it is mainly there as the liquid. If you don’t have sourdough starter, you can substitute with buttermilk or greek yogurt. Make the substitute on a 1:1 basis.

The batter may seem a little dry – that’s okay.

While I have your attention, let’s spend a quick minute talking about flour. You can absolutely make these muffins using regular all-purpose flour; however, upgrading to a good whole grain flour will really enhance the flavor. The key here is good whole grain flour. I mill my own flour, which is at the far end of the flour spectrum as far as freshness, quality and taste. But you can also find good whole grain flours from local mills, farmers markets or even on-line. If you are at the grocery store, brands like Bob’s Red Mill or King Arthur Flour are easy to find and provide a quality product. If you are near to me, feel free to reach out and ask me for a sample of flour. I think you’ll be surprised at what a difference fresh whole grain flours can make in your baking.

The crumble topping on the muffin is completely optional. I honestly put it on because I was hoping it would hide the carrot from my discerning teenager – it didn’t work. The topping did add a little extra sweetness to the muffin. Per my usual approach, I kept the sugar pretty low in the muffins. In my world, if I want a cupcake, then I’m going to eat a cupcake, not a cupcake disguised as a muffin. But… if you like your muffins a little sweeter, you can either add a bit more sugar to the recipe or you can include the topping. Own it and feel free to make this recipe work for you.

Carrot Muffins – No crumble topping (left) and with crumble (right)

(Sourdough) Carrot Muffins

Serving Size:
12-15 muffins
Time:
35 min
Difficulty:
easy

Dry Ingredients

  • 2 cups (240 g) whole wheat or AP flour (freshly ground soft white or spelt works well here)
  • 1 1/2 t baking powder
  • 1/2 t baking soda
  • 1/2 t salt
  • 1 1/2 t cinnamon
  • 1/2 t nutmeg
  • 1/4 t ginger
  • 1/4 t allspice

Wet Ingredients

  • 2 large eggs
  • 1/3 cup sunflower or olive oil
  • 3/4 cup brown sugar
  • 1 cup sourdough starter (can substitute with buttermilk or Greek yogurt)

Fold-In Ingredients

  • 1 1/2 cups (160 g) grated carrot (about 3-4 carrots)
  • 1/2 cup of finely chopped walnuts (optional)
  • 1/2 cup of raisins (optional)

Crumble (optional)

  • 1/4 cup brown sugar
  • 1 1/2 T whole wheat or all-purpose flour
  • 1/3 cup rolled oats
  • 1/4 t cinnamon
  • 2 T butter, room temperature

Directions

  1. Preheat oven to 425 F with the rack in the upper third of the oven. Spray or line 12-15 muffin tins.
  2. Prepare your shredded carrots. Peel the carrots and shred using a box grater or your food processor. If you have a little extra carrot (up to 200 grams or 2 cups), just use them in the recipe.
  3. Prepare the crumble topping, if you are using it. Combine the crumble ingredients in a small bowl. Using your fingers, massage the butter into the dry ingredients until it is nice and crumbly. Set the topping aside.
  4. Combine the dry ingredients in a large bowl. Whisk.
  5. Combine the wet ingredients in a separate bowl and stir until they are mixed evenly.
  6. Add the wet ingredients to the dry ingredients and fold in until the flour is almost entirely dissolved. Don’t overmix, just gently stir. Add the carrots and nuts or raisins, if you are using. Gently fold the mixture until the carrots are distributed throughout. If you made the batter with sourdough starter, the batter will seem pretty dry.
  7. Scoop the batter into the prepared muffin tin and fill tins about 3/4 full. Top with a tablespoon of the crumble topping, if using.
  8. Bake at 425 for 5 minutes. Turn down the heat on the oven to 350 F (don’t open the door) and cook for 15 minutes longer until the muffins are lightly browned and cooked throughout.
  9. Turn the muffins out onto a cooling rack and enjoy.
A quick shot of my grater attachment on my mixer – it really makes quick work out of a couple carrots and does not add many dishes. I’m not sure why I think twice about getting it out of the cupboard and hooking it up.

Filed Under: recipes Tagged With: muffins, soft whole wheat, sourdough, whole grains

Pumpkin Sourdough Yeast Bread

October 19, 2020 by andrea Leave a Comment

This bread is one I came across in an old cookbook years ago. Over the years, I’ve adjusted it to my preferences. The bread seems a little unique because it combines pumpkin into a yeast bread, but the combination works really well. It’s one of my favorite breads to make in the fall. You can think of it like a fancy sort of cinnamon raisin bread.

I usually make a big batch of this bread in my Bosch Universal and I share extra loaves with my favorite neighbors. But in the interest of normality, I’ve broken the recipe down here so it will make one large loaf or two smaller loaves. The final batch size may be dependent on your hydration of your sourdough starter and on the moisture content of your pumpkin puree. To adjust for this, you may need to flexible with the amount of flour added at the end – which is just a good practice with bread making anyway. If you end up with extra dough – and I hope you do – shape it into a tiny loaf of bread or make a couple quick cinnamon rolls with it.

And a quick note on the sourdough. IF you don’t have sourdough starter on hand, then you can skip that ingredient and move on with baking this bread. BUT, you should consider getting yourself going with sourdough. It may be Covid trendy, but it is still a wonderfully pleasant kitchen activity. If you need more info on sourdough, reach out to me and I’ll see what I can do to get you started.

This bread is excellent toasted with butter, cream cheese, or apple or pumpkin butter.

I hope you enjoy it!

Pumpkin Sourdough Yeast Bread
Recipe Type: bread
Author: Andrea
Prep time: 20 mins
Cook time: 35 mins
Total time: 55 mins
Serves: 2
This a great bread for those fall days. It is wonderful toasted with butter or cream cheese.
Ingredients
  • 1/2 c sourdough starter
  • 1/2 c pumpkin puree
  • 1 cup of hot water (110 degrees, or baby bath temperature)
  • 1/4 c oil (I like sunflower or something with a light flavor)
  • 1/4 c brown sugar
  • 1/2 t cloves, ground
  • 1 t ginger
  • 2 t cinnamon
  • 1 T dough enhancer (optional, if you have it – otherwise substitute apple cider vinegar)
  • 1 cup white flour (King Arthur all purpose in the red bag is great)
  • 4-5 cups of freshly ground hard white wheat flour (if you don’t have freshly ground, substitute white flour)
  • 1 T SAF or other instant yeast
  • 1 t salt
  • 1/2 cup dried cranberries
  • 1/3 cup pepitas
Instructions
  1. Combine sourdough starter, pumpkin puree, hot water, oil, sugar, clovers, ginger, cinnamon, dough enhancer, white flour, and 1/2 of the whole wheat flour into the bowl of your mixer. Add the yeast on top of the flour. Stir until it is just combined. It should be the thickness of pancake batter.
  2. Allow the batter to rest 10-30 minutes. This lets the gluten in the flour relax and creates a better dough structure.
  3. Add another cup of flour and the salt to the dough and mixer.
  4. With the mixer running, add remaining flour 1/2 a cup at a time until the dough has formed. If you are using a Bosch mixer, this will be when the dough cleans the sides of the bowl. If you are using an Ankersrum mixer, the dough will quickly form around the kneading arm when you move the arm to the center of the mixer. It’s okay if the dough is a little soft at this stage.
  5. Add the cranberries and pepitas to the dough.
  6. Knead for 6-10 minutes until the dough has formed a good gluten structure. Knead at the number 2 on a Bosch and at about 2:00 or 3:00 with an Ank. The dough should be soft and smooth. If you are using a machine other than a Bosch or Ank, you will probably need to knead several extra minutes to obtain a good dough structure, possibly up to 20 minutes. At this point, my dough is usually very soft to the point that it makes me nervous, but it always seems to turn out fine.
  7. Turn the dough into an oiled bowl. Cover and let rise in a draft free, warm location until almost double – about 30 minutes.
  8. Turn the dough out onto an oiled board, shape into loaves and place in oiled pans. You can also free form loaves or use this dough for cinnamon rolls. I like to use about 1 pound 8 ounce of dough per 4.5 x 8 inch loaf.
  9. Let rise until the dough is about an inch over the edge of your pans. Meanwhile preheat oven to 350 degrees.
  10. Bake for 30-35 minutes until the loaves are golden and brown.
3.5.3251


Filed Under: recipes Tagged With: Ankersrum, bosch mixer, bread, breakfast, neighbors, pumpkin, sourdough, yeast

Flatbread Crackers

April 6, 2020 by andrea Leave a Comment

Crackers for Lent and Other Times

We are heading into lent while under coronavirus lockdown. My church (yes, Raechel – you represent the ENTIRE church) has asked me to teach the congregation how to make their own bread for our virtual Maundy Thursday service. Somewhere there is a very strange video of me making these crackers – I hope everyone who sees it gets a good laugh. It seemed like crackers would be a natural fit – they are quick, relatively easy, and taste great.

Homemade crackers are a special sort of thing in our house – they honestly don’t happen very often. Under normal circumstances, we totally support whoever makes Triskets and Wheat Things.  But we aren’t under normal circumstances, and these crackers are kind of nice to make when you have a little extra time and want something special. If you are making them for this Thursday’s service, I hope you find some extra love in your heart knowing that a few other people may be doing the same thing.

Some Cracker Tips

  • Make them your own – these crackers are not meant to be perfect. If you don’t have an ingredient – substitute and use whatever you have around the kitchen. No olive oil? Melted butter or canola oil will be fine. No rolling pin? Use a wine bottle, you get the idea.
  • You can use any kind of flour you have around. Whole wheat flour works great. Throw a couple tablespoons of rye in there if you have it.
    • I’ll even attempt to give a gluten free alternative: substitute the white flour with a gluten free flour mix – if you have xanthin gum around, add 1/2 t if it isn’t already in your flour mix. Instead of kneading the dough, you’ll add just enough water to pat the dough into a ball with your hands. You probably won’t be able to knead your dough. And you may need to roll your dough between parchment paper.
  • Don’t be intimidated by kneading the bread dough. If you have never kneaded dough before, all you have to do is gather the dough into a ball, take the end of the ball that is farther from you, pull it over the dough, and gently push with the heel of your hand, then give the ball a quarter of a turn and repeat. In this recipe, the point of the kneading is simply to give the dough a better elasticity and cohesiveness.  If you are still nervous about kneading, check out this video.
  • I wrote this recipe based on doing the mixing and kneading by hand. This works well for this dough, but if you have a mixer or food processor, you can adapt the recipe to your tools.
  • You may find that your dough shrinks back when you roll it out. In this case, the gluten needs to relax a bit – so let the dough rest a few minutes longer.
  • If you wonder if your dough is rolled thin enough, then it probably isn’t thin enough. If you have a few holes from being rolled too thin, that’s okay. Think of these crackers as rustic.
  • I like to cut the dough into long strips before I bake it. The strips can be as thin or thick as you like. The strips allow the centers to get crispy without the edges getting too brown. I also like how the crackers break from the strips, they have a little consistency of width, but still have some rough edges. However, if you don’t want to cut the dough, you can cook the rolled dough in one big piece and see what you think. On the other end of the spectrum, if you want more consistently shaped and browned crackers, you can cut them all into even squares – just be aware that moving the crackers from the cutting board to the baking sheet can be time consuming. The easiest way to do this is by rolling and cutting the crackers on parchment and then moving the parchment and crackers to the baking tray in one big motion.
  • Finally, for the sourdough lovers out there, use 200 grams of sourdough starter (unfed is fine), and reduce your flour down to about 1 cup plus 2 T (132 grams). I’m assuming your starter is at 100% hydration, meaning for every gram of flour you feed it one gram of water. I suppose that making these with sourdough starter technically no longer makes these flatbread crackers. You can keep this in mind, if you are really looking for unleavened bread for lent.


Flatbread Crackers
Author: Andrea
Prep time: 15 mins
Cook time: 9 mins
Total time: 24 mins
Ingredients
  • 1 1/2 cup flour (use your favorite – I like 1 cup of white, 1/2 cup of whole wheat, but add in 2 T of rye for fun)
  • 2 t fresh herbs or 1/2 t dried herbs (rosemary, thyme, herbs de Provence)
  • 1/2 – 1 t coarsely ground black pepper
  • 1-3 t seeds (optional – sesame seeds, poppy seeds, sunflower seeds)
  • 1/2 c, finely shredded Parmesan (optional)
  • 3/4 t fine salt
  • 1 t sugar
  • 2 T olive oil
  • 1/2 c cold water
  • Optional Toppings
  • sesame seeds
  • poppy seeds
  • garlic flakes
  • course sea salt
  • seed mix (such as Everything Bagel seasoning)
Instructions
  1. Preheat the oven to 450 degrees
  2. Combine the flour, herbs, black pepper, seeds, cheese (if using) salt, and sugar in a large bowl. Stir with a spoon to combine.
  3. Add oil to bowl and stir.
  4. Add all but 2 T of water to bowl to combine. Add remaining water 1 T at a time until the dough just forms a shaggy ball.
  5. Turn the dough out onto a floured surface and knead for 2-4 minutes until it is smooth. Add flour just so the dough doesn’t stick to your hands.
  6. Let the dough rest, covered with a towel, on the counter or in the bowl for 10 minutes.
  7. Divide the dough into 4 smaller balls.
  8. One at a time, roll each ball as thin as possible. If the dough shrinks back as you roll it, then allow to rest a few more minutes before continuing to roll it out.
  9. If you are adding a topping, sprinkle the topping on the dough and use the rolling pin to lightly roll the topping in place.
  10. Using a fork, poke the dough all over to prevent large air bubbles from forming.
  11. Cut the dough into 3-4 strips, place strips onto a baking sheet, and bake for 4 minutes. At four minutes, check the crackers, you can turn the strips over at this point to help them crisp or just leave them to cook on the first side. Either way, check every 2 minutes until they are crispy and lightly browned.
  12. When the cracker strips are crisp and slightly golden on the edges, remove from oven and allow to cool on a rack.
  13. Repeat rolling and baking process with remaining dough.
  14. Snap into smaller pieces.
3.5.3251


Filed Under: recipes Tagged With: crackers, easy, flatbread, lent, rustic, sourdough, whole wheat

February’s Preserving Challenge – Fermenting

March 6, 2019 by andrea Leave a Comment

We are already almost done with month number two of Food In Jar’s Mastery Challenge for 2019. February’s challenge is fermenting, which I have to admit did not feel like it was going to be a huge stretch for me to take on. If you’ve visited my kitchen recently, you may notice that I have jars of kombucha, sourdough starter, and milk kiefer on the counter at any given time.

In order to take this challenge up a notch from my norm, I decided I would post this blog with some links and references for any of my readers who are interested in trying something new. As I go, I’ll add some photos of my creations.

Sourdough

I started the month by baking bread some no-knead sourdough breads. I use Breadtopia’s method, but another very successful teaching resource is King Arthur Flour’s crusty white bread. King Arthur’s method is especially good for those of you using white flour and instant yeast. I baked several loaves over a week-long period and shared the extra loaves with a few lucky friends.

If you are interested in owning a sourdough starter, you have three options. # 1 – find a friend and ask for some of their discard. Option 2 is to purchase starter from a site like King Arthur or Breadtopia. And option 3 is to make your own starter. I personally like the directions given at Breadtopia’s site.

Once you get into sourdough, you’ll have extra starter that you’ll need to use up. Try my Classic Sourdough Waffles (or Pancakes) for a light and fluffy waffle – you mix it up the night before and then it’s pretty much ready to go in the morning. Another personal favorite recipe of mine is my Sourdough English Muffins – it is just so satisfying to make these at home. I keep them in the freezer for morning egg sandwiches.

Kombucha


I promised myself that I would take the time this month to teach a few friends to make their own kombucha. These dear friends have been asking to take a kombucha lesson with me, but it’s been more talk than action. We changed that this month and they got started with their own home-brews.

To begin with kombucha, you need some starter liquid and a SCOBY (Symbiotic Culture of Bacteria and Yeast). If you have a friend who brews kombucha, chances are good that they will have a SCOBY that they can share with you to get started. Another way is to order one from an on-line site or to track me down for a class.

If you are looking for more kombucha information, one of my favorite sites for learning about kombucha is Kombucha Camp. I also like a book called The Big Book of Kombucha by Krum and LaGory.

Sauerkraut

Fermented foods are the best. Enough said. I’m done here.

To make sauerkraut, it is as simple as slicing cabbage and adding salt. This is called “lactic-acid fermentation” in the pickling circles and is an amazing way to preserve foods – it’s tasty and healthy due to the probiotic formed as the foods ferment.

I have a bad habit of making a lot of my lacto-fermented foods such as pickles and kraut in the fall when my garden is over producing. But it is totally possibly to make these foods during other seasons. And considering the length of this winter, it may also be a good idea to be making kraut in February as it has high levels of vitamin C in addition to probiotics that help with gut health.

I like to make kraut in small batches in mason jars. Here is one of my favorite technique and recipe for a basic batch of kraut. I also like the Masontop line of small batch tools. You can find Masontop products in stores such as Big R. I also have some Masontop and Kraut Source products in my kitchen store (contact me for more info).


Filed Under: Clatter in the Kitchen Tagged With: kombucha, kraut, sauerkraut, sourdough

Sourdough English Muffins

April 12, 2016 by andrea Leave a Comment

Sourdough English Muffins

A fresh batch of sourdough English muffins

I believe that these Sourdough English Muffins are reason enough to maintain a jar of sourdough starter in your fridge. They are not super difficult to make, but they do take a little bit of time and love. But they are so delicious and so much healthier for you than the store bought version. Once you get spoiled with homemade breads, it really gets hard to go back to the mass produced stuff.

Sourdough English Muffins

Sourdough Starter

Like most sourdough recipes, you’ll need to do a little planning for these muffins. You’ll make your dough the night before and it should rest in the fridge overnight (8-12 hours). Make sure you put the dough in the fridge during the rest period. If you leave it on the counter, they won’t have any rise left in them for baking and you’ll end up with hockey pucks. And along that line, be sure to use instant yeast in your recipe. I use SAF red instant yeast – it has a different lifespan that the normal quick rise yeast that you typically find in the grocery store. the quick rise will die off by the time your long rise is over and you’ll end up with the hockey puck problem again.

In the morning, you pull the dough out of the fridge, shape your muffins, and “bake” them off. You could also start the process in the morning and finish off that evening – but you’d loose the beauty of fresh English muffins for breakfast. And, really, what’s the point of that?

Once you pull the muffins out of the fridge, I divide the dough into muffin sized portion. The engineer in me always weighs each portion to make sure they are all about the same size. Normal people probably don’t do this. But, I find that 1.7 ounces of dough makes a nice, small muffin that is still big enough to hold an egg sandwich. 2 ounces is a medium sized muffin and 2.3 ounces would be a monster size around our house. When I do 1.7 ounce portions, I usually end up with about 2 and half dozen muffins. Once I have the dough portioned out, I shape them into flat rounds. This is one of the best parts of the recipe. There is just something about handling a nice bread dough. Place the rounds onto a parchment lined baking sheet. You can sprinkle course ground corn meal or semolina on the parchment so you have a little crunch to your final muffin. It is a nice touch, but my corn meal usually ends up burning on the cast iron skillet. I guess its a little give and take that way.

Sourdough English Muffins

Muffins cooking on stovetop

And speaking of baking, English muffins aren’t really baked. They are cooked on the stovetop – kind of like tortillas. I cook mine on a cast iron skillet. They will puff up as they hit the heat and it’s a pretty fun thing for the kids (and grownups) to watch. Sometimes mine brown too quickly and aren’t quite done in the centers. If that happens you, can finish them off in  a 350 degree oven for about 10 minutes until the centers reach 190 degrees. I don’t really ever stress about the centers being done. I usually end up splitting most of the muffins and freezing them. When I’m ready to eat the muffins, I toast them – so the centers get finished that way.

As written, this recipe for English Muffins does not rely entirely on the sourdough to give the rise to the muffins. It is kind of a cheater recipe for sourdough. Which makes it a great recipe for anyone who is just starting out with sourdough and is working at gaining confidence in their skills. If you want to convert it to 100% sourdough, then you should 1) make sure your starter is fed and active and 2) eliminate the instant yeast and optional citric acid.

I hope you enjoy these sourdough English muffins!

Sourdough English Muffins
Author: Andrea
Prep time: 12 hours
Cook time: 30 mins
Total time: 12 hours 30 mins
Serves: 30 muffins
As with all things whole wheat, if you aren’t using freshly milled whole wheat flour, you can substitute a high quality store a combination of 1/2 store bought white whole wheat flour and white flour, but your final product will be slightly different than mine in taste, texture, and nutrition.
Ingredients
  • 2 T sugar
  • 1 cup warm water (110-115 degree F)
  • 1 cup warm milk
  • 1 T instant yeast (optional if you are using active, fed sourdough starter)
  • 1 c sourdough starter, fed or unfed; fed will give you a more vigorous rise
  • 7-8 cups white whole wheat flour – freshly milled flour strongly recommended!
  • 1/4 c (4 T) butter, at room temperature
  • 1 T salt
  • 1/4 t citric acid (optional, for added sour flavor)
  • semolina or course corn meal, for coating
Instructions
  1. Combine all ingredients, except, flour and semolina, in the bowl of a stand mixer.
  2. Add flour until dough is soft and at the right consistency for kneading. If using a Bosch universal, you should add flour until the dough just cleans the sides of the bowl. If using an Ankarsrum the dough should pull from the sides of the bowl and form a donut around the kneading arm. The dough can be a little sticky – it will continue to absorb moisture as it rises.
  3. Knead using the mixer for 6-12 minutes (Bosch or Ankarsrum mixers will need 6 minutes while other mixers may need 12 or more minutes) until the dough is smooth and slightly tacky.
  4. Oil dough, place in bowl and cover with plastic wrap or lid. Refrigerate over night or 8-12 hours.
  5. About 1-2 hours before you are ready to make muffins, take dough out of fridge and let come to room temperature. This step can be skipped, if you don’t have time.
  6. Portion dough out for muffins (1.7-2.3 ounces, depending on size preference) and shape into flat rounds.
  7. Warm cast iron skillet on stovetop to a low or medium low setting.
  8. Rest muffins on a cookie pan coated with course ground semolina.
  9. Cook muffins in pan about 5 minutes each side until dark brown. Internal temperature should be 190 degrees. If the muffins brown before being done, they can be finished in a 350 degree oven for 10 minutes on a baking sheet.
  10. Split using a fork. Extra muffins freeze perfectly and are perfect for toasting for breakfast.
3.5.3251


Filed Under: recipes Tagged With: english muffins, muffins, sourdough, whole wheat

Sourdough Beer Pizza Crust

April 18, 2015 by andrea 4 Comments

Sourdough Beer Pizza Crust

Sourdough Beer Pizza Crust

Pizza is one of the best yeast breads for beginning bread maker. Since pizza crusts can be thin, thick, crispy or chewy, there is a lot of error in making pizza dough. So, if you’re just starting out with yeast breads, pizza is a good place to start.

This recipe calls for durum wheat flour. If you’ve never tried durum or semolina flour, it has a courser texture than most flours. It will give your crust a little extra bite or chewiness.  But don’t skip this recipe just because  you don’t have durum flour, substitute it with whole wheat flour and you’ll still end up with a great pizza crust.

This recipe is a little unique by callinpizza ingredientsg for beer as the liquid. But here’s the thing, you can’t really taste the beer in the final pizza crust. So use the cheap beer in the recipe and save the good stuff for drinking. That being said, I do try to use the good olive oil when I’m baking.


Sourdough Beer Pizza Crust
Recipe Type: bread
Author: Andrea
Prep time: 10 mins
Cook time: 12 mins
Total time: 22 mins
Serves: 2-4 pizzas
If you don’t have durum wheat flour, just substitute it with whole wheat flour.
Ingredients
  • 1 cup sourdough starter, fed or unfed
  • 1 1/2 cups of room temperature beer
  • 2 t instant yeast
  • 1 t baking powder
  • 1 1/2 t salt
  • 2 T olive oil
  • 2 1/2 cups (11 oz) of whole wheat flour, I use freshly milled flour
  • 1 1/2 cups (6.7 oz) of durum wheat flour, I use freshly milled flour
Instructions
  1. Combine the sourdough starter and beer in the bowl of a stand mixer or mixing bowl. Stir until starter is dissolved.
  2. Add yeast, baking powder, salt and olive oil to the beer mixture.
  3. Add flours to remaining ingredients to make a slightly sticky dough. Adjust the flour or add water to make a nice, sticky consistency.
  4. Knead dough until it is smooth, but still a little sticky. Add as little extra flour during the kneading as possible so that the dough stays sticky. Using a stand mixer will help with the kneading.
  5. Let dough rest 2-4 hours on the countertop.
  6. When ready to bake, preheat oven to 450 degrees for about 30 minutes. If you have a baking stone, preheat it in the oven.
  7. Divide dough into 2 to 4 round and shape each round into a pizza. I shape mine onto parchment paper.
  8. Use a wooden peel to slide each dough one at a time onto the pizza stone. If you don’t have a pizza stone, bake the dough on a cookie sheet. Bake for 5 minutes until just crisp. Remove from the oven.
  9. Add pizza toppings to the dough and bake another 7 minutes until cheese is melted.
3.2.2929


Filed Under: recipes Tagged With: fresh flour, pizza, sourdough, whole wheat

Posts

  • Clatter in the Kitchen
  • recipes
  • Uncategorized

Recent Comments

  • Pam on (Sourdough Optional) Carrot Muffins
  • andrea on Cinnamon Rolls – Tangzhong method
  • Helen Lazzaro on Cinnamon Rolls – Tangzhong method
  • andrea on Hot Cross Buns
  • Susan Toth on Hot Cross Buns
  • Facebook

Copyright © 2023 · Foodie Child Theme by Shay Bocks · Built on the Genesis Framework · Powered by WordPress