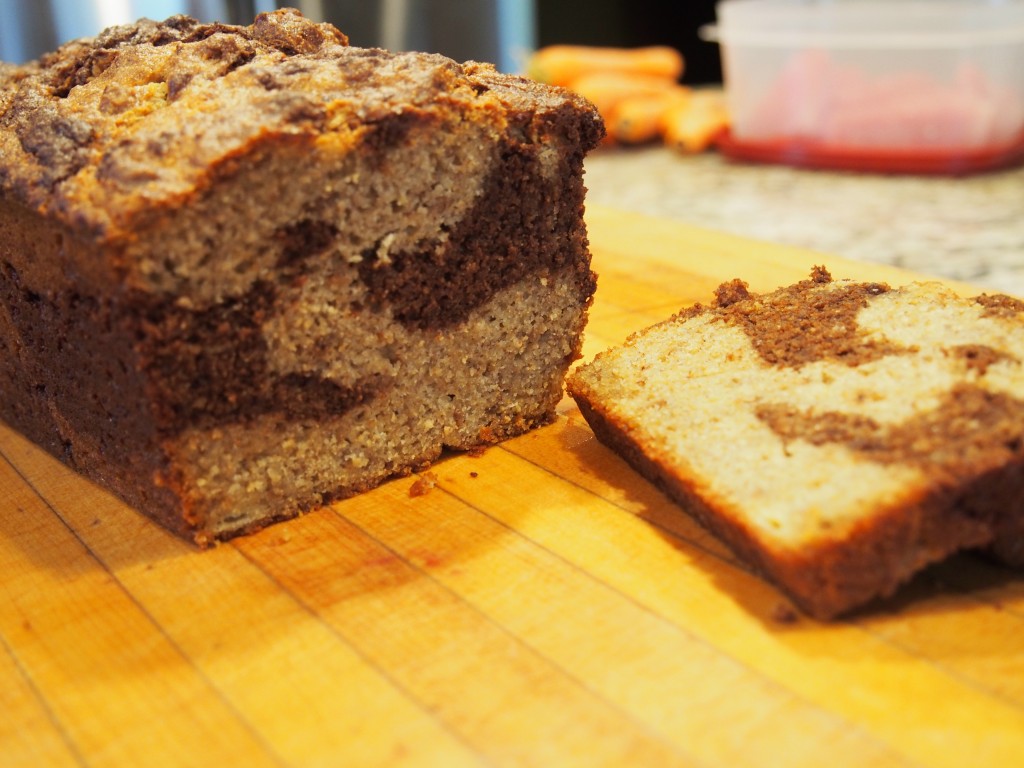
Check out that chocolate swirl!
Banana bread is almost a staple in our household. When I married my husband, he came with a banana bread recipe. For years, I’d worry that he’d notice if I’d messed with her recipe. But I have slowly managed the transition to my own recipe. Some of the changes have included switching up to whole wheat flour, reducing the sugar, and adding a little yogurt. But none of those changes compare to the most recent upgrade – adding peanut butter. I was messing around making homemade peanut butter (more about that later) and happened to look over at the brown bananas in the bowl. Suddenly banana bread and peanut butter had merged in my brain. The rest is history.
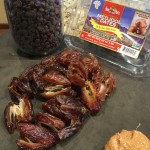
First, a bit on the bananas. You probably already know you want the brown ones. They are sweeter, have more flavor and mash better. But did you know you can peel and freeze the brown ones and then your banana bread making never needs to be controlled by the bananas again! Just pull out the bananas and give them 5 or 10 minutes to thaw before mashing. And I just use a potato masher to squash the bananas.
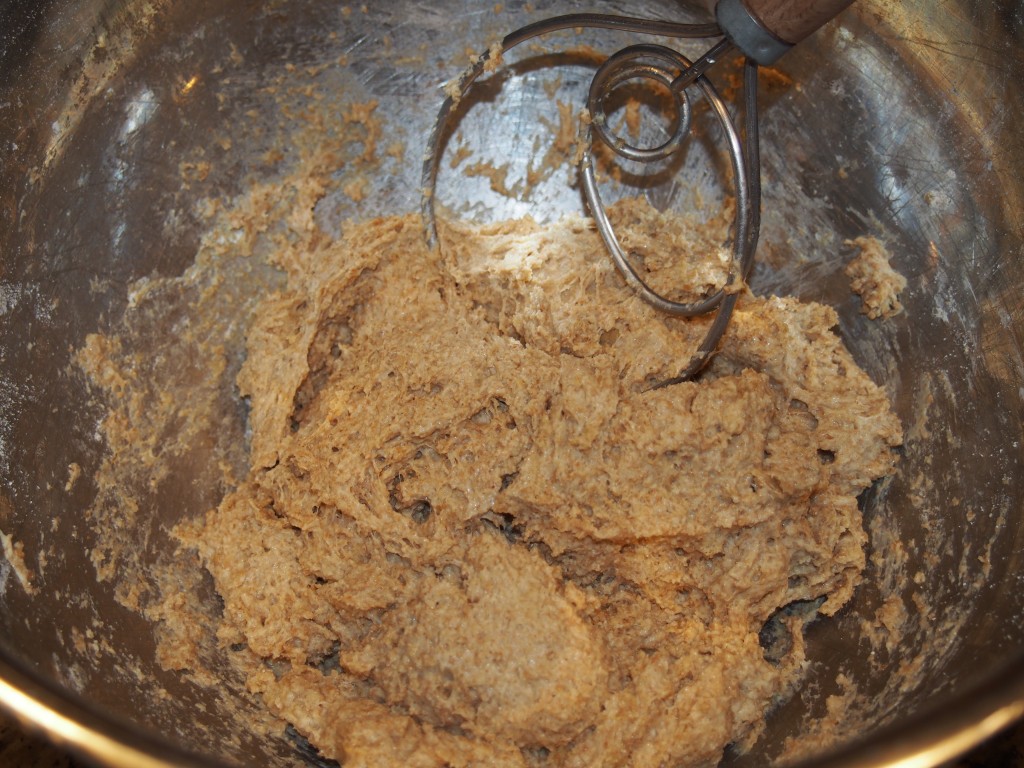
As a matter of fact, I usually make this recipe in a bowl and combine it with a wooden spoon, dough hook or rubber spatula – honestly, whatever is closer. The trick being not to over mix once you add the dry ingredients to the wet.
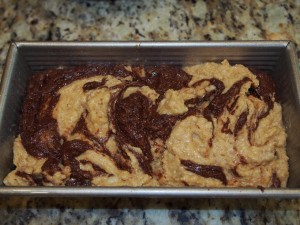
Making the swirls
The chocolate swirl often seems like a lot of extra work to me. While it does put this bread up a notch, you can skip it and just fold the chocolate chips into the finished batter. Not as dramatic, but it does save time and a couple dirty dishes. And it still tastes great. Along that line, you can also leave the chocolate out completely. I’m not recommending it – but it is theoretically possible.
To make the swirls, spoon the two batters into the bowl in layers. Try to distribute the chocolate batter around the pan and once the batter is all in, use a knife to cut a wave pattern into the batter from one end of the pan to the other. Don’t make it too complicated – it will turn out great no matter how you do it.
And while we are talking about pans – use a larger 9×5 pan for this recipe. And remember to oil the pan. Even in my super non-stick awesome pan, the chocolate parts seemed to stick differently than the non-chocolate and it can make for a messy looking bread.
I hope you enjoy! Let me know how it turns out!
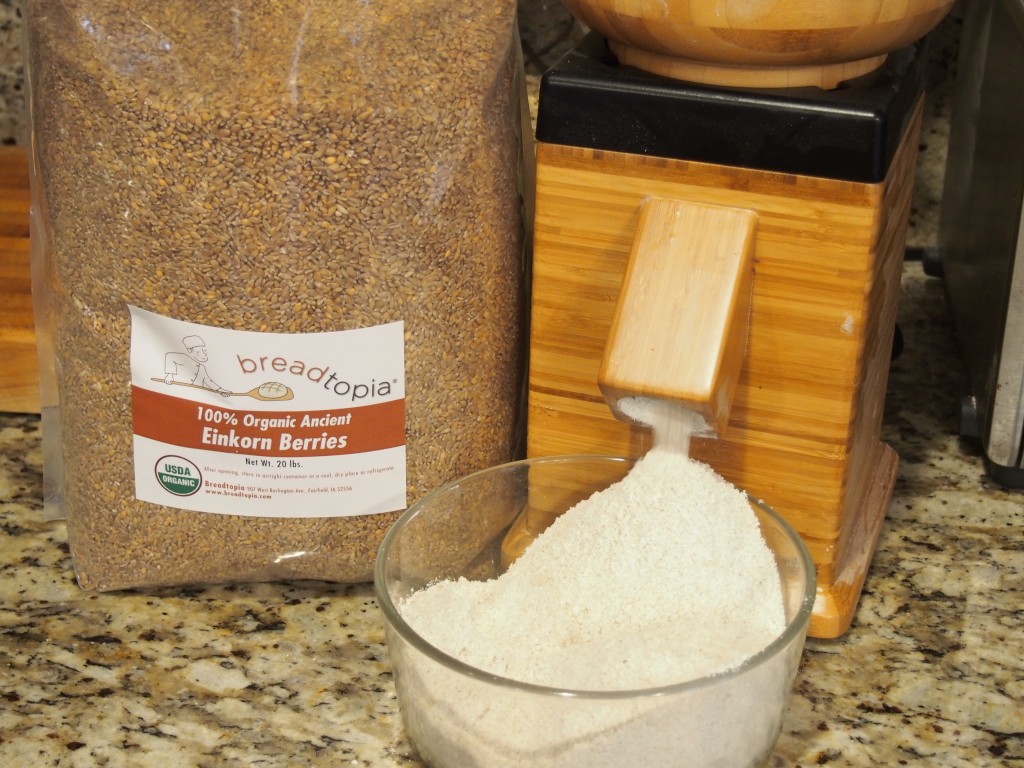
- 2 cups of flour – I use freshly ground whole wheat flour for the best taste and nutrition
- 3/4 t baking soda
- 1/2 t fine sea salt (if using salted butter, reduce to 1/4 t)
- 3 ripe bananas
- 1/4 cup (2 oz) of coconut oil or butter, softened
- 1/2 cup of sugar
- 1/2 cup of peanut butter
- 2 eggs
- 1/2 cup of plain yogurt
- 1/2 cup of chocolate chips
- Preheat oven to 350 and grease a 9×5 bread pan.
- Combine flour, baking soda and salt in a small bowl. Whisk to combine.
- Peel bananas and mash in a large bowl – I use a potato masher for this!
- Add oil, sugar, peanut butter, eggs, and yogurt to the bananas and whisk to combine. You may still have banana lumps in the batter – that’s fine.
- Add the dry ingredients to the wet and stir until flour is moistened. Don’t over mix.
- Melt the chocolate chips in a small bowl. I heat at high in the microwave for 30 seconds and stir. Add another 30 seconds in microwave and stir until the chips are melted. Let the chips cool for a couple minutes.
- Add one cup of the bread batter to the chocolate chips and stir until combined.
- Alternately spoon the batters into the prepared bread pan. Swirl with a knife.
- Bake for 75 minutes in preheated 350 degree oven, until a toothpick inserted in the center comes out clean. Depending on your oven, you may need to add 10 minutes (or even subtract 10 minutes). If your bread starts getting too brown towards the end of baking, cover with tin foil for the last part of the baking time.
- Let bread cool in pan for 10 minutes before turning out onto wire rack to cool completely.
- We wrap our uneaten bread in tin foil and store in the fridge. I hear it will keep days like this, but ours never lasts that long!


 This waffle is our family favorite and I’m not quite sure what has taken me so long to post it here. It’s probably that I don’t have any good photos of the waffles. But I’m trying to move beyond my meager photographic skills and still share this recipe.