I feel I should start this recipe description with a warning – these crackers are addictive! Now we can move on.
Crackers are one of the few foods that we still buy in packaged form. The man loves Wheat Thins and even though I rarely buy them for him, I will occasionally find boxes in the pantry after I’ve sent him to the store for other things. And to be honest, Wheat Thins are not all that bad as far as processed foods go – there are not many ingredients and I can pronounce all of them.
But I have this desire to be able to bake things myself instead of having to buy them. If you need a box of crackers at the last minute, it often seems like it should be easier and quicker to whip some up instead of heading out to the store. And crackers really don’t seem like they should be that hard. And they aren’t – but I have had a difficult time finding a good recipe. I’ve tried several different recipes over the last year or so and I basically gave up looking because nothing was as good, quick or easy as the boxed ones. But I was recently inspired to try some new recipes and this time I’m pretty sure I hit the cracker jack pot.
The recipe itself is super simple – basic ingredients that you’ll probably have on hand.
You can play with the flours you use in these crackers
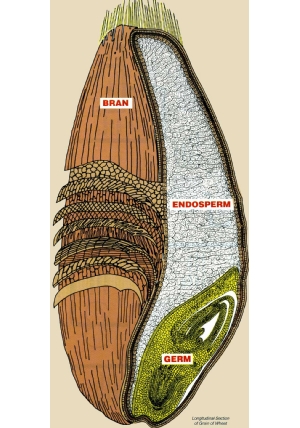
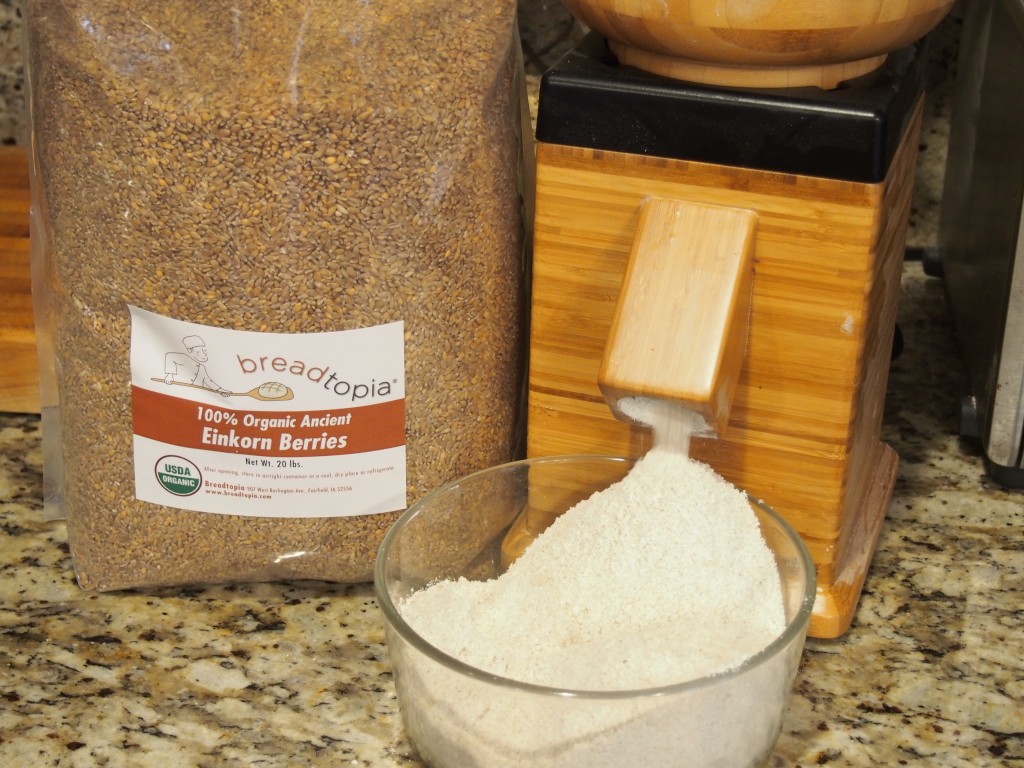
If you know me, then you can probably guess that I’ve been making these crackers with freshly ground whole grain wheat flour. I’ve been playing with different heritage wheat varieties such as Einkorn, and I’ve also played with subbing some buckwheat flour for the wheat flour. The buckwheat made the crackers a little chewier that the all wheat version. If you aren’t milling your own flour and don’t have any on hand, this recipe will also work with a good store bought whole wheat or white flour.
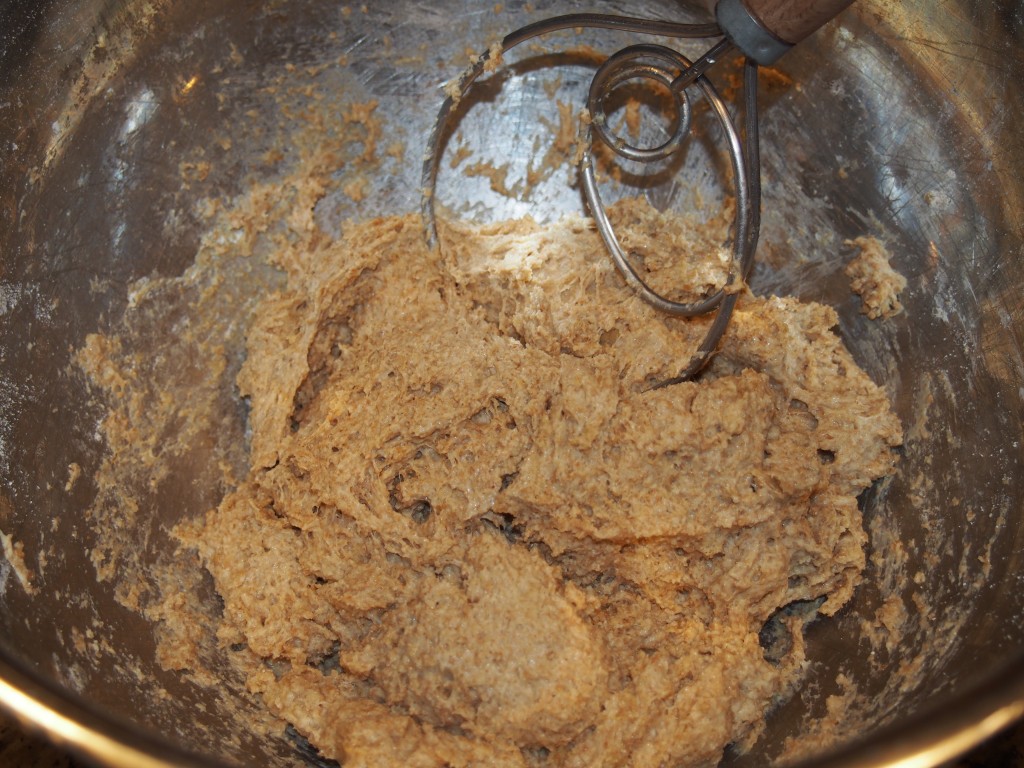
Your dough should be sticky.
When you mix up the dough, it should be sticky. Just be generous in flouring your dough as you roll it out.
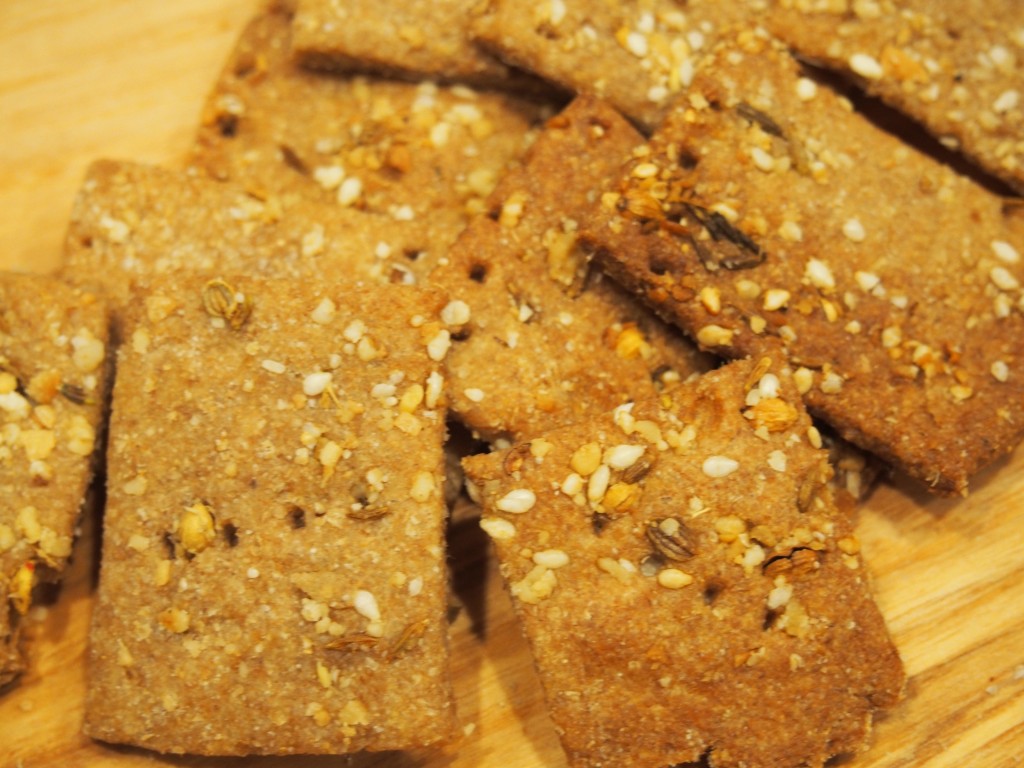
I like a few seeds on my crackers. For my favorite seed mix, I combine equal amounts of caraway seeds, garlic powder, onion powder, poppy seeds, and sesame seeds in a little jar and then sprinkle away. This mix is one I use on bagels and dinner rolls. You could really use any seed, herb or finely ground nuts as the topping – have fun with it. To get the seeds to stick, I rolled the dough out just a tiny bit thicker than I want it at the end. Then I sprinkle the seeds on and finish rolling the dough out. This way you won’t have seeds everywhere in your kitchen except where you want them.
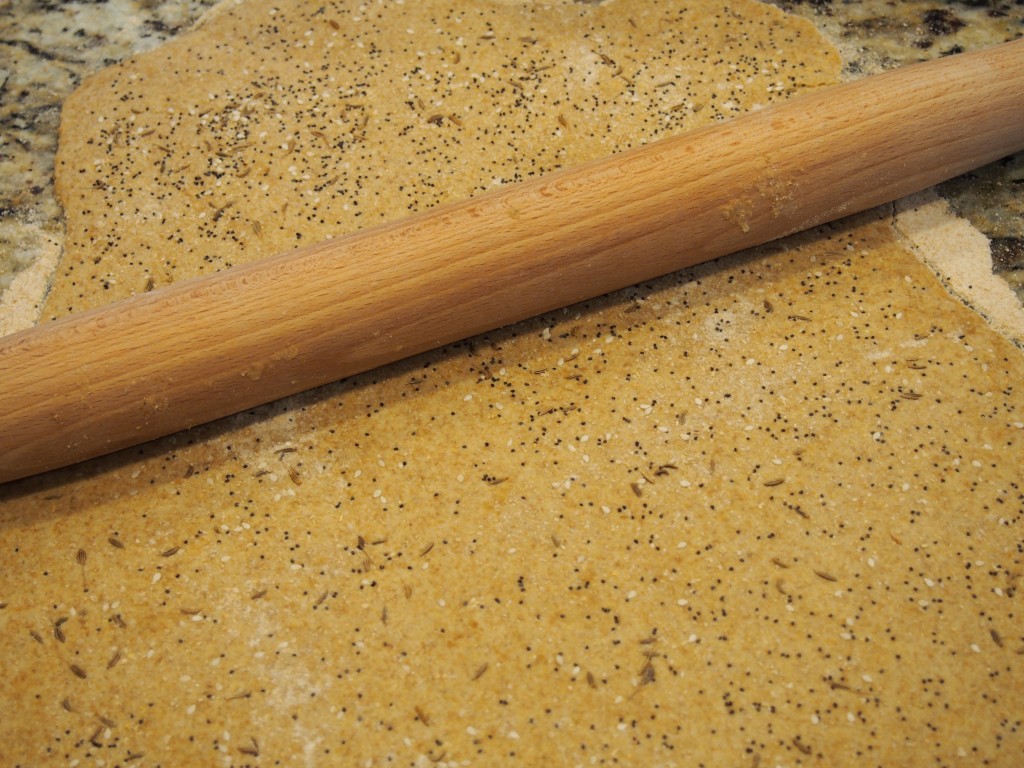
Using your rolling pin, lightly roll the seeds onto the crackers.
- 3 cups of whole grain wheat flour
- 2 t sugar
- 2 t salt
- 4 T olive oil
- 1 cup water
- topping, optional
- Preheat oven to 450 and place the rack in the lower 1/3 of the oven.
- Combine flour, sugar and salt in a large bowl.
- Stir oil and water into dry ingredients. The dough will be soft and slightly sticky.
- Divide the dough into halves. Cover one half with a clean towel.
- Pat the other half into a rectangle and place onto a floured surface.
- Roll the dough out into a rectangle about 1/8″ thickness or thinner. Add flour as necessary to control stickiness.
- Sprinkle the topping evenly over the dough and gently roll the topping into the dough.
- Using a sharp knife or a pizza cutter, cut the dough into 1-inch x 2-inch crackers – or whatever shape you fancy.
- Poke each cracker with a fork and line up onto an oiled cookie sheet. Place the crackers as close as possible, they won’t spread.
- Bake 12-15 minutes, one sheet at a time. Check at 12 minutes for desired doneness. If some crackers bake quicker than others (because they are thinner or in the center of the pan) you can pull them off and bake the remainder a few minutes longer.
- Repeat with remaining dough.