Crackers for Lent and Other Times
We are heading into lent while under coronavirus lockdown. My church (yes, Raechel – you represent the ENTIRE church) has asked me to teach the congregation how to make their own bread for our virtual Maundy Thursday service. Somewhere there is a very strange video of me making these crackers – I hope everyone who sees it gets a good laugh. It seemed like crackers would be a natural fit – they are quick, relatively easy, and taste great.
Homemade crackers are a special sort of thing in our house – they honestly don’t happen very often. Under normal circumstances, we totally support whoever makes Triskets and Wheat Things. But we aren’t under normal circumstances, and these crackers are kind of nice to make when you have a little extra time and want something special. If you are making them for this Thursday’s service, I hope you find some extra love in your heart knowing that a few other people may be doing the same thing.
Some Cracker Tips
- Make them your own – these crackers are not meant to be perfect. If you don’t have an ingredient – substitute and use whatever you have around the kitchen. No olive oil? Melted butter or canola oil will be fine. No rolling pin? Use a wine bottle, you get the idea.
- You can use any kind of flour you have around. Whole wheat flour works great. Throw a couple tablespoons of rye in there if you have it.
- I’ll even attempt to give a gluten free alternative: substitute the white flour with a gluten free flour mix – if you have xanthin gum around, add 1/2 t if it isn’t already in your flour mix. Instead of kneading the dough, you’ll add just enough water to pat the dough into a ball with your hands. You probably won’t be able to knead your dough. And you may need to roll your dough between parchment paper.
- Don’t be intimidated by kneading the bread dough. If you have never kneaded dough before, all you have to do is gather the dough into a ball, take the end of the ball that is farther from you, pull it over the dough, and gently push with the heel of your hand, then give the ball a quarter of a turn and repeat. In this recipe, the point of the kneading is simply to give the dough a better elasticity and cohesiveness. If you are still nervous about kneading, check out this video.
- I wrote this recipe based on doing the mixing and kneading by hand. This works well for this dough, but if you have a mixer or food processor, you can adapt the recipe to your tools.
- You may find that your dough shrinks back when you roll it out. In this case, the gluten needs to relax a bit – so let the dough rest a few minutes longer.
- If you wonder if your dough is rolled thin enough, then it probably isn’t thin enough. If you have a few holes from being rolled too thin, that’s okay. Think of these crackers as rustic.
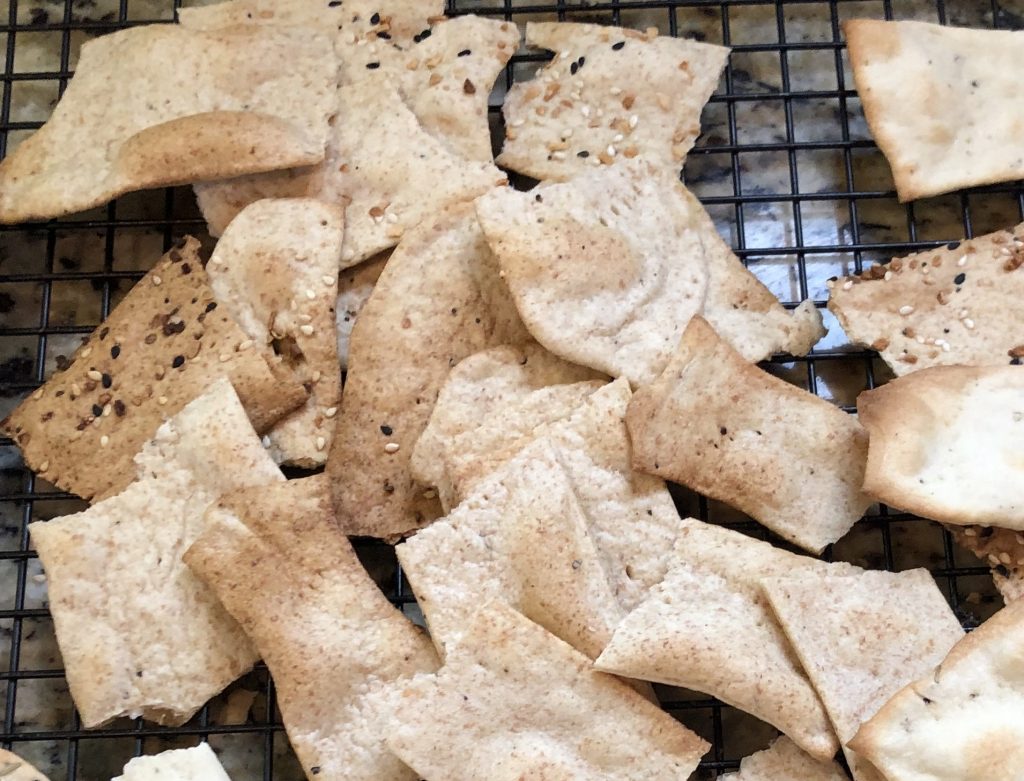
- I like to cut the dough into long strips before I bake it. The strips can be as thin or thick as you like. The strips allow the centers to get crispy without the edges getting too brown. I also like how the crackers break from the strips, they have a little consistency of width, but still have some rough edges. However, if you don’t want to cut the dough, you can cook the rolled dough in one big piece and see what you think. On the other end of the spectrum, if you want more consistently shaped and browned crackers, you can cut them all into even squares – just be aware that moving the crackers from the cutting board to the baking sheet can be time consuming. The easiest way to do this is by rolling and cutting the crackers on parchment and then moving the parchment and crackers to the baking tray in one big motion.
- Finally, for the sourdough lovers out there, use 200 grams of sourdough starter (unfed is fine), and reduce your flour down to about 1 cup plus 2 T (132 grams). I’m assuming your starter is at 100% hydration, meaning for every gram of flour you feed it one gram of water. I suppose that making these with sourdough starter technically no longer makes these flatbread crackers. You can keep this in mind, if you are really looking for unleavened bread for lent.
- 1 1/2 cup flour (use your favorite – I like 1 cup of white, 1/2 cup of whole wheat, but add in 2 T of rye for fun)
- 2 t fresh herbs or 1/2 t dried herbs (rosemary, thyme, herbs de Provence)
- 1/2 – 1 t coarsely ground black pepper
- 1-3 t seeds (optional – sesame seeds, poppy seeds, sunflower seeds)
- 1/2 c, finely shredded Parmesan (optional)
- 3/4 t fine salt
- 1 t sugar
- 2 T olive oil
- 1/2 c cold water
- Optional Toppings
- sesame seeds
- poppy seeds
- garlic flakes
- course sea salt
- seed mix (such as Everything Bagel seasoning)
- Preheat the oven to 450 degrees
- Combine the flour, herbs, black pepper, seeds, cheese (if using) salt, and sugar in a large bowl. Stir with a spoon to combine.
- Add oil to bowl and stir.
- Add all but 2 T of water to bowl to combine. Add remaining water 1 T at a time until the dough just forms a shaggy ball.
- Turn the dough out onto a floured surface and knead for 2-4 minutes until it is smooth. Add flour just so the dough doesn’t stick to your hands.
- Let the dough rest, covered with a towel, on the counter or in the bowl for 10 minutes.
- Divide the dough into 4 smaller balls.
- One at a time, roll each ball as thin as possible. If the dough shrinks back as you roll it, then allow to rest a few more minutes before continuing to roll it out.
- If you are adding a topping, sprinkle the topping on the dough and use the rolling pin to lightly roll the topping in place.
- Using a fork, poke the dough all over to prevent large air bubbles from forming.
- Cut the dough into 3-4 strips, place strips onto a baking sheet, and bake for 4 minutes. At four minutes, check the crackers, you can turn the strips over at this point to help them crisp or just leave them to cook on the first side. Either way, check every 2 minutes until they are crispy and lightly browned.
- When the cracker strips are crisp and slightly golden on the edges, remove from oven and allow to cool on a rack.
- Repeat rolling and baking process with remaining dough.
- Snap into smaller pieces.


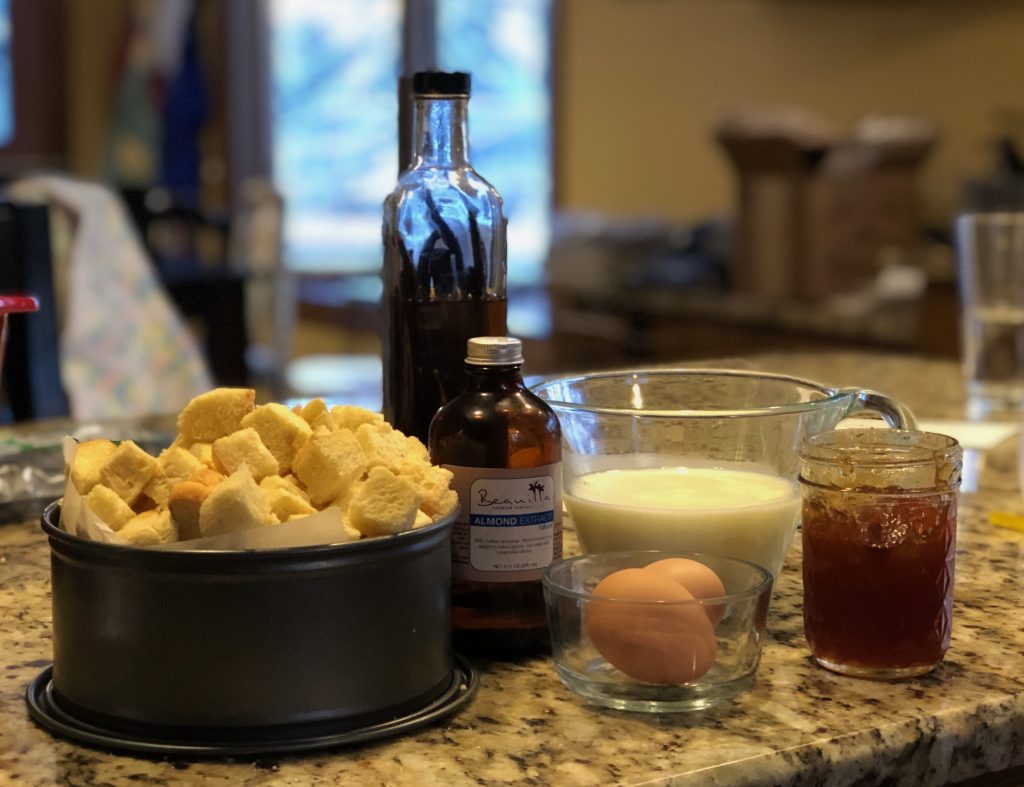
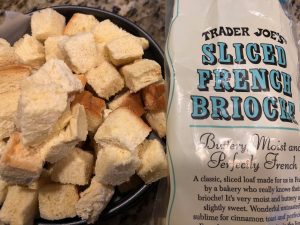 honeymoon. It’s been twenty years, and I still make that recipe and remember the bed and breakfast we stayed at in New England. I don’t make the recipe too often, however, because croissants aren’t a standard on my shopping list. This version of the recipe uses brioche bread, which I’ve found at Trader Joe’s. I cut the slices into cubes and then freeze whatever I don’t use in the bread bag for the next time. One loaf makes about three of this recipe.