My Kitchen Clatter

Real Food - Real Life

  • About Me
  • Classes
    • Upcoming Classes
    • Baking Classes
    • Pressure Cooking Classes
    • Fermentation Classes
    • Canning Classes
    • Kombucha Classes
  • Equipment
    • Nutrimill Plus Grain Mill
    • Nutrimill Classic Grain Mill
    • Nutrimill Harvest Grain Mill
    • Mockmill Grain Mill Attachment for Kitchenaid Mixer
    • Bosch Universal Mixer
    • Ankarsrum Original Assistant
    • Nutrimill Artiste Kitchen Stand Mixer
    • Filter Pro Dehydrator
  • Grains & Supplies
  • Recipes
  • Clatter in the Kitchen

Homemade Yogurt

April 6, 2022 by andrea Leave a Comment

After many years of making our yogurt, I feel like I’m finally ready to put down all my tips into writing. To start with, we are going to focus on dairy based yogurt. If you want to make non-dairy yogurt, you’ll need to go elsewhere.

Once you’ve got a good batch of yogurt, you’ll want to top it with granola or müesli. I also love using it in smoothies and overnight oats. You can also add yogurt into your favorite waffle or pancake recipe. And if you get a nice tangy batch of yogurt, it makes a great substitute for sour cream.

Why make your own yogurt?

As with many things, I started making our yogurt because it saves money. Basically, your only cost is the milk. It does take some time to make yogurt, but it is really mostly a matter of timing and planning. Most of the process is hands off and waiting.

I also love that I know the ingredients in my yogurt. My yogurt has lots of good bacteria and probiotics in it, which is not always the case with store yogurt – but more about that later.

The basic process of yogurt making

My basic process of making yogurt involves the following steps:

  • Start with milk and a bit of yogurt as starter.
  • Slowly heat the milk up to 180 F and maintain for 2 minutes.
  • Cool the milk back down to 110 F.
  • Add the yogurt starter into the warm milk and allow the whole pot to rest in a warm spot for 12-24 hours.
  • Chill the yogurt for at least 4 hours before eating.

That’s it in a nutshell.

You may find recipes that don’t call for the heating process, but I find that my final yogurt is thicker and creamier with the heating method. Heating the milk is a method of pasteurizing the milk to kill any bacteria that may compete with the yogurt bacteria. It will allow the whey proteins to denature and coagulate to enhance the viscosity and texture of the final yogurt. Some recipes will also tell you to maintain the 180 F temp for 10-20 minutes for a thicker yogurt. I don’t personally find that extra heating time is necessary.

The 110 F temperature is important because it’s the ideal temp for the yogurt fermentation to take place. If you accidentally cool down the milk lower than 110 F, just allow it to ferment a bit longer to account for the time it takes for the mixture to come back up to 110 F once it’s in your yogurt maker (or other warm spot)

How long you ferment the yogurt is your decision. Some people do as short as 8 hours, but I find yogurt at a longer fermentation is a bit thicker and has a nicer tanginess to it.

Do I need a yogurt maker?

In short – no. A yogurt maker or a yogurt setting on your electric pressure cooker is just a way to control the temperature to set at 110 F. I had a $20 yogurt maker that worked for me for over 10 years. But if you are just getting into this, or if you don’t want to go out and buy a new one-use appliance (I don’t blame you), try the following first:

  • Check your electric pressure cooker and see if it has a yogurt setting. Most do now and they are wonderful. Use this if you have it.

No yogurt setting or maker? Then wrap your warm pot of milk and yogurt starter in a towel and set it into a larger cooler or the oven with a light on for the fermentation period. You can use an instant read thermometer to track the air temperature in the oven or cooler, if you really want to be accurate, but this works without that extra work. Alternatively, you can set the towel wrapped pot in a warm spot – such as on the top of your refrigerator – and go from there. You can even set the pot on a heating pad to help it keep warm. Once you’ve picked your spot, check the yogurt at about 8-12 hours to make sure it is thickened and doing its thing.

Do I need an instant read thermometer?

No, you don’t. Just like the yogurt setting on your instant pot, a good thermometer can make the difference between good and great yogurt, but it is not entirely necessary. I currently use an instant read thermometer with a clip that stays in my milk while it heats and cools. It has the added feature of an alarm that goes off at 180 F so I don’t scorch my milk.

Before I got my current thermometer, I used a candy thermometer for many years. So anything you have handy should work. No thermometer at all? Follow the temperature descriptions in the recipe and you should end up fine.

What type of milk is best?

Use the best milk you can afford. We are working with a two ingredient recipe here, so if you have access to high quality milk, this is a good place to use it.

Whole milk makes the thickest yogurt and that is what I generally use for my yogurt. If you are using a lower fat yogurt, you can thicken the yogurt by adding 1/4 cup of dry powdered milk when you stir in the yogurt starter.

What if my yogurt is too thin?

If you end up with thinner yogurt than you’d like, you can drain the whey from the yogurt and make a greek yogurt. You can drain as much or as little whey off the yogurt as you like to adjust the thickness. Just line a colander with a couple coffee filters and set over a bowl. Add the yogurt to the calendar and give it a couple hours to drain until it is as thick as you like.

What about yogurt starter?

When you are starting with your own homemade yogurt, I recommend using a plain, unflavored whole milk yogurt from your favorite grocery store as a starter. You will use about 2-4 tablespoons of that yogurt to make two quarts of homemade yogurt.

Don’t eat the rest of that container of yogurt! You just made your own homemade yogurt, right? So, save that extra yogurt to make future batches of homemade yogurt. Just fill up an ice cube tray with that yogurt and freeze. When the cubes are frozen, pop them into a ziplock bag and keep frozen until you want to make yogurt again. Use one or two cubes per new batch – pop them out into a bowl when you start to heat the milk up and they will be thawed by the time the milk cools down to 110 F.

You can also save some of your homemade yogurt in the freezer to use to make future batches. But… (now this gets interesting), this won’t work forever. Store yogurt has active cultures in it, usually about 4-5 cultures. Those are the cultures that create good flavor or make the yogurt easy to culture for mass production. But over time, those cultures get contaminated and weaken and won’t produce as tasty of a yogurt. After somewhere between 5-10 batches of yogurt where you are using the yogurt from the last batch to make the next batch, your yogurt will start tasting slightly off. At that point, the yogurt culture has become “weak” and you need to restart with a new container of yogurt from the store.

If you really get into yogurt making – or you really just love good yogurt, then you’ll want to look up heritage yogurt cultures. These are the European and Middle Eastern yogurts that people talk about when they travel. I use a Bulgarian yogurt culture that is just amazing in flavor. Heritage yogurts have a wider range of flavors and textures and can be a lot of fun to experiment with.

Homemade Yogurt – With or Without the Instant Pot

Here is my tried and true method of making homemade yogurt. I love this recipe because it saves money and contains only milk and yogurt cultures.
Print Recipe Pin Recipe
Prep Time 40 mins
Cook Time 12 hrs
Chilling Time 4 hrs
Course Breakfast, Snack
Servings 8 1 cup

Equipment

  • 1 yogurt maker or pressure cooker with a yogurt setting if you don't have a yogurt maker, see the notes below
  • 1 medium to large saucepan
  • 1 instant read thermometer a thermometer makes this easier, but if you don't have one, follow the temperature notes in the recipe.
  • 1 whisk
  • 4 2 cup mason jars optional

Ingredients
  

  • 8 cups whole dairy milk You can use lower fat milk, but whole milk gives the creamiest results. See the recipe notes for more tips on using lower fat milks.
  • 3-4 tbsp plain, whole milk yogurt 

Instructions
 

  • In a large saucepan, heat milk slowly over low heat to 180 F, or until it is steaming and at a bare simmer with bubbles around the edges, but not boiling. Stir the milk occasionally as it heats. Remove milk from heat and cool milk down to 110 F or lower. It should be warm, but not hot. If you stick your finger in the milk for 10 seconds, it should feel pleasantly warm, but not hot. 
  • Transfer 1/2 cup of the warm milk into a small bowl and whisk in yogurt until it is well combined. Add this yogurt milk mixture back to the rest of the milk and whisk to make sure it is well combined. 
  • Place milk and yogurt mixture into a yogurt maker (see notes below) and set the time for 8-24 hours, until it is thick and tangy.
  • Transfer the pot to the refrigerator and chill for at least another 4 hours. It will continue to thicken as it chills.

Notes

  • You can substitute low-fat milk – the higher milk-fat, the creamier and thicker the final yogurt. 
  • If you use skim milk, you can whisk in 1/2 cup of dry milk powder or 1 teaspoon of gelatin in step 3 to make a thicker yogurt.
  • You should heat the milk slowly – don’t rush step 1. 
  • You can cool the milk quickly in step 2, if you are in a hurry. Ways to do this include: use an ice bath, transfer the milk into into a cool bowl, stir the milk frequently.
  • The longer the yogurt sits, the tangier it will become. 
  • If you’d like to make Greek yogurt, set a calendar or sieve over a bowl and line the colander with cheesecloth or coffee filters. Take your finished yogurt (either chilled or not) and pour it into the colander. Allow to drain in the fridge for 4-6 hours until it is as thick as you like. If it gets too thick, you can whisk some of the whey back into the yogurt. Transfer the yogurt to containers. The whey can be used for smoothies, soups, lemonade, or bread baking. 
  • Your final yogurt will taste like the yogurt that you used to start this batch with, so be sure to use a yogurt you like. 
  • You can save a few tablespoons to your finished yogurt for future yogurt making. I do this by freezing some of the chilled yogurt in ice cube trays and storing in a ziplock bag in the freezer. 
  • If you find you enjoy yogurt making, you can also find heirloom starter cultures on line or at some health food stores. These starter cultures typically have a wider range of cultures in them vs. the 3-4 that you find in store-bought yogurt, so they can have a better flavor and may be considered healthier as a pro-biotic food. Follow the directions on the package to active the powdered cultures and once you have a good batch of yogurt going, you can freeze small amounts for future batches of yogurt – it’s a continuous loop of yogurt! 
Keyword breakfast, healthy, homemade, instant pot

Filed Under: Uncategorized

Spaghetti & Meatballs – Instant Pot

February 3, 2022 by andrea Leave a Comment

Spaghetti and meatballs - five ingredients!

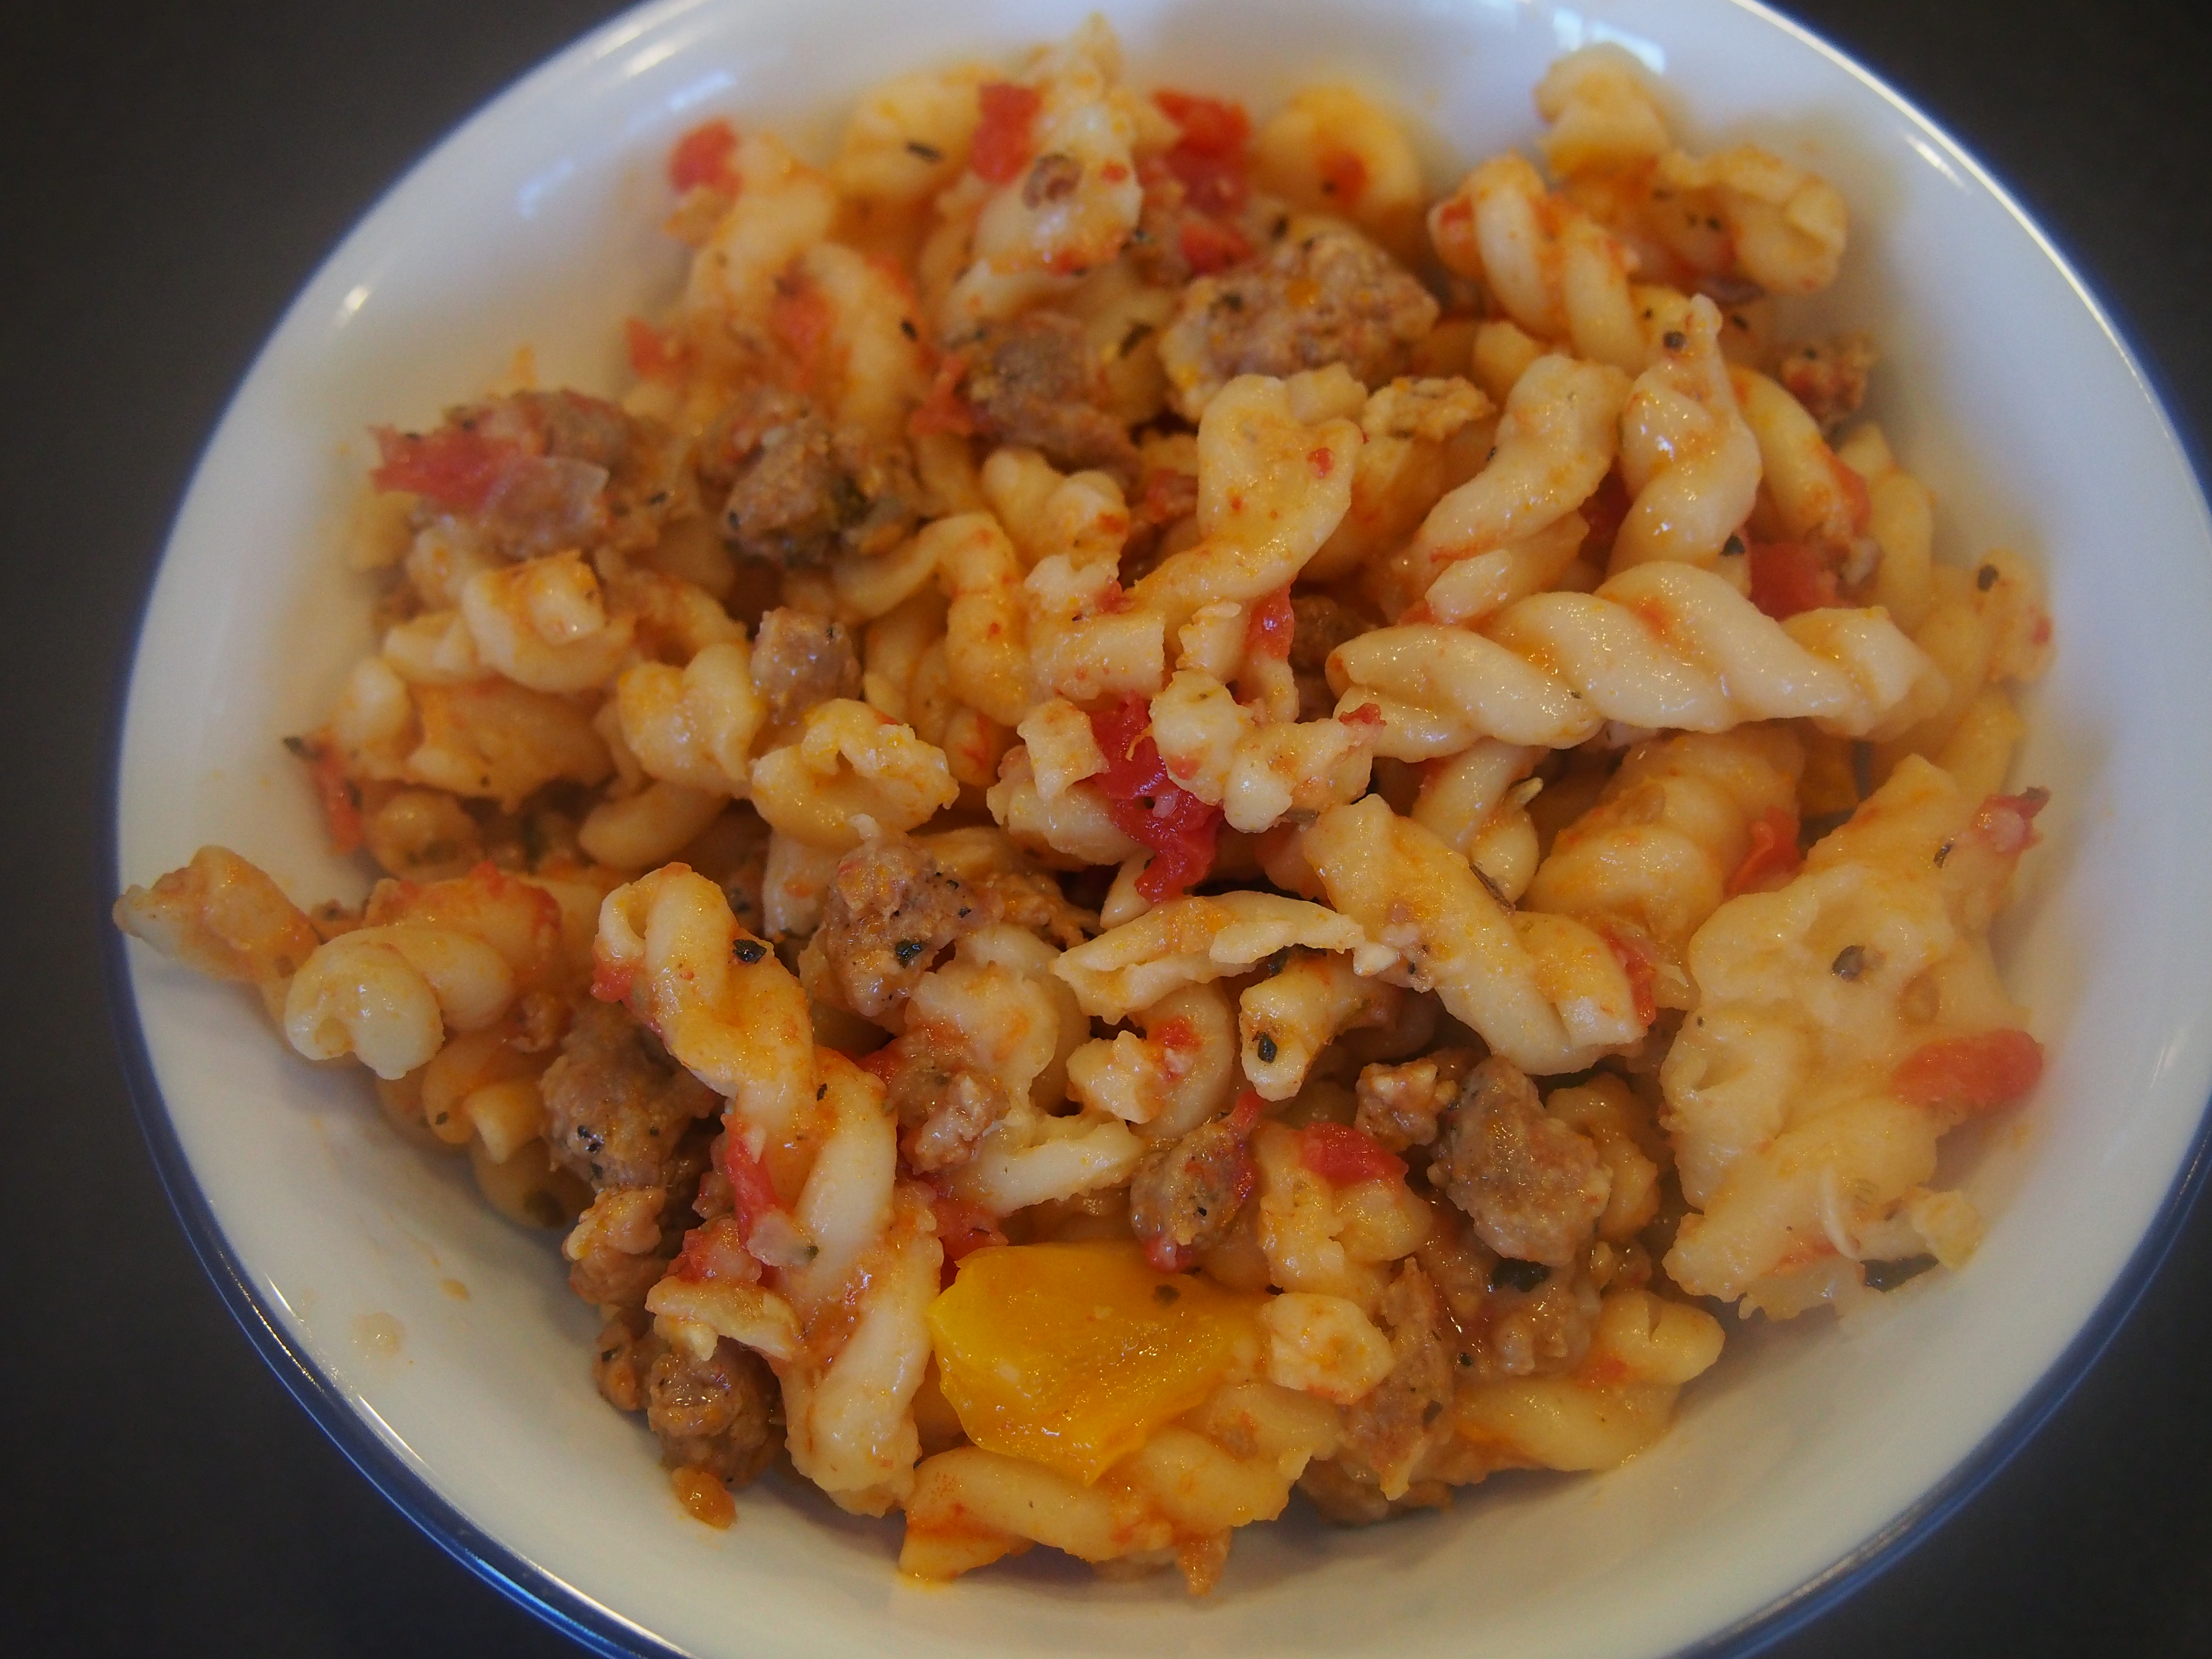
Let me introduce you to one of my absolute favorite go-to weeknight meals. I always have the ingredients for spaghetti in the pantry, but learning how to make spaghetti and meatballs in the pressure changer is so much simpler than the stovetop. I’ve had a recipe for Pasta and Meat Sauce on my site for a while, but I love incorporating the pasta into the cooking. This recipe is one that I pull out on nights where I really want to order carry-out, but I know it would be quicker to cook at home. If you’re looking for other ideas for quick week-night meals, we also love my recipes for Cheesy Chili Mac and Instant Pot Sloppy Joes.

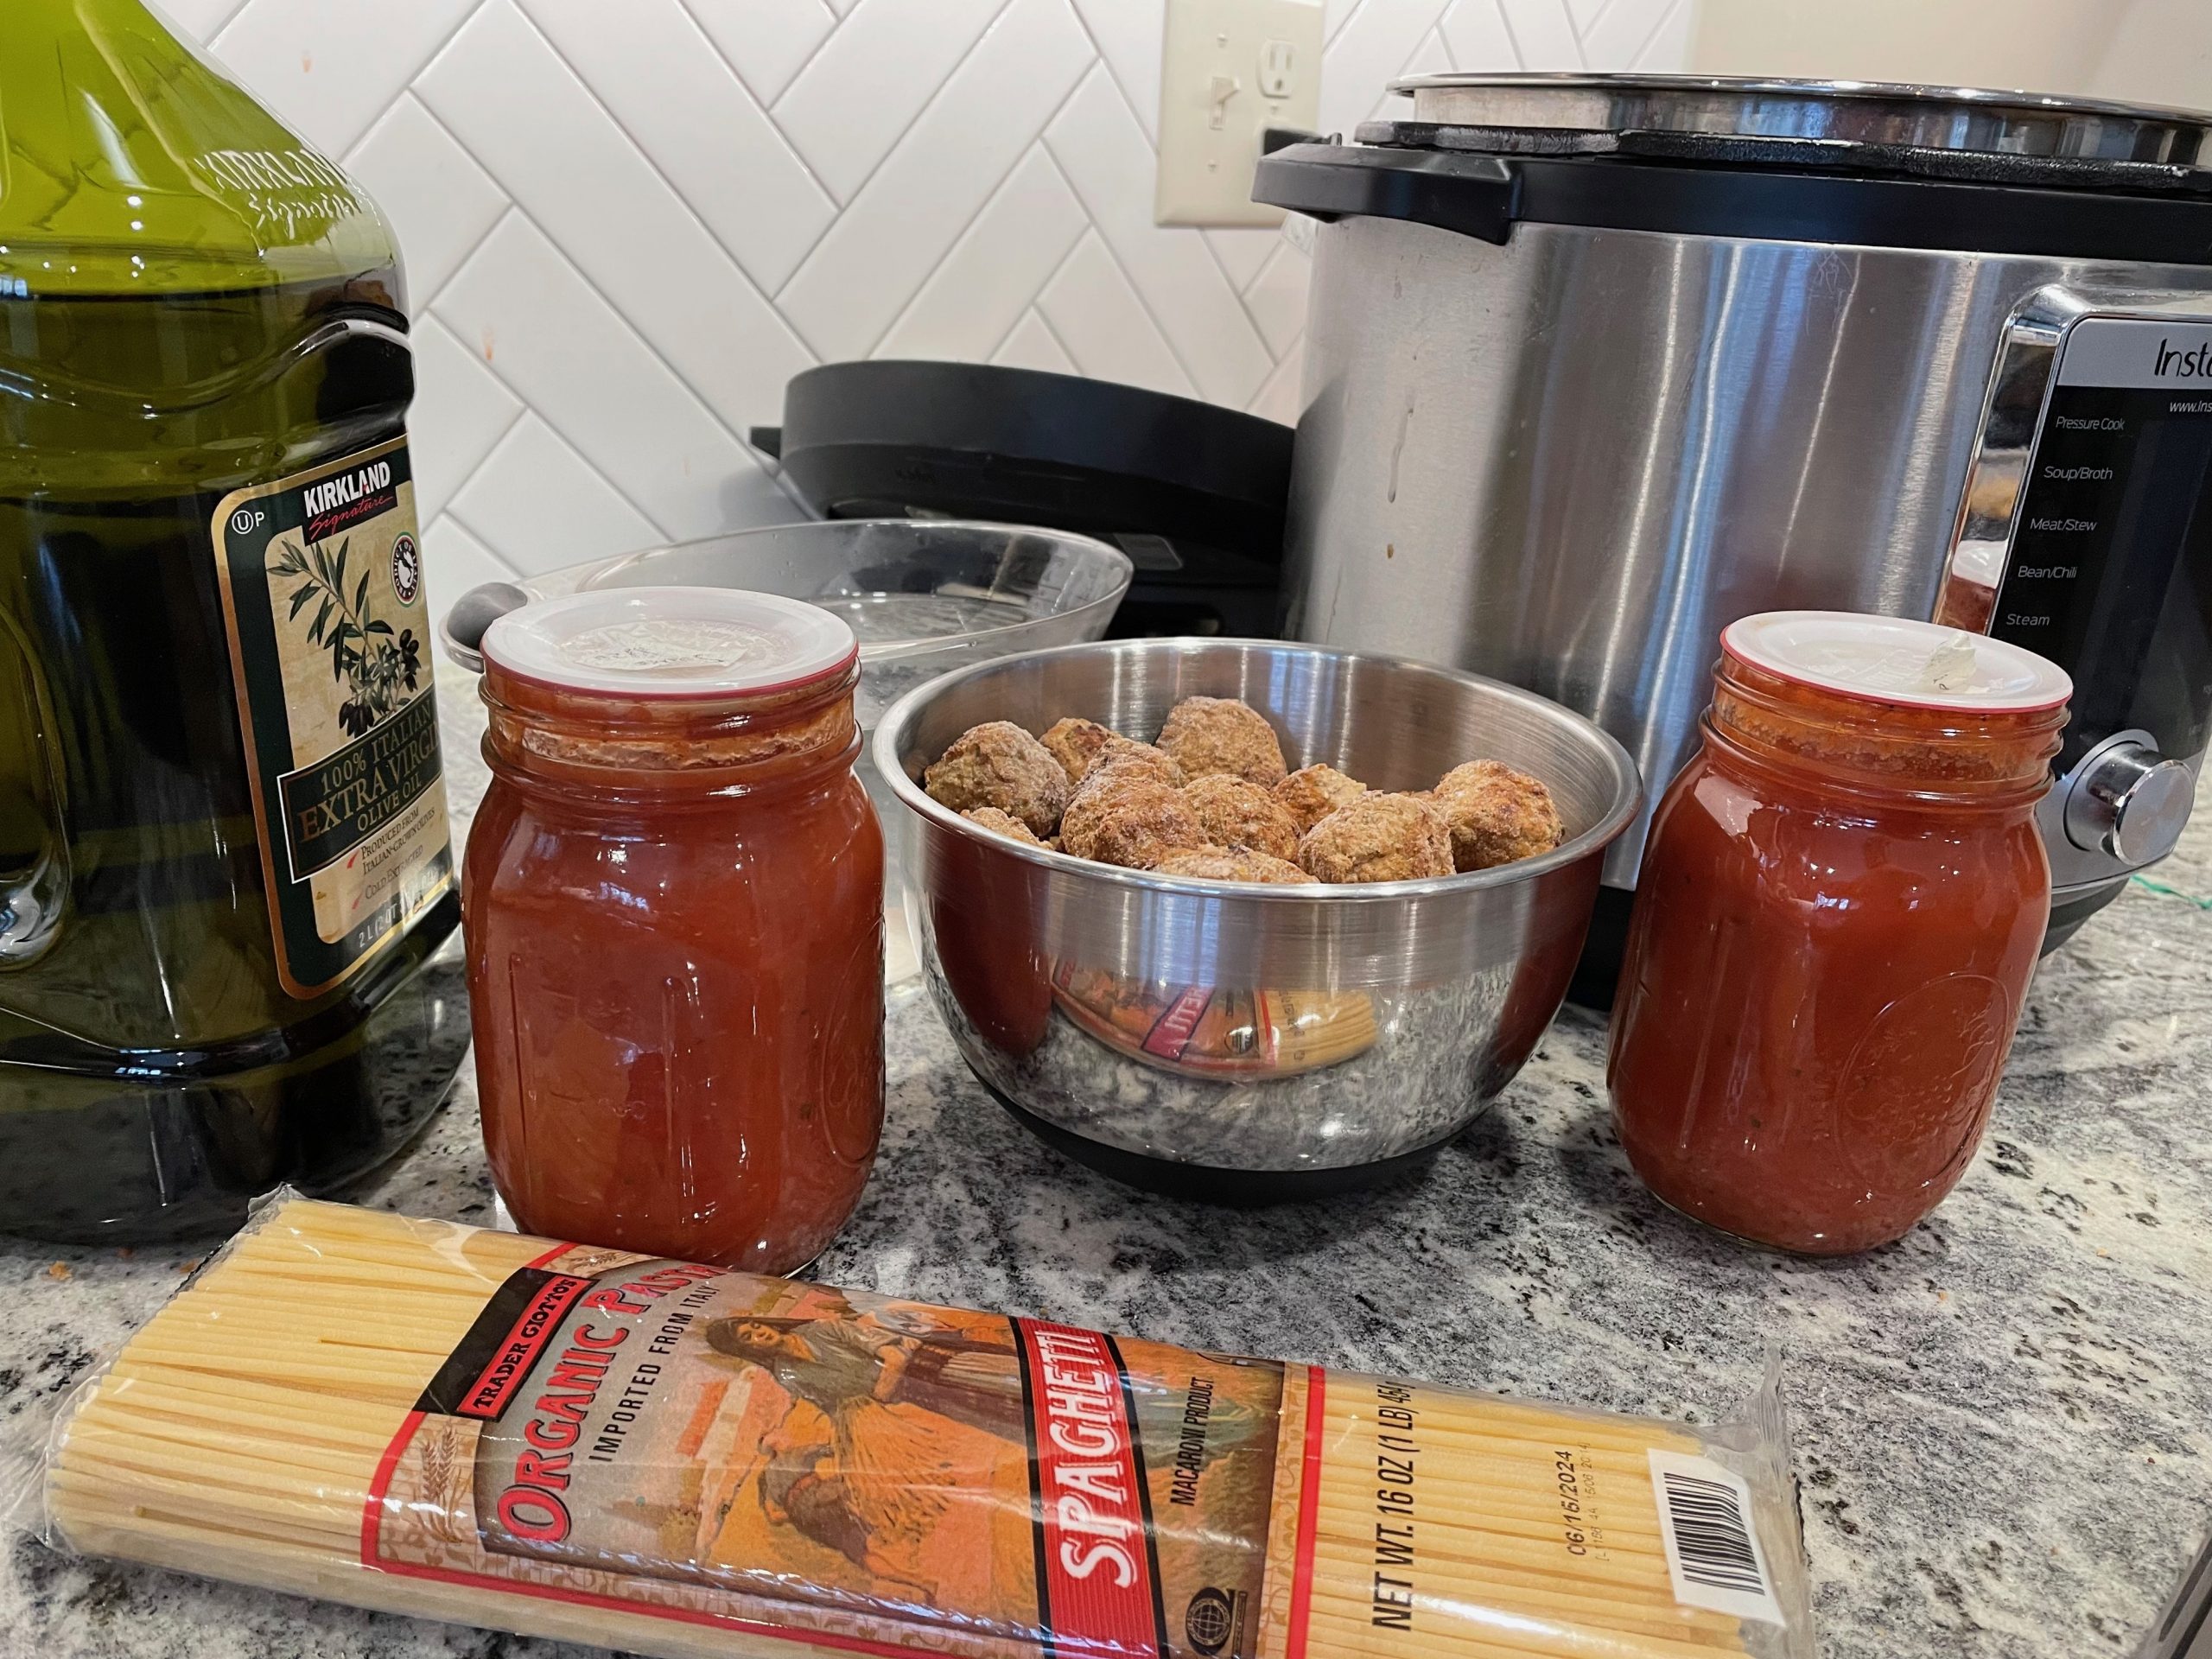
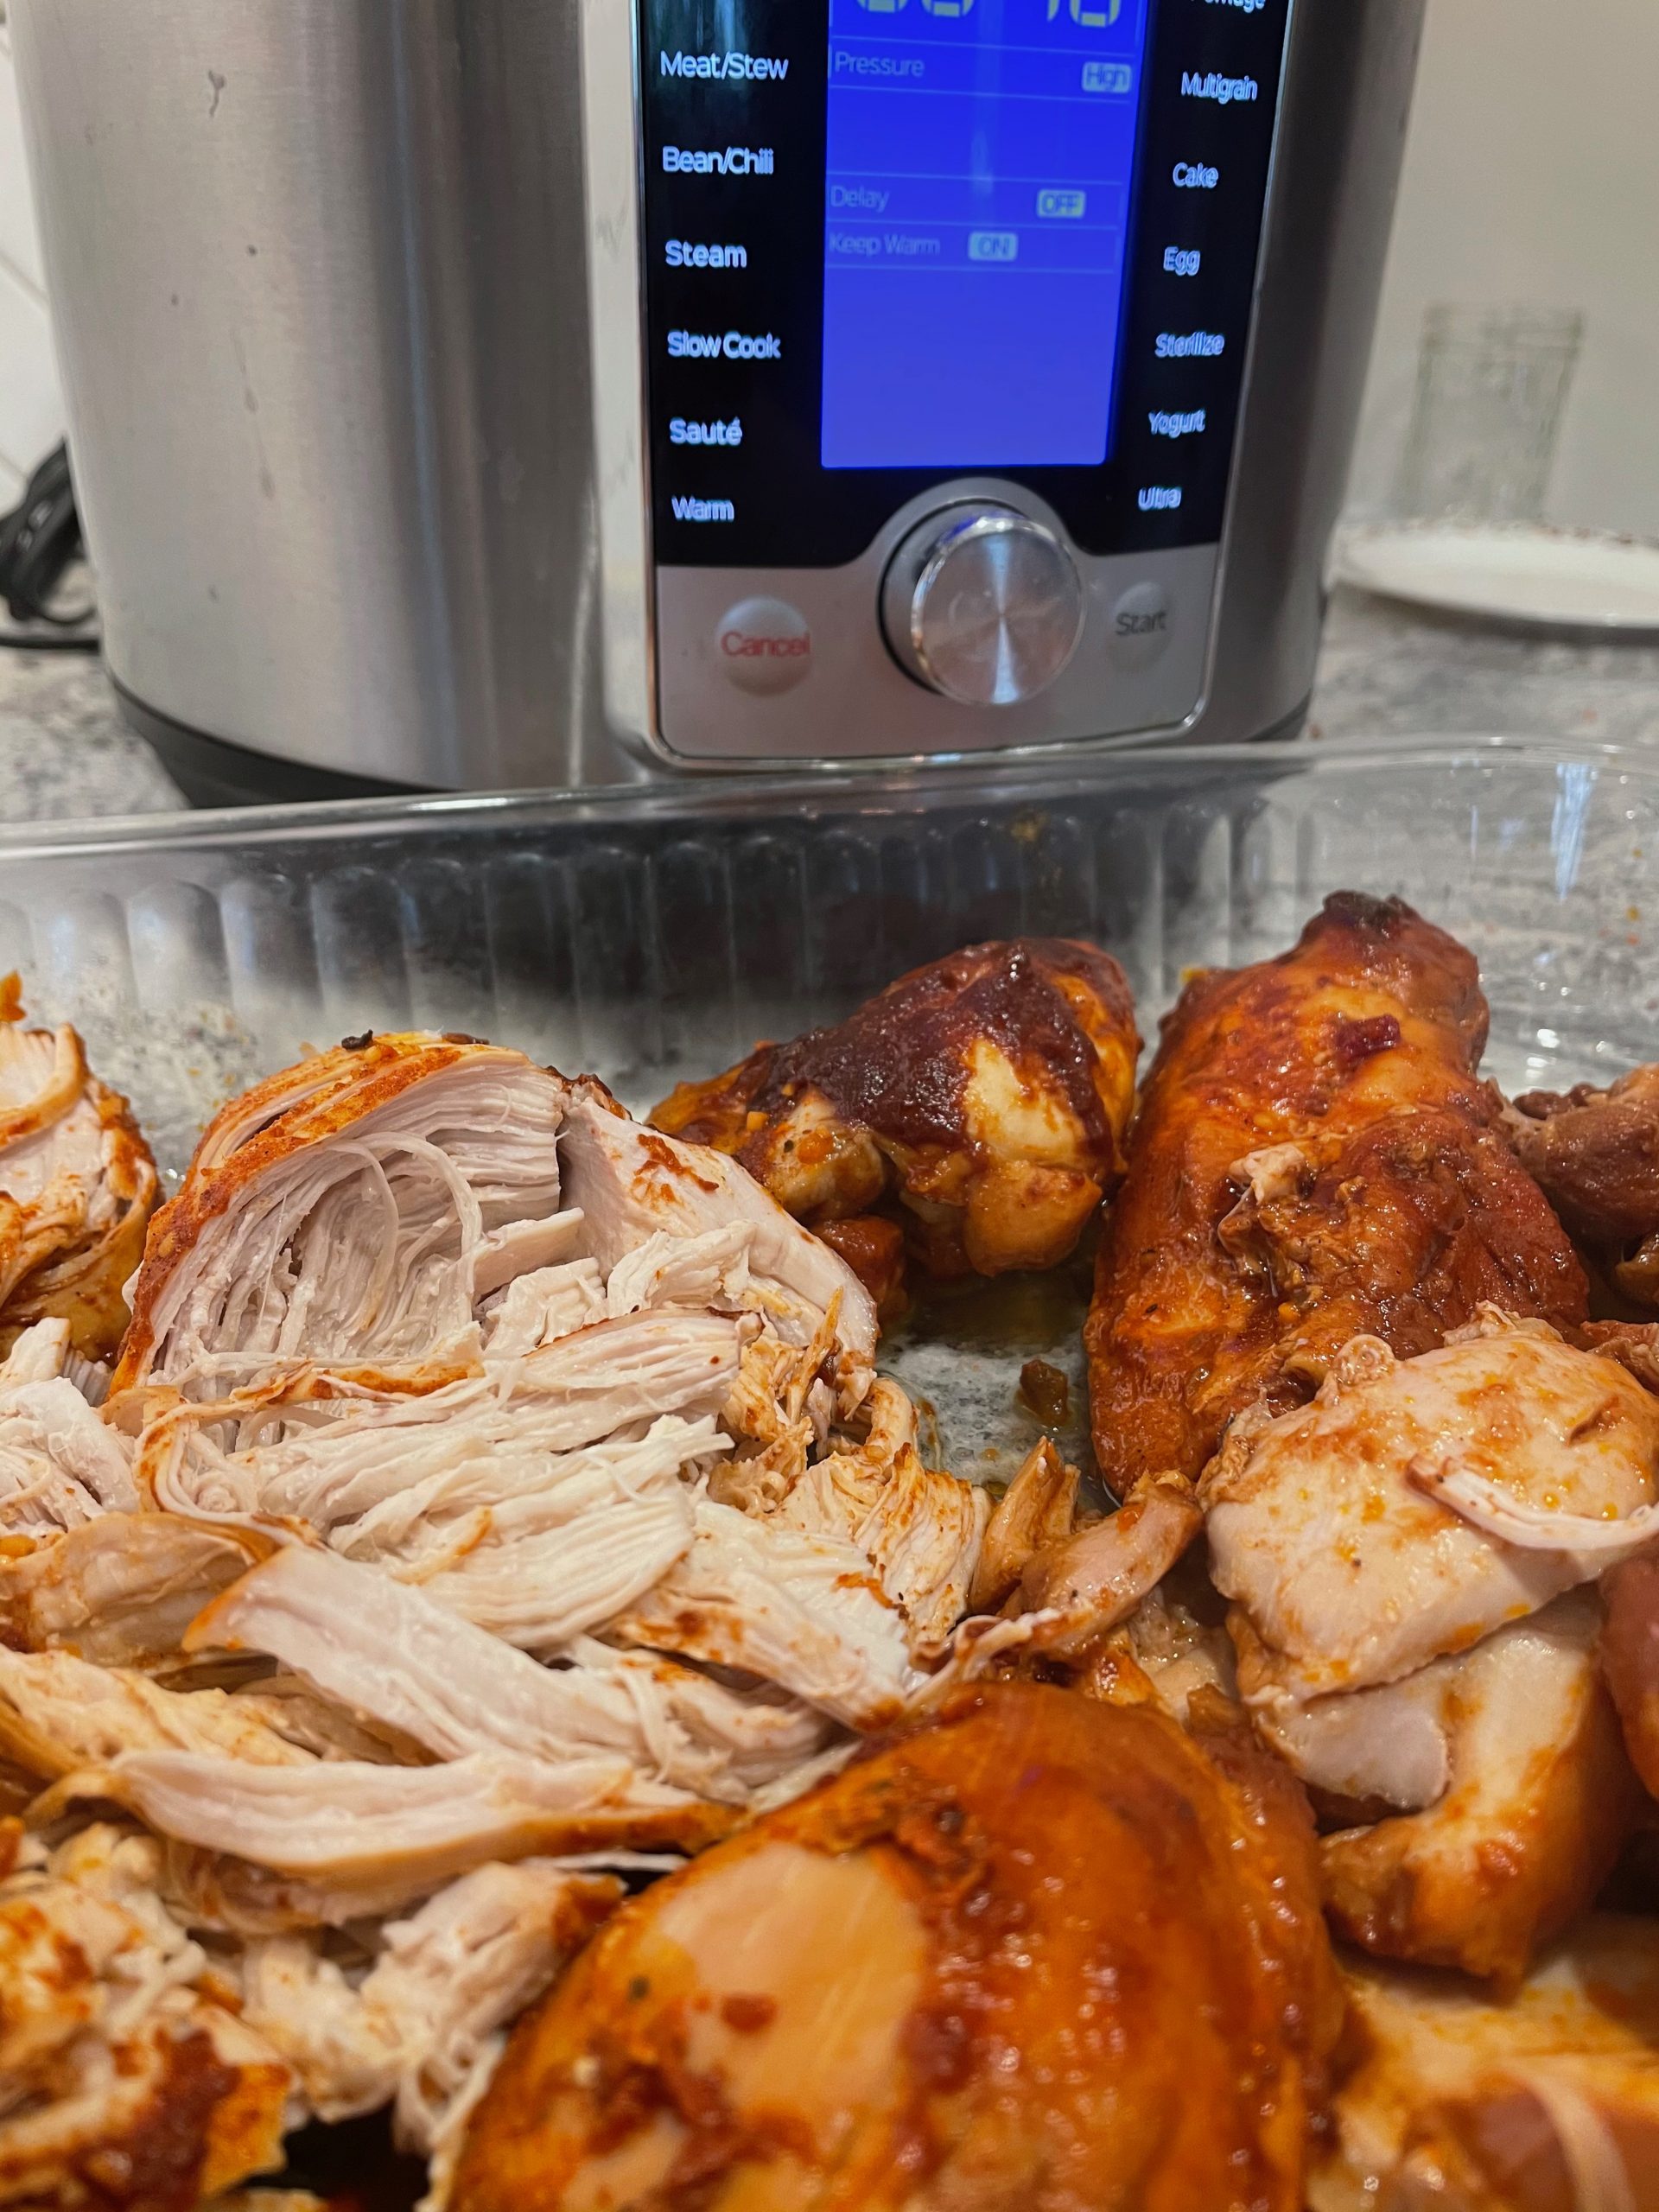
A couple thoughts on this recipe. I save lots of time and energy by using frozen Italian meatballs from Costco. Find your favorite brand and just go with it. I usually dump in about a pound and a half of meatballs to feed the six of us. That’s thirty-six meatballs – yes, I count them – meatball fights are a real thing at our table. Feel free to adjust the meatball amount to what you need – the cooking time remains the same.

This really does seem to serve the six of us with a few leftovers. We typically add a salad and bread. If you want to use a whole package of spaghetti, you should add an extra cup of water and your sauce will be a bit thinner.

Instant Pot Spagetti & Meatballs

Serving Size:
serves 6
Time:
total time 30 minutes
Difficulty:
easy peasy

Ingredients

  • 1-2 lb frozen meatballs, homemade or frozen from a bag
  • 12 oz uncooked spaghetti noodles
  • 1 T olive oil
  • 32 oz pasta sauce
  • 3 cups water
  • parmesan cheese for serving

Directions

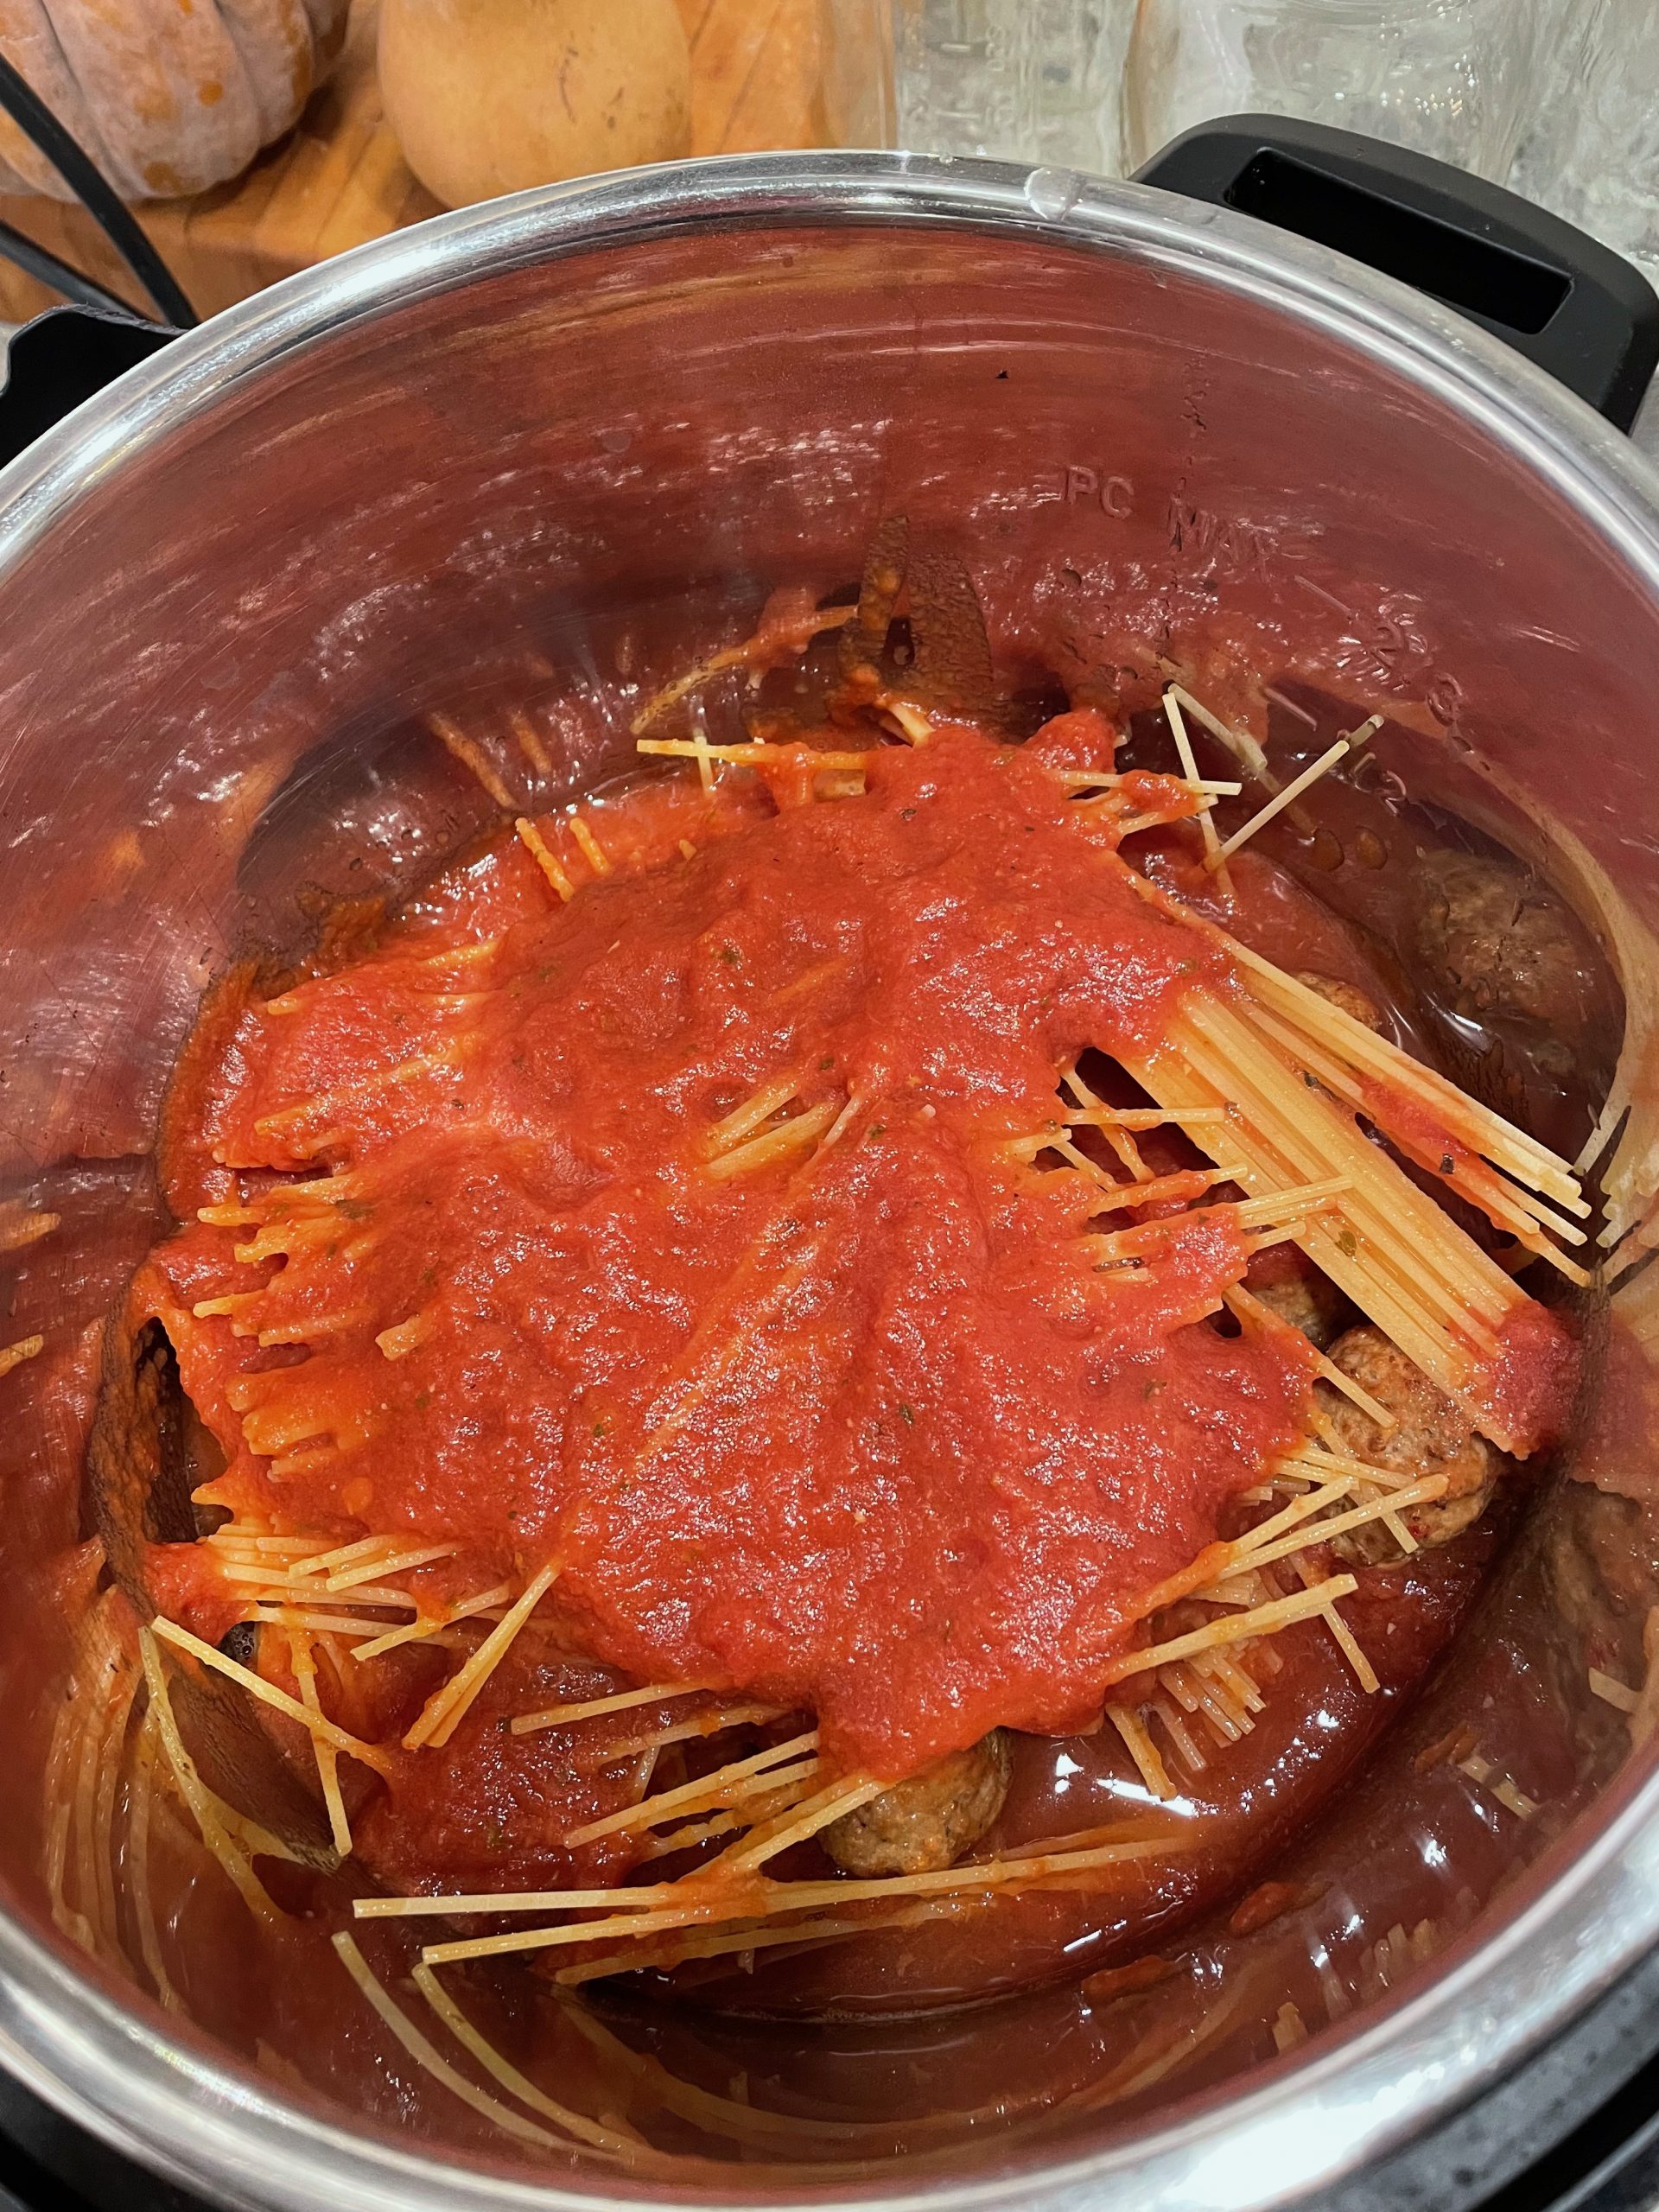
  1. Toss the meatballs into the bottom of your instant pot.
  2. Break the spaghetti noodles in half and scatter over top of the meatballs.
  3. Drizzle the olive oil on top of the spaghetti. Pour in the pasta sauce and water on top of the spaghetti. Add a little extra water if you need to make sure the spaghetti is covered with liquid. Don’t stir!
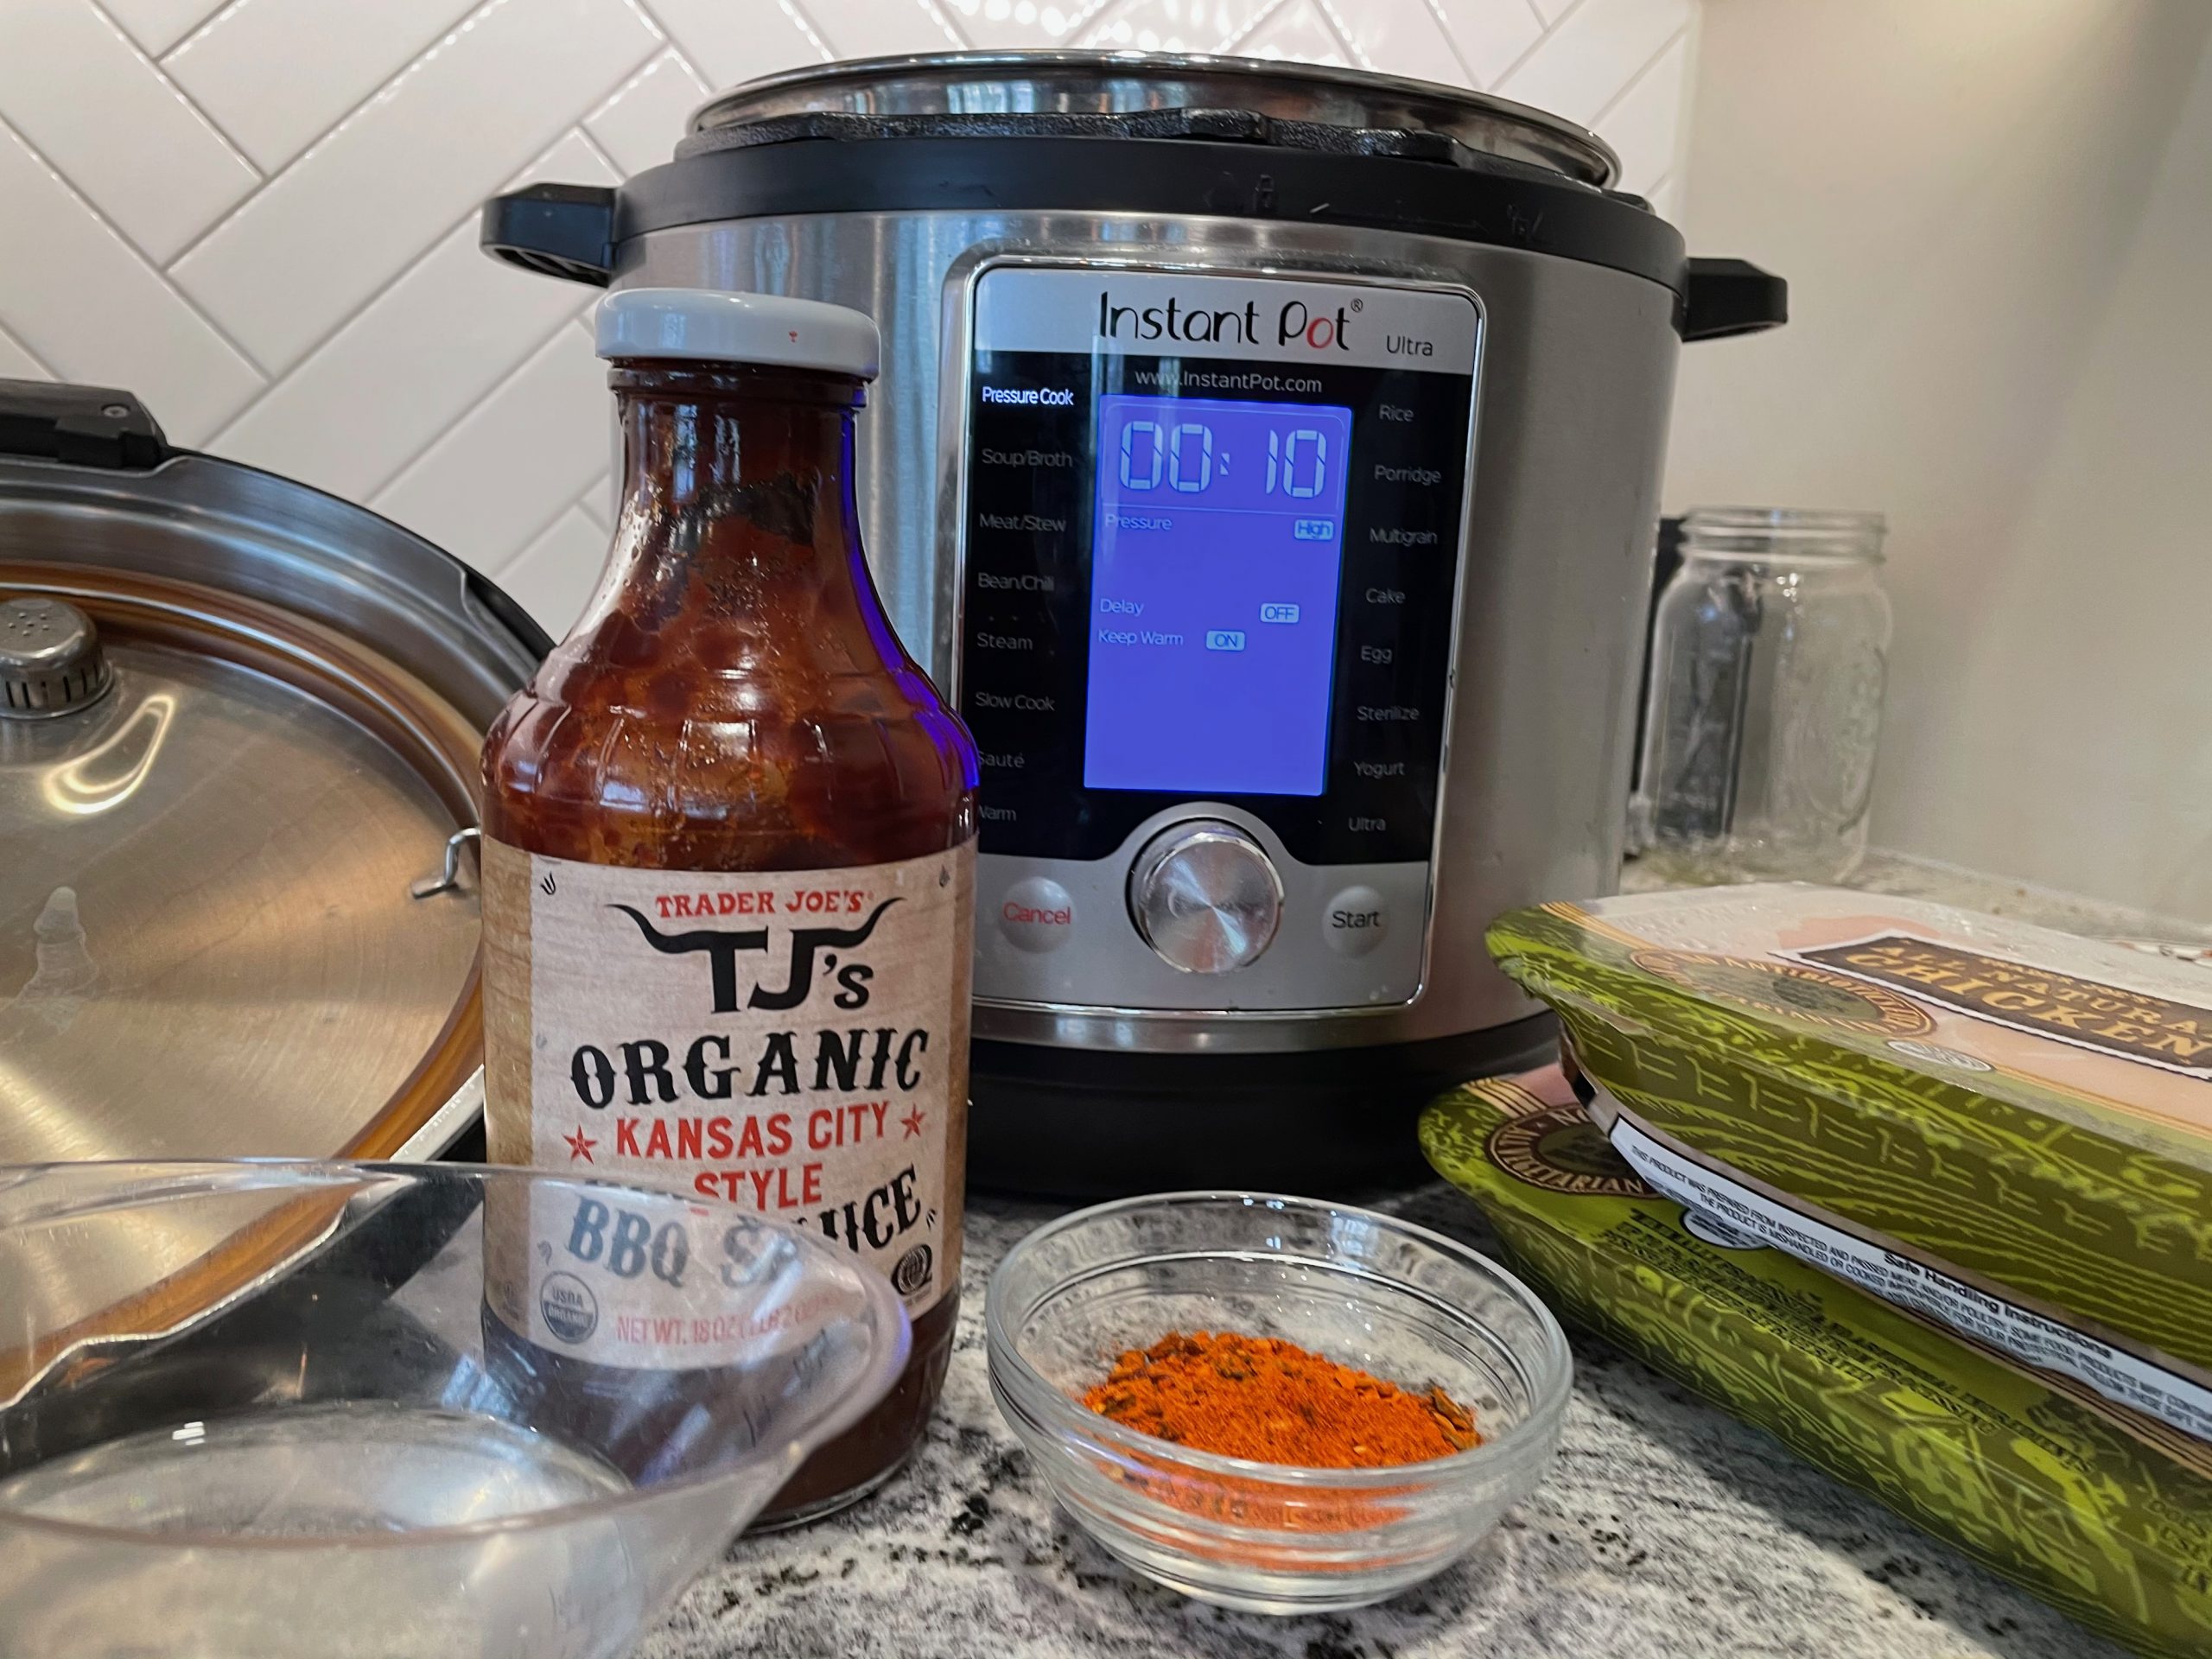
  4. Place the lid on the pressure cooker and set the time to 8 minutes. When the timer is up, release the pressure using a quick release method. Open the lid, stir, and serve.

Filed Under: recipes, Uncategorized Tagged With: dinner, easy, Instant Pot, pressure cooking

Instant Pot BBQ Pulled Chicken

April 26, 2021 by andrea Leave a Comment

This is a super easy way to make barbecue chicken for an quick dinner. It’s a nice summer recipe and the pressure cooker has the added advantage of not heating up the kitchen.

With this recipe, you just throw everything into the pressure cooker and let it do its thing. The recipe calls for a natural release of 10 minutes. But if you have other things going on, you can easily let the pot go into the keep warm setting after cooker.

Be sure to use a barbecue sauce that is on the lower end of added sugar. The sugar seems to concentrate in flavor when its under pressure. I used our favorite Trader Joe’s sauce for this post, but you can you anything you have around. Even a homemade sauce, if you have one.

I alway like to serve a vinegar based slaw with barbecue. And of course, a really good bun takes these sandwiches to another level. Making homemade buns takes a little more planning, but I think they are worth it. My recipe makes 12 buns, which gives a few extra to throw in the freezer for a future menu.

Instant Pot Pulled Barbecue Chicken

Serving Size:
6-8
Time:
30 minutes
Difficulty:
Easy

Ingredients

  • 3 lbs of boneless, skinless chicken breasts and/or chicken thighs
  • 3 T of barbecue seasoning
  • 1/4 cup of chicken broth or water
  • 1 cup of your favorite barbecue sauce

For Serving

  • Extra barbecue sauce
  • Pickles
  • Sandwich buns
  • Coleslaw

Directions

  1. With the insert in the electric pressure cooker, add the chicken to the pot. Add the seasoning and toss the chicken in the seasoning. Add the water and barbecue sauce.
  2. Lock the lid on the pot.
  3. Cook at high pressure for 10 minutes.
  4. Use the natural-release method for 10 minutes, then use the quick release method to bring the pot’s pressure back to normal. 
  5. Unlatch the lid and open the pot, remove the chicken to a cutting board and allow to cool for a few minutes. Use two forks to pull the chicken apart. You can also use a mixer with the dough hook to shred the chicken. Add some of the cooking liquid back to the pulled chicken – just enough to keep it moist. If you like a stronger barbecue flavor, you can toss the cooked, pulled chicken in barbecue sauce to taste. 
  6. Serve on buns with toppings of your choice.
This chicken is just out of the pressure cooker. I’ve started shredding one of the breasts with a fork. Thigh meat will shred even easier.
Shredded barbecue chicken with a vinegar based coleslaw and homemade burger buns.

Filed Under: recipes, Uncategorized Tagged With: dinner, Instant Pot

Irish Stew – Instant Pot

March 15, 2021 by andrea Leave a Comment

It’s that time of year again, and maybe it’s time to write down the recipe we call “Irish Stew” around our house. Honestly, I make some sort of version of this stew all winter long. The Guinness is what makes this Irish in our home, I guess. You can sub any other beer into the mix, add mushrooms, add barley, change up the seasonings, use different veggies – you get the idea. The point here is that this is an easy way to make a great tasting stew.

Serve with a salad – if you are that sort. Or make up some homemade biscuits while the stew is cooking – if you are that sort. Can you guess which one I am?

Irish Stew in the Instant Pot

Serving Size:
6-8
Time:
1 hr 40 min total
Difficulty:
easy

Ingredients

  • 2-3 T olive oil
  • 2 pounds of beef stew meat
  • 1 teaspoon salt
  • 1/2 teaspoon pepper
  • 1 large onion chopped (about 1 1/2 cups)
  • 1 T dried thyme
  • 2 T tomato paste
  • 1 cup of Guinness or other dark beer (or substitute with beef stock)
  • 1 1/2 cups of beef broth
  • 4 large carrots, peeled and cut into chunks
  • 1 pound of potatoes, peeled and cut into 1 inch pieces

Directions

  1. With in the insert in your electric pressure cooker, turn on the saute function to medium heat. Add 1 T of olive oil and allow to warm up about one minute. While the oil is warming, season your meat with salt and pepper. Add 1/2 of the the meat to the pressure cooker and allow to brown on one side – 3-4 minutes. Turn the meat and allow to brown on another side. Remove the browned meat to a separate bowl. Repeat with the remaining meat, adding extra oil, if necessary. Remove all of the meat to a separate bowl and rest. You do not need to sear all sides of the meat – this is mainly for color and some flavor. If you are in a real hurry, this step can actually be skipped.
  2. After browning the meat, add another tablespoon of oil and the onions. Allow the onions to cook a couple minutes until they are slightly translucent. Add the thyme and and stir and cook another 30 seconds or so. With the pot still on the saute setting, add about 1/4 cup of the beer and stir the bottom of the pan to loosen any browned bits that may have stuck to the pan. This step is important and it helps to reduce the chance of getting a “Burn” error later in the cooking process. Turn off the saute setting.
  3. Add the remaining beer and the beef stew to the stew. Lock the lid onto the pot and set the cook time to 45 minutes. Double check that the vent release tab is set to the sealing position. When the cooking time is done, allow to natural release for 10 minutes and then quick release the remaining pressure. Remove the lid.
  4. Add the carrots and potatoes to the pot. Stir and lock the lid back onto the pot. You may need to press down on the lid to close the lid. Double check that the vent release tab is set to the sealing position. Cook at high pressure for 3 minutes. When the cook time is complete, quick release the pressure from the pot, if you are eating right away. You can also allow the pot to go into the keep warm function at this point, and dinner will be ready when you are. If you would like a thicker stew, you can pull a few of the potatoes and carrots out of the pot, mash with a fork, and stir back into the stew.

Filed Under: Uncategorized

Peanut Butter & Pumpkin Dog Treats

February 1, 2017 by andrea Leave a Comment

peanut butter pumpkin dog treats
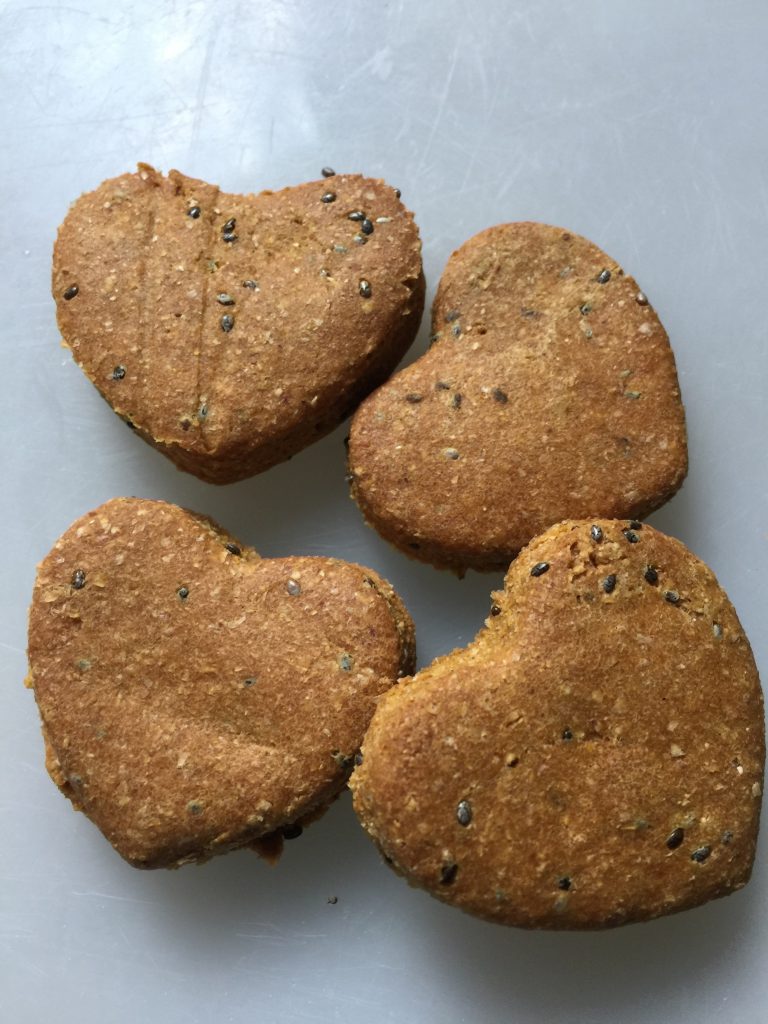
Why shouldn’t the furry members of our family eat as well as the rest of us? We recently added a new dog to our family and we did the standard purchasing of new toys and treats for him. But as I was looking at the fancy, locally made dog treats, I realized that I could make these myself and for a lot cheaper. Plus, no preservatives or anything funny going on here. The pumpkin and peanut butter are healthy for your dog and he’s going to love them.

These are actually pretty easy to make. Don’t be intimidated by rolling them out and using cookie cutters to make cute shapes. They roll out lots easier than people cookies, because they don’t have any fat in them. BUT, if you just can’t do the rolling out, you can roll the dough into a log and slice them to make round cookies. You can also make balls and smoosh them with the palm of your hand. There are lots of options here.

Because of the lack of preservatives, these will only keep on the counter for about 3-5 days. I store mine in a baggie in the freezer and pull them out as we need them.

The recipe is also pretty flexible – only 5 ingredients. You can eliminate the chia seeds or sub them out for flax seeds. You can also sub out the wheat flour, depending on your dog’s needs. My fancy grain-free treats from the store use chickpea and oat flours.

Peanut Butter & Pumpkin Dog Treats
Author: Andrea
Prep time: 10 mins
Cook time: 30 mins
Total time: 40 mins
Your dog will love this super easy recipe for doggie treats.
Ingredients
  • 1/4 cup of creamy peanut butter
  • 1 cup of pumpkin puree
  • 2 eggs
  • 2 T chia seeds
  • 3 cups of whole wheat flour
Instructions
  1. In a stand mixer, combine the peanut butter and pumpkin puree. Scrape down bowl sides.
  2. Add eggs and beat.
  3. Add chia seeds and 2 1/2 cups of flour. Mix until combined. Add remaining flour by 1/4 cups until the mixture is good for rolling out (forms a nice ball that is not too sticky and doesn’t crumble apart).
  4. Roll dough out to 1/4 inch thick, cut with cookie cutter of choice.
  5. Bake in 350 degree oven for 20-30 minutes until slightly browned and as crispy as you (or fido) like.
3.5.3208


Filed Under: Clatter in the Kitchen, Uncategorized Tagged With: dog, peanut butter, pumpkin, treats

Pasta & Meat Sauce – Pressure Cooked

April 22, 2015 by andrea Leave a Comment

Pasta & Meat Sauce - Pressure Cooked

Pasta & Meat Sauce – Pressure Cooked

I have to admit, I was a little hesitant to try pressure cooking pasta. But then I spoke with a friend and he gave me a great recipe to get started with. I’ve modified his recipe a little to make it my own and to work for our family. Including prep time, this recipe can be started and onto to the table in about 30 minutes.

I’ve made it in the electric pressure cooker one night when the babysitter was here. I got it going before I left and the cooker went to keep warm mode until she was ready to feed the crew. Its the perfect alternative to feeding them hot dogs again!

The trick to making pasta in your pressure cooker is to stick with bigger noddle like penne or even bow ties. Spaghetti or fettuccini won’t work in the pressure cooker – it will just end up a gloppy mess!

Pasta & Meat Sauce
Recipe Type: Pressure Cooker
Author: Andrea
Prep time: 15 mins
Cook time: 7 mins
Total time: 22 mins
Serves: 6
Pasta and sauce in under 30 minutes? It’s possible because of the pressure cooker. This is a great weeknight meal.
Ingredients
  • 1 T olive oil
  • 1 lb of hamburger or ground Italian sausage
  • 1 onion, chopped
  • 2 cloves of garlic, finely chopped
  • 2 cups of sliced mushrooms, canned or fresh
  • 1 cup of chopped red pepper
  • 28 oz of crushed tomatoes
  • 4 cups of water
  • 1 T Italian seasoning
  • 1/8 t red pepper flakes
  • 16 oz of penne or cavatappi pasta
  • shredded mozzarella cheese (for serving)
Instructions
  1. If using an electric pressure cooker, turn to brown setting. If using a stovetop cooker, preheat pan to medium high heat. Add oil to warm pan. When oil is warm, brown meat. When meat is almost brown, add onion and garlic and saute until onion is translucent and meat is cooked through (no pink remaining). Drain extra fat from pan (I use a paper towel to soak it up).
  2. Add remaining ingredients. Give the pan a stir.
  3. Place lid on cooker, lock lid and bring to high pressure. If using an electric cooker, set for 5 minutes. If using a stovetop cooker, set for 7 minutes.
  4. Let pressure release naturally.
  5. Top with mozzarella cheese and serve.
3.2.2929


Filed Under: Uncategorized Tagged With: meat, pasta, pressure cooker

Posts

  • Clatter in the Kitchen
  • recipes
  • Uncategorized

Recent Comments

  • andrea on Hot Cross Buns
  • Susan Toth on Hot Cross Buns
  • andrea on Cinnamon Rolls – Tangzhong method
  • andrea on Recipe for Holiday Jam
  • Kathleen Herbach on Cinnamon Rolls – Tangzhong method
  • Facebook

Join My Newsleter

Copyright © 2022 · Foodie Child Theme by Shay Bocks · Built on the Genesis Framework · Powered by WordPress