My Kitchen Clatter

Real Food - Real Life

  • About Me
  • Classes
    • Upcoming Classes
    • Baking Classes
    • Pressure Cooking Classes
    • Fermentation Classes
    • Canning Classes
    • Kombucha Classes
  • Equipment
    • Nutrimill Plus Grain Mill
    • Nutrimill Classic Grain Mill
    • Nutrimill Harvest Grain Mill
    • Bosch Universal Mixer
    • Ankarsrum Original Assistant
    • Filter Pro Dehydrator
  • Grains & Supplies
  • Recipes
  • Clatter in the Kitchen

Easy Homemade Fruit Leather

July 8, 2019 by andrea Leave a Comment

Fruit leathers are homemade fruit rolls and they are very popular in our house. I love them because they are a great way to use up leftover fruit, don’t contain any added sugar, and the kids gobble them up.

You’ll need a couple special kitchen tools for this recipe. The first is a blender. I use my immersion blender to keep the clean up simple, but any good blender will do.

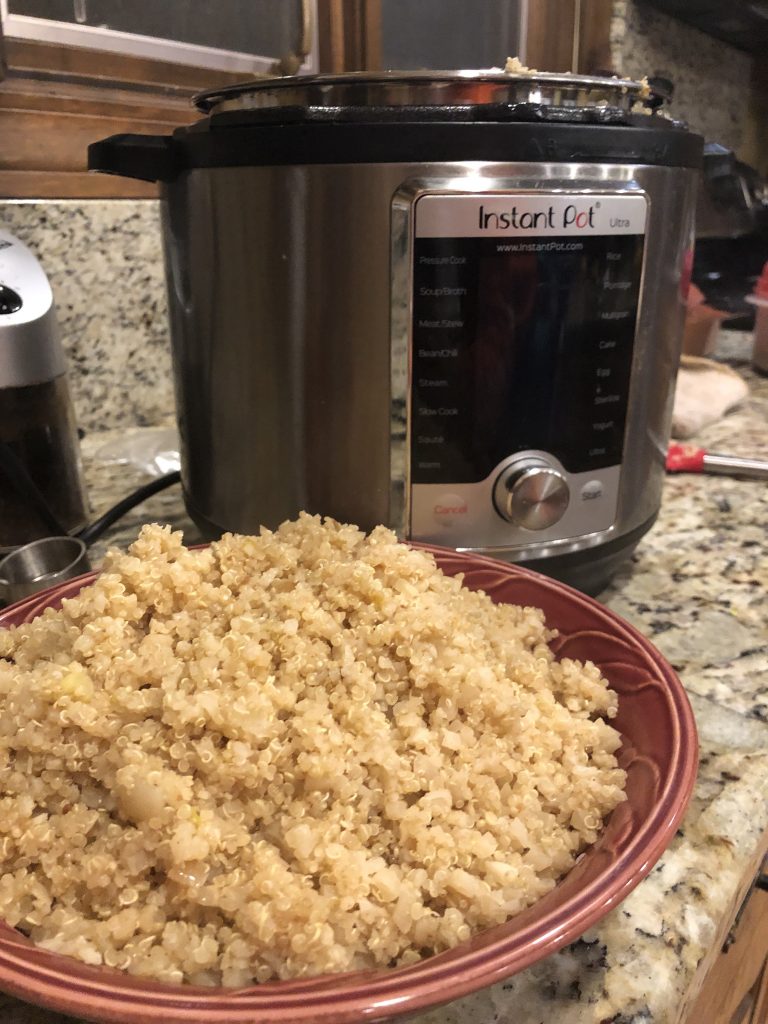
This batch of fruit includes blueberries and mangos.

The second tool is a dehydrator. A decent dehydrator runs about $100 and can be used for other preservation projects. If you don’t have a dehydrator, you can try to do these on a very low oven – they will take about 18 hours in an oven. You can also dry them in the hot sun – it will take about 1 to 2 days to dry in the sun.

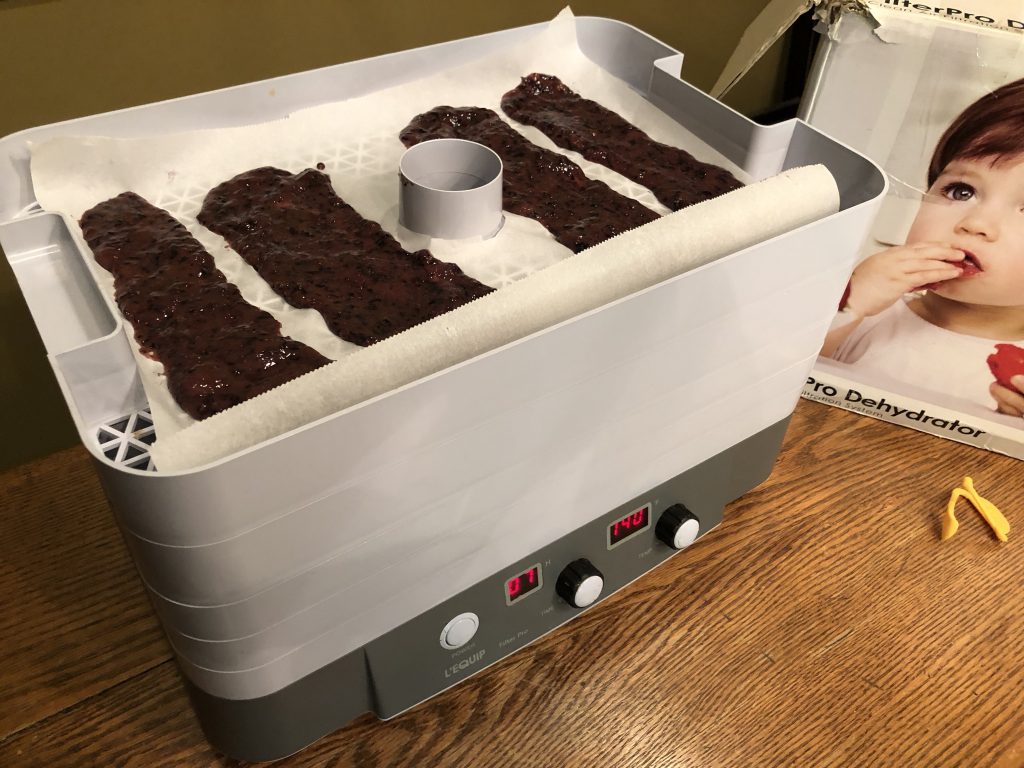
Fruit leathers ready to go in the dehydrator.

For the diabetics out there, make these without added sugar and they should contain the amount of fruit allowed for a fruit exchange.

This recipe is written for 2 cups of fruit, but it can be multiplied to accommodate as much fruit and drying space as you have.

Enjoy!

Easy Homemade Fruit Leathers
Recipe Type: snack
Author: Andrea
Prep time: 10 mins
Cook time: 4 hours
Total time: 4 hours 10 mins
Serves: 13″ x 15″ leather
These homemade fruit roll-ups are a great way to use up extra fruit that isn’t getting eaten quick enough. They are also an awesome low-sugar snack.
Ingredients
  • 2 cups of any combination of ripe or slightly overripe fruit – blueberries, strawberries, raspberries, banana, kiwi, mango
  • 1/4 cup of applesauce (optional, to help thicken the fruit)
  • 2 t of lemon juice or 1/8 t ascorbic acid for light colored fruit to prevent darkening (optional)
  • 1-2 T of honey, to taste (optional)
Instructions
  1. Prepare dehydrator trays by lining them with parchment paper over the surface of the tray. I cut out the center hole on my paper to help it fit better. Edges of the parchment paper can be folded up at the edge of the tray. Depending on the size of your dehydrator trays, you will need one or two trays for 2 cups of fruit.
  2. Wash fruit or berries in cool water. Remove peel, seeds, and stems.
  3. Using a blender or immersion blender, puree the fruit.
  4. The pureed fruit should be slightly thick so that it doesn’t run apart when poured onto the dehydrator trays. If it seems too runny, add a little applesauce to thicken it up. The applesauce will also help decrease tartness and make the leather smoother and more pliable. If the fruit seems to thick, add liquid, such as orange or apple juice, to thicken.
  5. Taste and add honey, if needed. I rarely add any honey at all.
  6. Pour the pureed fruit mixture onto the prepared tray. Avoid the edges of the tray. Spread it out to about 1/8 inch thick. Thicker spreads will take longer to dehydrate. Spread into any shape you like. I usually do about 2″ x 8″ rectangles. Larger shapes can be cut smaller later, but will take longer to dry.
  7. Dry the leather at 140 degrees F. The leather will dry from the edges to the center.
  8. After about 4 hours, test for dryness by touching the center of the leather – your finger should not leave an indent.
  9. While warm, you can peel from the parchment and roll. Allow to cool and rewrap in plastic. I usually let mine cool flat and then bag it and freeze.
  10. The leather usually will get eaten pretty quickly. But it will last about a month at room temp or it can be frozen up to a year.
Notes
This recipe can be multiplied based on how much fruit and dehydrating space you have.
3.5.3251


Filed Under: recipes Tagged With: cheap, dehydrator, easy, fruit

Cauliflower & Quinoa Pilaf for the Instant Pot

January 16, 2019 by andrea Leave a Comment

For starters, today I want to give a shout out to all those bloggers who are able to take Instagram worthy food photos. It is all I can do to grab the cell phone and snap a photo of my creations while my kids are screaming for dinner in the background. I’m trying to keep it real here – with quinoa on the lip of the pressure cooker, no fancy backdrops, and whatever.

Anyway… on to the recipe. I started with a pilaf recipe from The Instant Pot Bible by Bruce Weinstein, and then adapted it to what I had on hand in the house. The final recipe is much simpler than the original. And isn’t that what cooking is all about?

The original recipe caught my eye because it contained quinoa, which is super healthy and super quick to cook, especially under pressure. One of the things my family does during dinner is talk about the nutritional benefits of the foods we are eating. I find quinoa especially interesting since it is one of the few plant based proteins that contains all nine of the essential amino acids that are commonly found in meats. It is also a great source of manganese, phosphorus and fiber.

A couple quick recipe notes:

  • Be sure to rinse your quinoa before cooking it. You may be able to save yourself this step if your quinoa is pre-rinsed – check the bag to find out.
  • I used homemade vegetable broth. It is so much tastier than the stuff I find at the store and worth the extra trouble, in my opinion. One of these days, I will try to post a recipe for vegetable broth on this site, but in the meantime, a good pressure cooker book should get you started. Or try this recipe over at Hip Pressure Cooking for Vegetable Broth.
  • To make this recipe super easy and quick, I used frozen, riced cauliflower. If you have fresh cauliflower, break it into small pieces, and increase the cooking time to 6 minutes.


Cauliflower & Quinoa Pilaf
Recipe Type: side dish, pressure cooker, vegetable
Author: Andrea
Prep time: 10 mins
Cook time: 1 min
Total time: 11 mins
Serves: 4-6
Ingredients
  • 2 T butter
  • 1 cup of chopped onion (can substitute with shallots or leeks)
  • 1 t chopped garlic
  • 1 t cumin seeds
  • 1/2 t dried ginger powder
  • 1 cup of rinsed quinoa
  • 1, 16 oz package of fresh or frozen cauliflower rice
  • 2 cups of vegetable stock
Instructions
  1. Preheat the base of your pressure cooker using the sauté setting.
  2. Sauté the onion in the butter for 2-3 minutes until it is soft, but not browned.
  3. Add the garlic, cumin seeds and ginger powder and sauté briefly (about 10-30 seconds) until you can smell the spices.
  4. Turn off the heat on the pressure cooker.
  5. Add the quinoa, cauliflower and stock. Stir to combine.
  6. Lock on the lid of the pressure cooker and set the cook time for 1 minute on high pressure. Double check that the pressure valve is closed. Turn off the “keep warm” setting, if your machine has one.
  7. Once the cooking has completed, release the pressure using a quick release method.
  8. Fluff the pilaf and serve.
3.5.3251


Filed Under: recipes Tagged With: cauliflower, easy, grains, Instant Pot, pressure cooker, quick, side dish, vegetarian

Easy Mini Chocolate Lava Cake in the Pressure Cooker

January 13, 2018 by andrea Leave a Comment

This is a take on one of my favorite chocolate cakes. I’ve modified it to make individual cakes using my pressure cooker. I’ve also made this recipe as easy as possible to make – we often make it in my pressure cooking classes and I don’t like to unnecessarily complicate things during those classes!

The first thing you’ll want to do is find small jars or ramekins for baking the cakes. I use 4 ounce Ball glass jelly jars for making this recipe. I find that size is just about the right size for individual cakes in our house. You are welcome to use larger jars or ramekins – just adjust the cooking time up 2-3 minutes if you are using larger containers.

I typically make this in my 8 quart stovetop cooker, because I can easily fit eight small 4-ounce jars in this cooker. Once you make a layer of jars on the bottom of the cooker, you can stack a second layer on top of those. Stack the jars so they are slightly off-set from each other, kind of like if you were staking a solo cup tower. Depending on the size of your electric cooker, the second layer can be harder to fit – in that case, just cook them in two batches.

Also, I use chocolate chips in this recipe as the chocolate. I don’t use anything fancy for the chocolate – I use whatever is around the house, which is typically Kirkland brand chips. They end up tasting pretty darn good. I also think that the espresso powder that I use helps to intensify the chocolate flavor. I get mine from King Arthur Flour and I use the tiniest bit so my kids can’t taste the coffee –  a little of this special ingredient goes a long way. Feel free to leave the expresso powder out, if you don’t have it.

Easy Mini Chocolate Lava Cake in the Pressure Cooker
Author: Andrea
Prep time: 15 mins
Cook time: 5 mins
Total time: 20 mins
Serves: 8
This is a super quick and easy chocolate dessert in the pressure cooker. If
Ingredients
  • 1/2 cup butter
  • 4 ounces chocolate chips
  • 1 1/2 cup confectioners sugar
  • 2 eggs at room temperature * see note at bottom of recipe.
  • 3 egg yolks at room temperature *see note at bottom of recipe
  • 1/2 t instant coffee granules or espresso powder (optional)
  • 1 t vanilla
  • 1/2 cup (2 ounces) flour – white or finely ground whole wheat pastry flour)
  • 1/4 t salt
  • whipped cream or ice cream for serving (optional)
Instructions
  1. Butter or oil 8, 4 ounce ramekins or jars.
  2. Chop up butter and melt with chocolate chips in the microwave. Cook for 30 seconds, stir, add 30 seconds and stir again. Be sure to stir – the chips don’t just melt and tell you they are melted. Let this mixture cool a bit to room temperature.
  3. Using a wooden spoon, stir confectioners sugar into melted chocolate.
  4. In a separate bowl, beat the eggs and egg yolks together.
  5. Stir eggs, egg yolks, vanilla, instant coffee granules (if using) into the chocolate.
  6. Using a wooden spoon, add flour and salt to the chocolate mixture, stirring until combined.
  7. Divide the batter evenly between the ramekins. Don’t overfill, because they will puff up a bit during baking.
  8. Put one cup of water and a steamer rack in your pressure cooker. Stack the ramekins in the pressure cooker. Use two layers, if necessary.
  9. Follow your pressure cooker’s instructions and cook at high pressure for 5 minutes. Turn off the keep warm setting. Allow to natural release for 5-10 minutes, depending on how gooey you like the center.
  10. After the natural release period, release remaining pressure using the quick release method and serve warm. These are great with whipped cream or a little ice cream.
  11. If not serving right away, you can set the lid back on the cooker after releasing pressure and they will stay warm for about 30-45 minutes.
  12. Note on eggs – the 2 eggs plus 3 egg yolks makes an excellent cake, but if you don’t feel like messing with the extra egg whites, you can make this recipe with four eggs. It will be a little less rich, but great, nonetheless.
3.5.3251


Filed Under: recipes Tagged With: cake, chocolate, cooker, dessert, easy, pressure, pressure cook

  • « Previous Page
  • 1
  • 2

Posts

  • Clatter in the Kitchen
  • recipes
  • Uncategorized

Recent Comments

  • andrea on Whole Wheat Bread (small batch)
  • andrea on Sourdough Beer Pizza Crust
  • andrea on Recipe for Holiday Jam
  • andrea on (Sourdough Optional) Carrot Muffins
  • andrea on Lentil and Ham Bone Soup

Recent Comments

  • andrea on Whole Wheat Bread (small batch)
  • andrea on Sourdough Beer Pizza Crust
  • andrea on Recipe for Holiday Jam
  • andrea on (Sourdough Optional) Carrot Muffins
  • andrea on Lentil and Ham Bone Soup

Posts

  • Clatter in the Kitchen
  • recipes
  • Uncategorized
  • Facebook

Copyright © 2025 · Foodie Child Theme by Shay Bocks · Built on the Genesis Framework · Powered by WordPress