My Kitchen Clatter

Real Food - Real Life

  • About Me
  • Classes
    • Upcoming Classes
    • Baking Classes
    • Pressure Cooking Classes
    • Fermentation Classes
    • Canning Classes
    • Kombucha Classes
  • Equipment
    • Nutrimill Plus Grain Mill
    • Nutrimill Classic Grain Mill
    • Nutrimill Harvest Grain Mill
    • Bosch Universal Mixer
    • Ankarsrum Original Assistant
    • Filter Pro Dehydrator
  • Grains & Supplies
  • Recipes
  • Clatter in the Kitchen

Pumpkin Butter Recipe

September 14, 2020 by andrea Leave a Comment

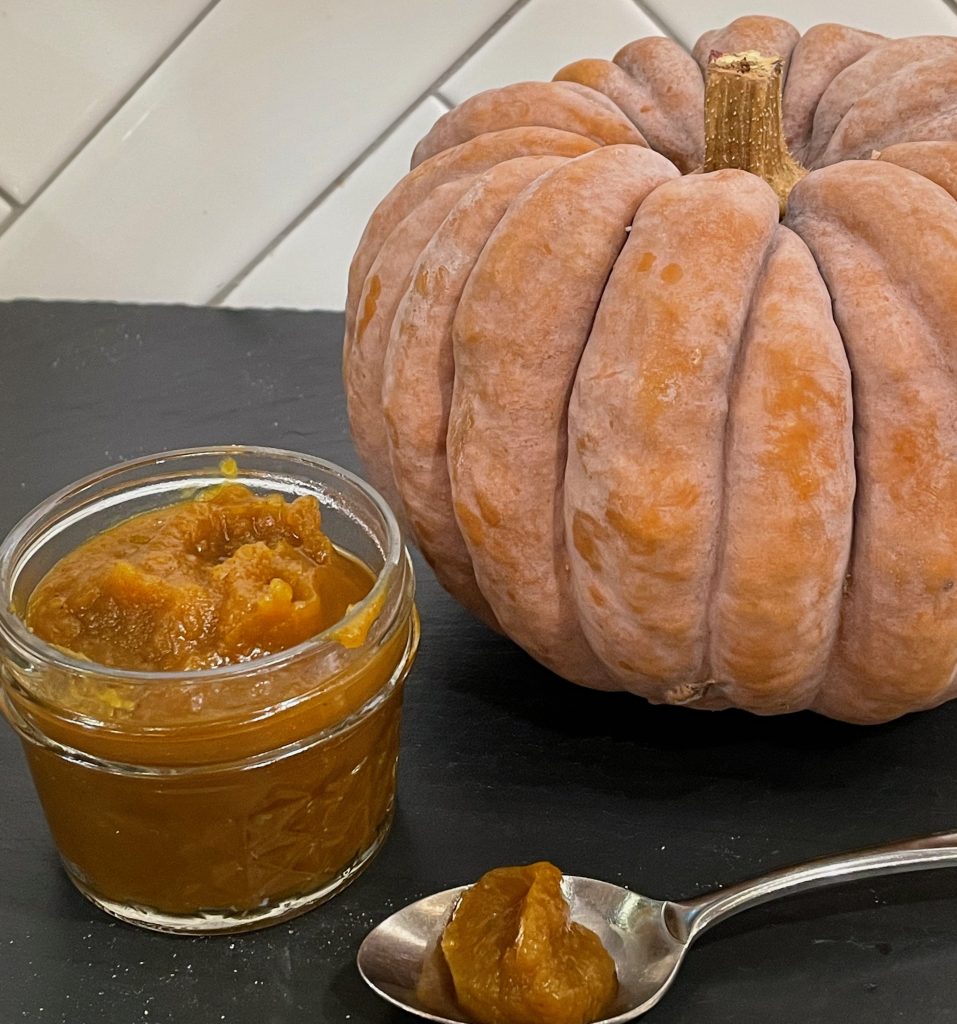
Pumpkin butter is one of my favorite things to do with pumpkin during “the pumpkin season”. I love it on my waffles in the morning with pecans and maple syrup. I was searching for my recipe this year and realized that I haven’t shared it with the world. So here we are.

If you’d like to make this a little more challenging, you can make this with homemade puree. Here’s how to make your own, but really you can do this with canned pumpkin and it will turn out lovely. No one will know the difference and they will still be amazed that you pulled off making your own pumpkin butter. You don’t have to tell them how easy it was to make.

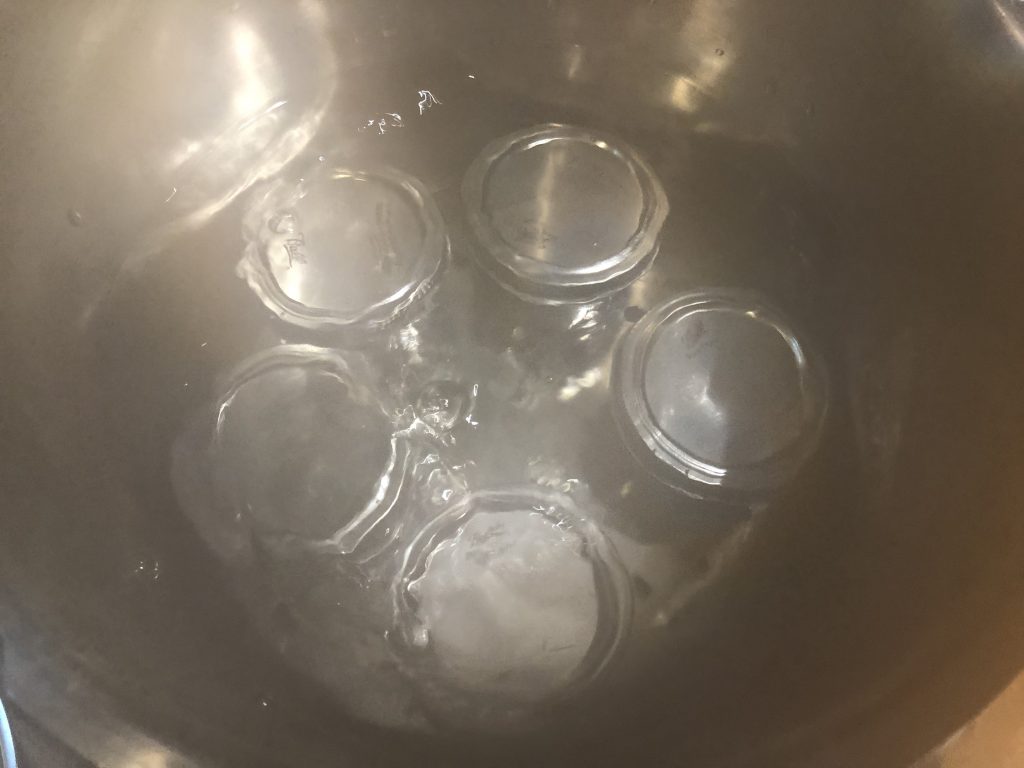
One more note, this recipe should not be canned. The butter gets too thick for water bath canning to heat it through safely. I just jar mine up and freeze the jars with lids on them. The toughest part is remembering to pull it out of the fridge to thaw before you want to use it – but a couple seconds in the microwave does the trick also.

Pumpkin Butter Recipe
Recipe Type: preserving
Author: Andrea
Prep time: 10 mins
Cook time: 20 mins
Total time: 30 mins
This is a classic fall preserve. It is great on oatmeal or on waffles.
Ingredients
  • 2 cups of pumpkin puree (canned or homemade)
  • 1/4 cup of brown sugar
  • 1/4 cup of maple syrup
  • 1 t molasses
  • 1 t cinnamon
  • 1/2 t ginger
  • 1/4 t cloves
  • 1/4 t nutmeg, ground
  • 3/4 cup of apple cider
Instructions
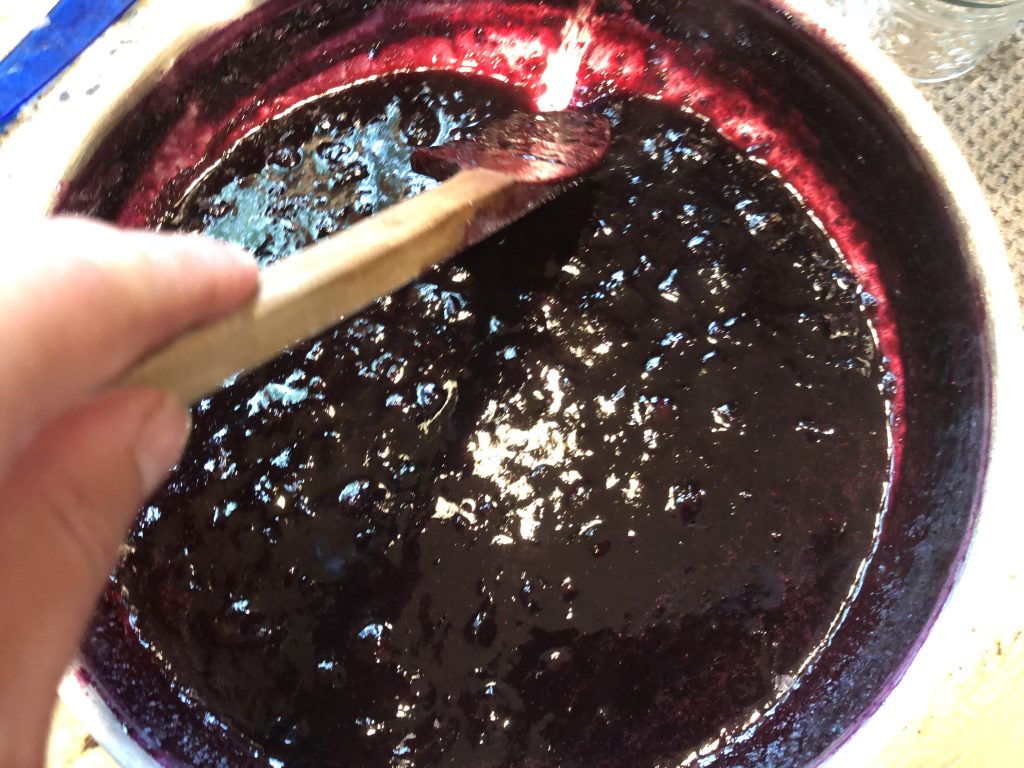
  1. Combine all ingredients in a saucepan.
  2. Bring to boil, reduce heat to a simmer.
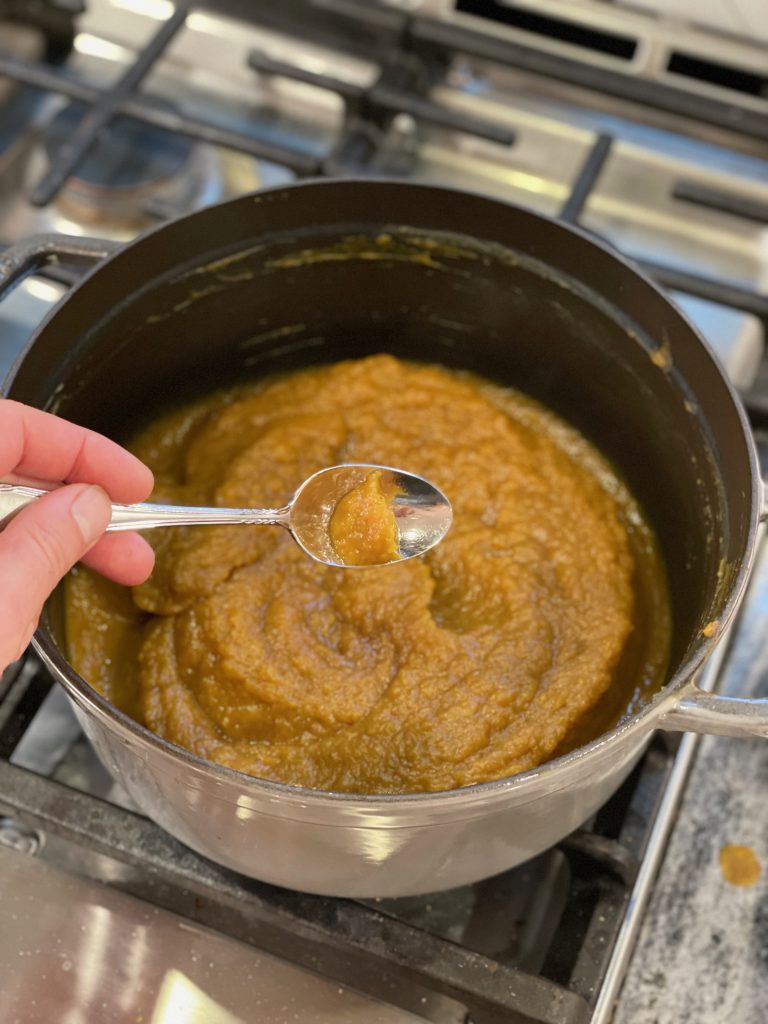
  3. Stir often and let simmer for about 20 minutes until the butter is thick and shiny. It should mound up on a spoon.
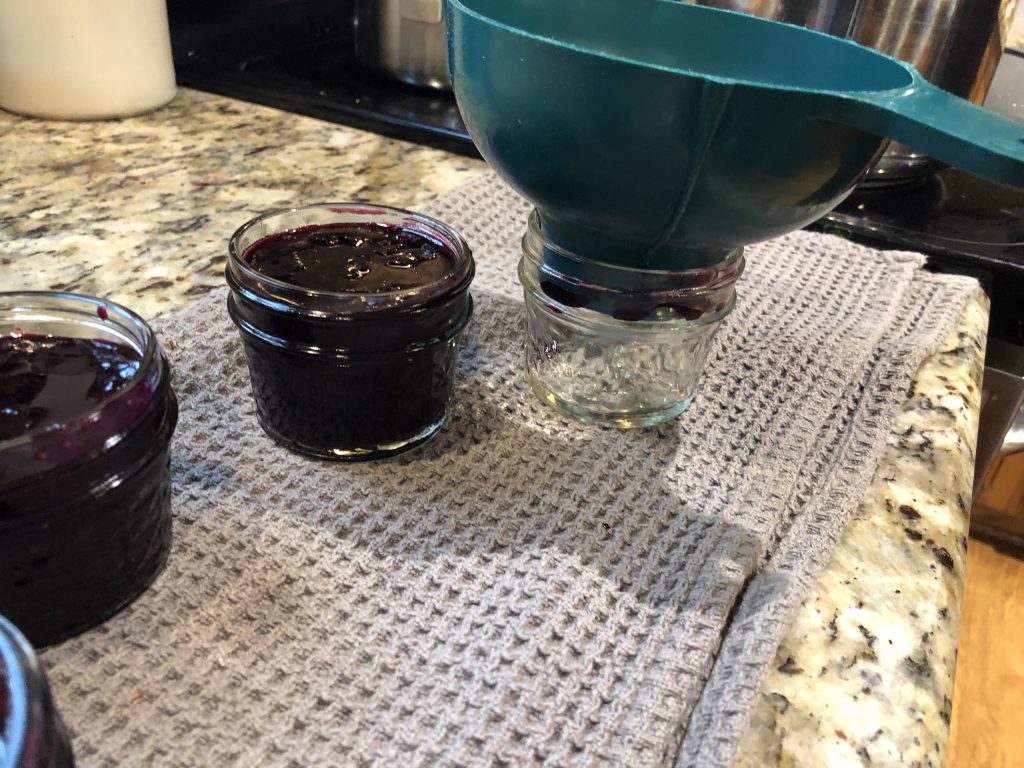
  4. Transfer into clean jars.
  5. The jars can be refrigerated for a couple of weeks or frozen for a few months. If freezing, leave a little extra space at the top for expansion
3.5.3251

Filed Under: recipes Tagged With: easy, fall, preserving, pumpkin butter, waffles

Pumpkin Leather

September 8, 2020 by andrea Leave a Comment

The whole idea of making fruit leather out of pumpkin sounds crazy, but it tastes like pumpkin pie without the trouble of making a pie. This recipe is based off one I found in the University of Georgia’s So Easy to Preserve book.

Here are a couple tips for dehydrating and making fruit leather:

  • If you don’t have a dehydrator, you can use a low oven as a substitute. This is a good alternative if you aren’t ready to invest in a dehydrator.
  • If you are ready for a dehydrator, they range from $35 for the round Nesco brand that you find at places like Farm & Fleet. Middle of the road dehydrators cost about $125, such as the L’Equip Filter Pro that I carry and use. High end dehydrators include the 9 tray Exclaiburs that cost around $250. Things to look for include temperature control, timing, number of trays that can be stacked, air flow, and noise. My first dehydrator was the Nesco brand, and I found it to be very noisy and I didn’t like that I couldn’t set the temperature. I’m happy with the Filter Pro that I have now. I haven’t upgraded to an Exclaibur because I don’t have the space for it and also because I honestly don’t use a dehydrator that often.
  • When making fruit leather, I like to spread the puree about 1/8 inch thick on a parchment that I’ve laid in the dehydrator tray. Someday, I plan to cut some silicon sheets to fit as a replacement for the parchment, but in the meantime, parchment makes it easy to pull the finished leather off.
  • For more tips, check out the University of Georgias’ fact sheet. This is taken from So Easy to Preserve.
Pumpkin Leather
Author: Andrea
Prep time: 10 mins
Cook time: 12 hours
Total time: 12 hours 10 mins
Pumpkin leather ends up tasting like pumpkin pie. It’s a little weird, but also kind of a fun treat!
Ingredients
  • 2 cups of pureed pumpkin (either cooked homemade or from a can)
  • 1/4 cup of applesauce
  • 1/4 cup of honey
  • 1/2 t cinnamon
  • 1/8 t ground cloves (or less, to taste)
  • 1/8 t ground nutmeg
Instructions
  1. Combine all the ingredients. Spread onto parchment or fruit leather trays in your dehydrator. Dehydrate at 140 degrees for about 10-12 hours until the top is dry to the touch (not sticky). Add time as necessary. This will make about four 4 by 6 inch fruit leathers.
3.5.3251


Filed Under: recipes Tagged With: dehydrated, dehydrator, healthy, preserving, pumpkin, quarantine, snack

Blueberry Lime Jam

July 6, 2019 by andrea Leave a Comment

Blueberries are a very versatile fruit for jam and it is easy to create a simple classic blueberry jam. But if you want to add a little interest to your jam, you can add basil, ginger, or lime. With this recipe, we are going to add lime juice and zest. I find this jam is great on toast or spread on goat cheese with crackers. It’s also great in oatmeal, on ice cream, on vanilla pudding… you get the idea.

All of that being said, if you don’t want to mix it up – just swap out the lime juice with lemon juice and eliminate the lime zest.

This is a small batch of jam and I cook it in a large sauté pan. This allows for more surface area on the jam, which helps it set up quickly. This means that your jam will taste more like fresh blueberries than cooked blueberries.

This is the beginning of the cooking process – the jam has not thickened and is a little foamy.

This blueberry jam relies on the natural pectin levels in blueberries for thickening the jam. If you have some slightly underripe blueberries, they will help with the set of the final jam as they have a higher pectin level that the full on totally blue blueberries. Because there is not added pectin in this recipe, you’ll want to check that the jam reaches 220 F to make sure it sets. You can also go by eye – it’s done when a spoon pulled along the bottom of the pan leaves a clear zone.

The jam has set and a spoon pulled along the bottom leaves a path on the bottom of the pan.

Because this is a small batch of jam – you can use any large stock pot to water process the jars of jam. You just need to make sure that the water depth in the pan is high enough to cover the tops of your jars by at least an inch. Place a trivet or a towel on the bottom of the pot so the jars aren’t directly on the heat source. You’ll also want to make sure that the jars have enough space in your pan so that they don’t touch and water can move around all sides of the jars.

Five jars fit nicely in a large stock pot and a sixth could fit into the center.

Here is the recipe. Enjoy!

Blueberry Lime Jam
Recipe Type: preserving
Author: Andrea
Prep time: 20 mins
Cook time: 20 mins
Total time: 40 mins
Serves: 20-24 oz
This blueberry jam relies on natural pectin for thickening – the lime brightens the blueberry taste and makes for an interesting, yet classic, jam. Without traditional pectin, this jam is lower in sugar and actually tastes of the blueberries.
Ingredients
  • 4 cups blueberries, with some slightly underripe, if possible
  • 1 cup sugar
  • 2 T bottled lime juice
  • zest from one lime
Instructions
  1. Prepare a boiling water bath and 3 half-pint (8 oz) jars or 6 4-oz jars. A boiling water bath can be done in any stock pot that allows for water to cover the jars by at least 1-inch.
  2. Wash and prepare lids and rings, according to the package directions.
  3. Combine the blueberries and a splash pf water in a large skillet. The skillet allows for more moisture loss over the surface, which reduces cooking time and maintains the fresh blueberry flavor. Stir and crush the berries over high or medium-high heat until they begin to break down.
  4. Add the sugar, lemon juice and zest.
  5. Stirring regularly, bring the fruit to a boil and cook until it bubbles and looks quite thick.
  6. This will take about 10-12 minutes. It’s done when you pull a spatula through the jam and it doesn’t immediately run back into the cleared space. You can also check the temperature with a candy thermometer – it’s done when it hits 220 F.
  7. When the jam is done cooking, remove the pot from heat and allow to rest 5 minutes, stirring occasionally. Skim any foam off the surface. Ladle into the prepared jars leaving 1/4 inch headspace. Wipe the rims, remove air bubbles, if necessary, and process in a boiling water bath for 10 minutes.
  8. If you don’t want to process this recipe (or if you have a jar that doesn’t seal), you can jar the jams and refrigerate for up to 3 weeks. It will also freeze well.
3.5.3251


Filed Under: recipes Tagged With: blueberry, blueberry jam, jam, low sugar, preserving

Spicy Yellow Tomato Jam

August 29, 2015 by andrea 7 Comments

Yellow Tomatos

I find that people often give me a second look when I talk about tomato jam. Not many people have heard of it, but it is definitely a jam worth the effort. I think of it as a grown up jam – I don’t share it with the kids – it’s too good for them. They won’t fully appreciate it, so I save the strawberry and raspberries for them. I’ve had more than a few people ask for the recipe, so here you go!

When picking your tomatoes, I recommend you find a nice flavorful heirloom variety from the farmer’s market or your own garden. Don’t even bother with the watery tasteless store bought imitations from the grocery store. My absolute favorite tomatoes to use are yellow and orange varieties. I find them fun to work with and they typically have a less acidic, more mellow, sweeter flavor.

The time it takes for this recipe will vary greatly depending on several factors – your tomatoes’ water content, the size of your simmering pot, whether it’s a full moon. Get the idea? Allow lots of time for this one. I’ve let some batches simmer for four or more hours until they got nice and thick like I wanted. Whatever you do, don’t try to double this recipe. You will be simmering forever. Trust me on this.

As far as ideas for using this jam – once you taste it, you’ll come up with endless ideas on your own. But here are some starters. Try it on cream cheese or goat cheese with crackers. It is wonderful with scrambled eggs – like a fancy katsup. It also makes a great sandwich spread with ham or turkey.

Okay! Now get simmering!

Spicy Yellow Tomato Jam
Author: Andrea
Prep time: 15 mins
Cook time: 4 hours
Total time: 4 hours 15 mins
Serves: 4 pints
Ingredients
  • 5 lbs tomatoes
  • 3 cups sugar or 2 1/2 cups of honey
  • 1/2 cup lime juice
  • 1 T freshly grated ginger
  • 1 T cinnamon
  • 1/2 t ground cloves
  • 1 T salt
  • 1-2 T red pepper flakes – adjust to your taste
Instructions
  1. Core and finely chop the tomatoes. Save yourself some time and use the food processor. I don’t skin them or deseed them – if you chop the tomatoes fine enough you won’t notice the skins, plus they help thicken the jam.
  2. Add all ingredients to a large stainless steel pot and bring to a simmer over medium heat. Reduce heat to low and keep a simmer. Simmer for 2-4 hours until the jam is thick. The jam should separate when you stir the bottom of the pan with a wooden spoon.
  3. Fill hot pint or half pint jars with jam, allowing 1/4 inch head space.
  4. Wipe jar rims and place hot lids on jars.
  5. Process in a water bath canner with water at least one inch over tops of jars for 20 minutes.
  6. Remove jars from canner and allow to cool completely (at least 12 hours) before checking seals.
  7. Makes 2-4 pints (4-8 half pints) – depending on tomato type.
3.2.2929


Filed Under: recipes Tagged With: canning, jam, preserving, tomatoes

Posts

  • Clatter in the Kitchen
  • recipes
  • Uncategorized

Recent Comments

  • andrea on Whole Wheat Bread (small batch)
  • andrea on Sourdough Beer Pizza Crust
  • andrea on Recipe for Holiday Jam
  • andrea on (Sourdough Optional) Carrot Muffins
  • andrea on Lentil and Ham Bone Soup

Recent Comments

  • andrea on Whole Wheat Bread (small batch)
  • andrea on Sourdough Beer Pizza Crust
  • andrea on Recipe for Holiday Jam
  • andrea on (Sourdough Optional) Carrot Muffins
  • andrea on Lentil and Ham Bone Soup

Posts

  • Clatter in the Kitchen
  • recipes
  • Uncategorized
  • Facebook

Copyright © 2025 · Foodie Child Theme by Shay Bocks · Built on the Genesis Framework · Powered by WordPress