My Kitchen Clatter

Real Food - Real Life

  • About Me
  • Classes
    • Upcoming Classes
    • Baking Classes
    • Pressure Cooking Classes
    • Fermentation Classes
    • Canning Classes
    • Kombucha Classes
  • Equipment
    • Nutrimill Plus Grain Mill
    • Nutrimill Classic Grain Mill
    • Nutrimill Harvest Grain Mill
    • Bosch Universal Mixer
    • Ankarsrum Original Assistant
    • Filter Pro Dehydrator
  • Grains & Supplies
  • Recipes
  • Clatter in the Kitchen

Homemade Coleslaw (Vinegar Based)

April 26, 2021 by andrea Leave a Comment

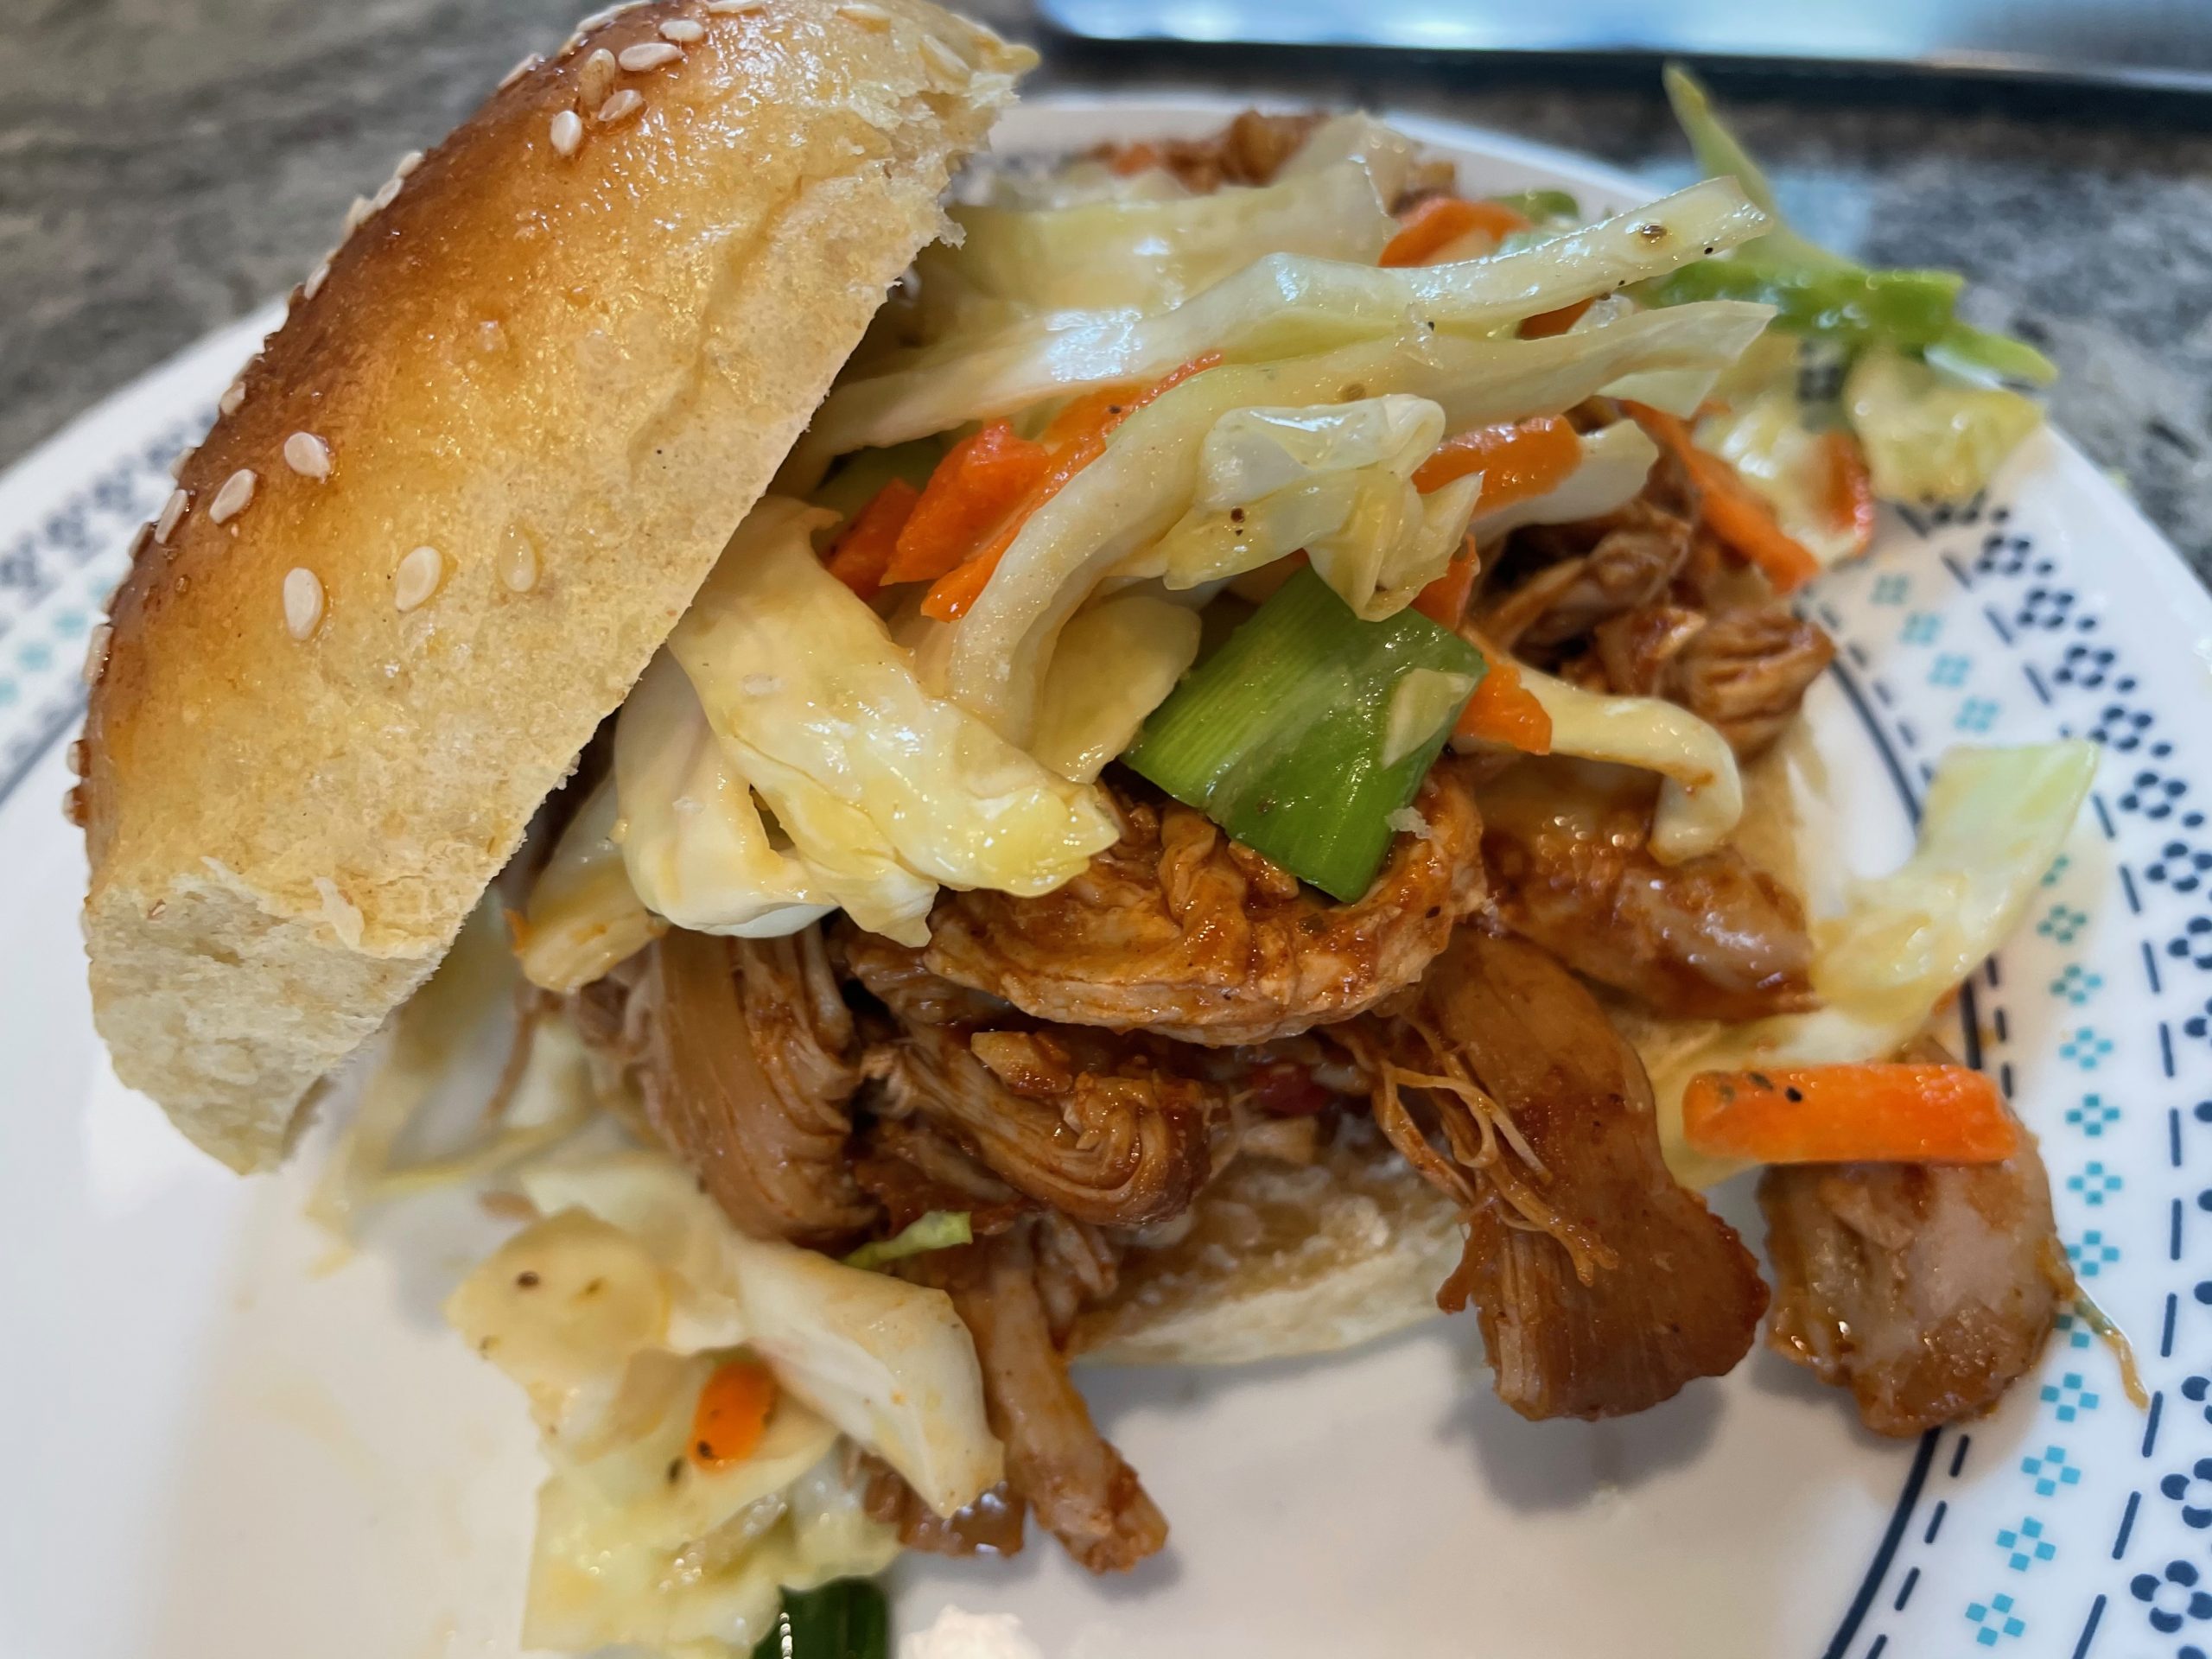
This recipe for vinegar based coleslaw is so delicious and easy. You may never go back to the store bought stuff again. Try it with your favorite barbecue recipe. It is perfect on pulled barbecue chicken or pulled pork. Personally, I like it as an easy side to any picnic. And I’ve been known to snack on the leftovers straight out of the bowl.

In my opinion, the best part of this recipe is that you can control the sugar and fat. The store-bought versions never taste just right to me, probably because they are loaded in sugar.

If you have a food processor or grater attachment for your mixer, this is the time to get it out. A mandolin with a shredding blade would be a good friend to this recipe also. But you can definitely use a sharp knife to slice the veggies. It doesn’t take that much time and there are no hard and fast rules of how finely cut anything needs to be. The main tip that I have is that you try to cut all the veggies to the same width. Of course, there is one easy time saver – just substitute with a bag of coleslaw mix and make the dressing. You’ll save lots of time and still have the big health advantage of making the homemade dressing.

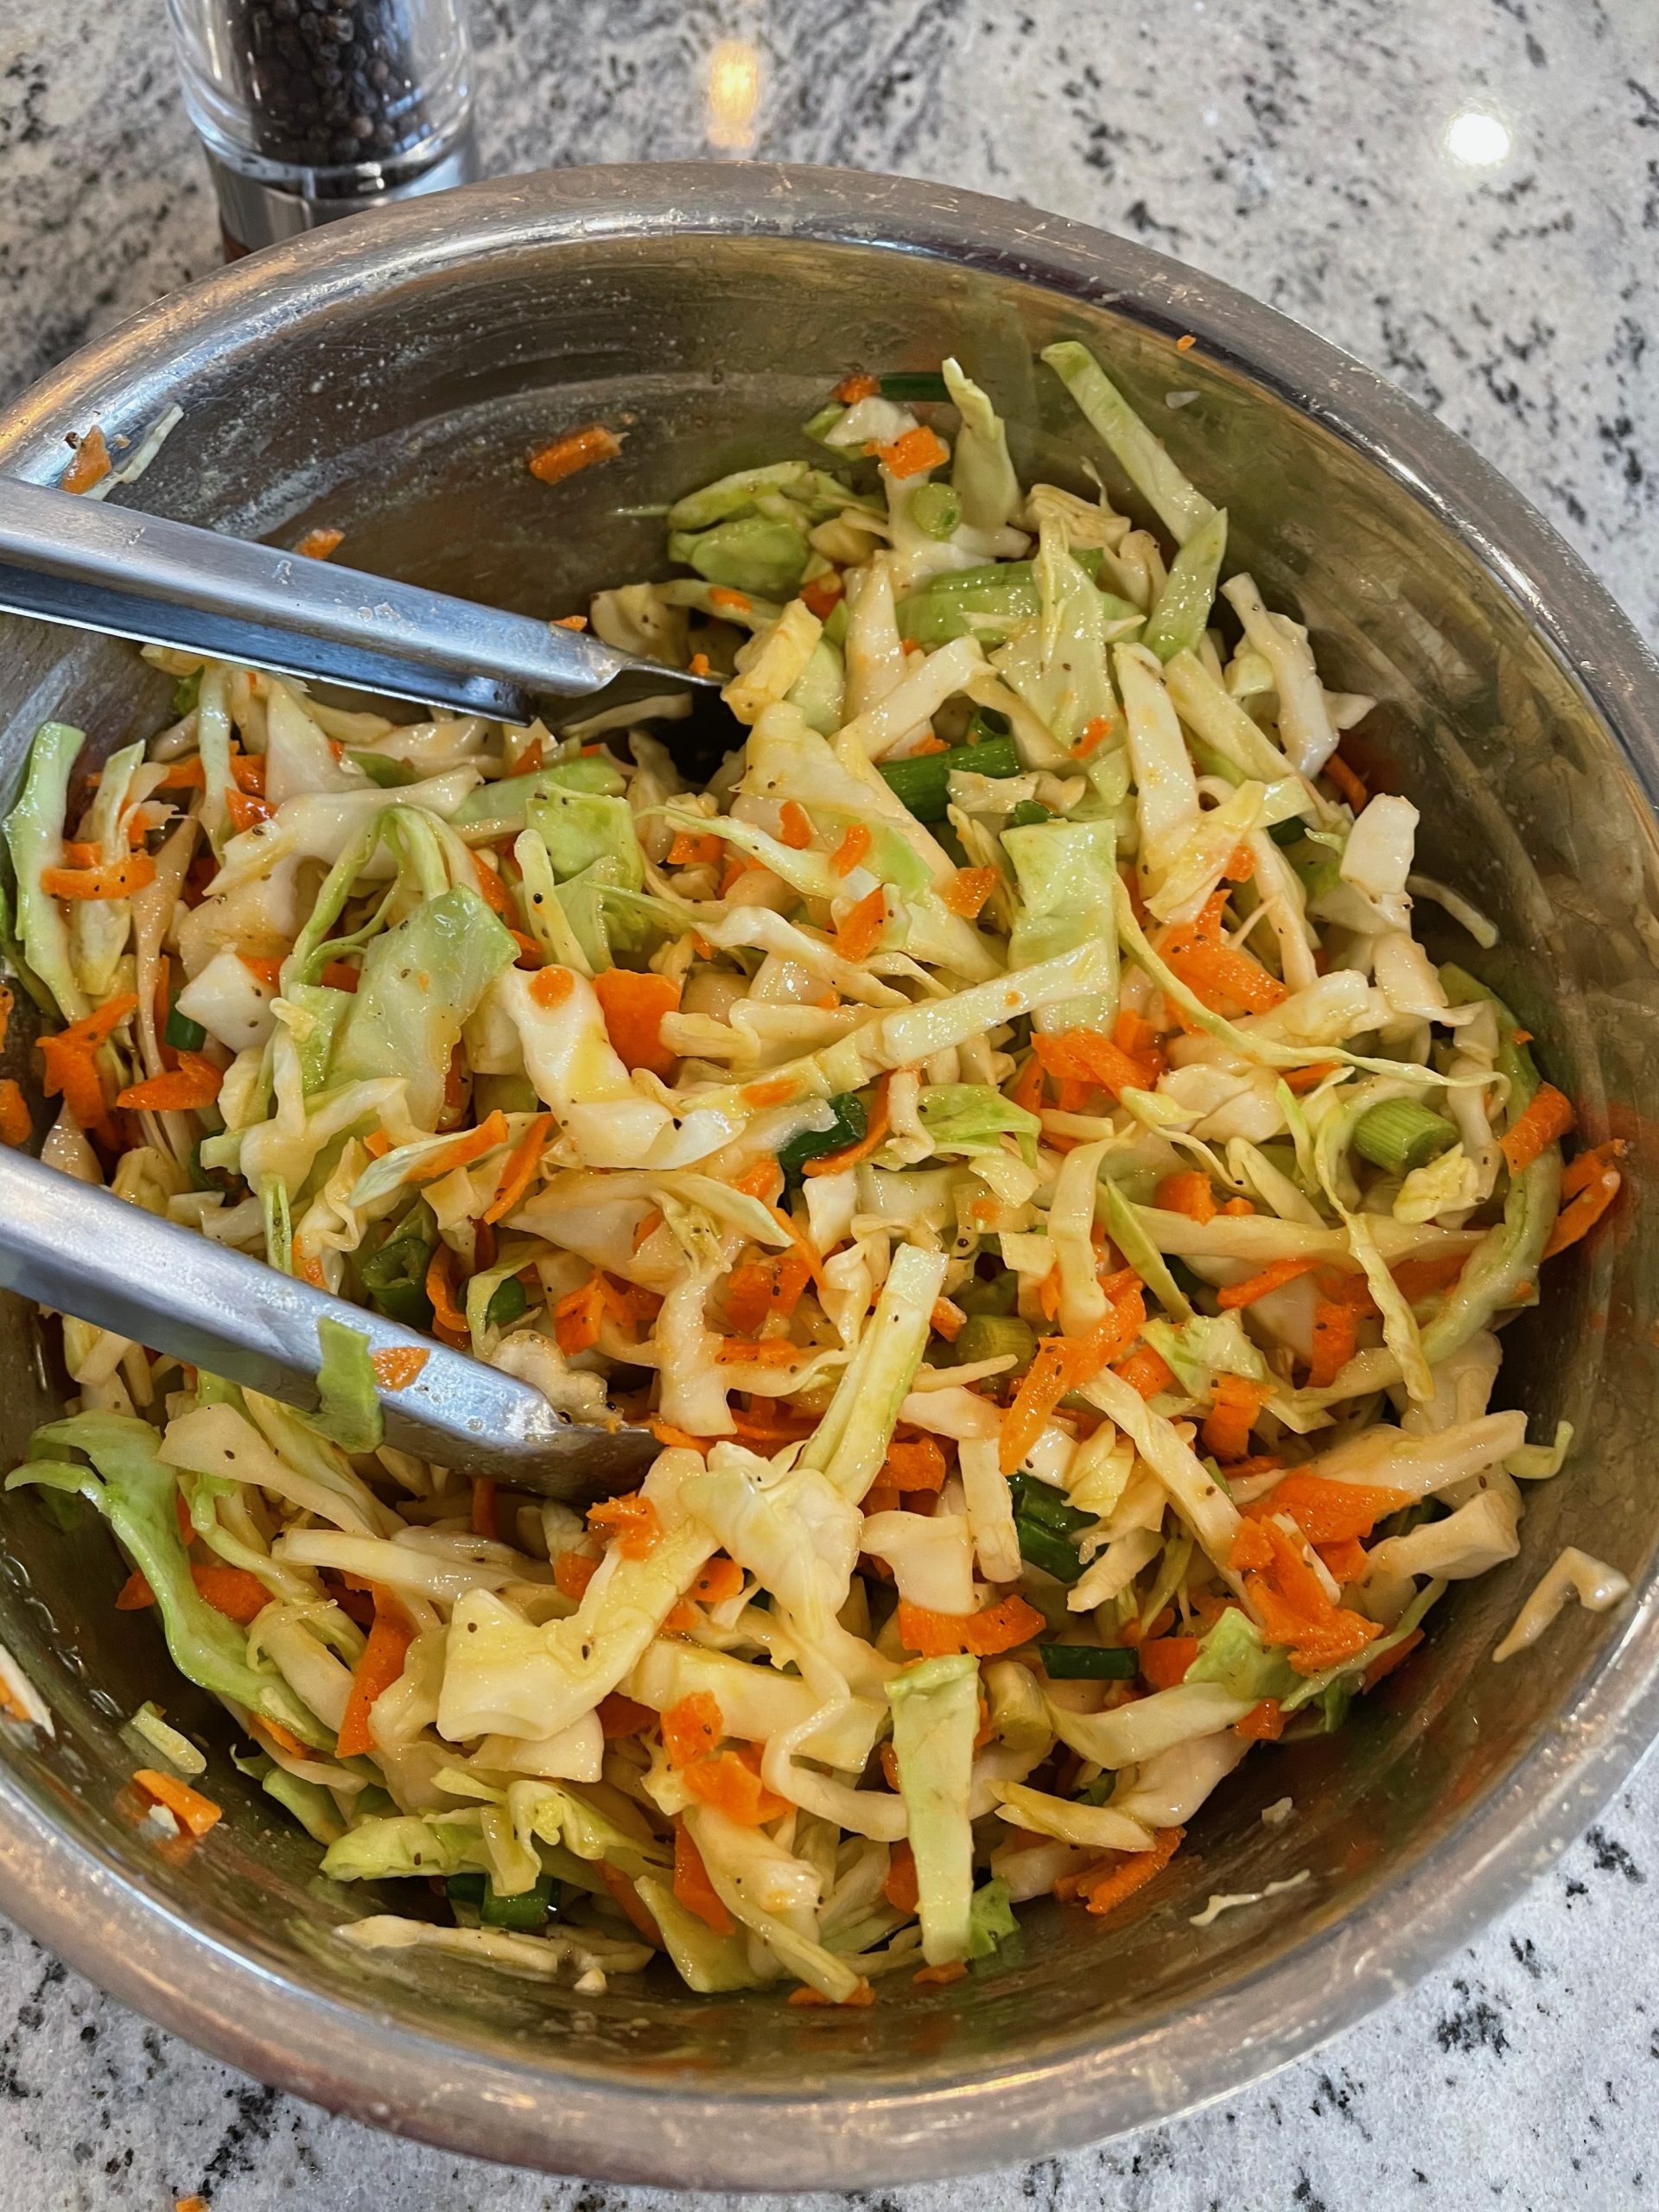
If you don’t have all of the veggies called for in the recipe, you can adjust the recipe to whatever you have on hand. No green onion? Use a little red onion. No green cabbage? Just use all red cabbage. You get the idea. I only had green cabbage when I made it for this post, so there you go.

Vinegar Based Coleslaw

Serving Size:
8
Time:
20 min
Difficulty:
medium

Dressing Ingredients

  • 1/4 cup of apple cider vinegar
  • 1 T of dijon mustard
  • 1 T of honey or 1 teaspoon of sugar
  • 1/4 cup of olive oil
  • 1 teaspoon of celery seed
  • kosher salt and pepper, to taste

Salad Ingredients

  • 1/4 of a green cabbage
  • 1/4 of a red cabbage
  • 2 whole shredded carrots
  • 3 thinly sliced green onions

Directions

  1. To make the vinaigrette, add the vinegar, mustard, and sugar to a small bowl. Whisk while slowly drizzling in the olive oil until emulsified and then finish with celery seed, salt and pepper. Taste to see if you like the sweet/sour flavor. Add a little vinegar if you want it more sour or more sugar if you want it a little sweeter. If the flavor seems flat, try adding a little salt.
  2. Cut the cabbage in four quarters and remove the core. Chop the vegetables and add to a large bowl. Season with celery seed, salt and pepper and toss everything together.
  3. Pour the dressing over the veggies and toss together. Tongs or your hands work really well to toss.
  4. This salad is best if you make it an hour or two before you want to serve it. If you want to make it much further ahead of time, keep the dressing and veggies separate and toss together a bit before you want to serve.

Filed Under: recipes Tagged With: homemade, vegetables, vinegar

Homemade Fruit Vinegars

June 27, 2015 by andrea Leave a Comment

Making your own fruit vinegar sounds so hard. But it’s not. Have you ever had a jar of apple cider go sour accidently? Or a bottle of win or beer? Then you’ve made vinegar and probably not even known it.

I’ve made vinegar from scraps of all sorts of fruits – apple, peach, pear, raspberry, strawberry, and blackberry. I’m even giving cherry a try this spring. Your final vinegars are more interesting than most store-bought options and they have the added advantage of containing beneficial probiotics. Give it a try, you’ve got nothing to loose.

The Basics – Getting Started

Vinegars are one of my favorite ferments to play with – I have to say I’m slightly obsessed with them. I love seeing science in action in my kitchen. This stems back to high school chemistry. I think. Anyway, to make a fruit vinegar, you start with fruit, water, and a little sugar. Mix everything together in a large glass jar with a wide opening. I like the 1/2 gallon Ball jars to start with – they are cheap and easy to find at most hardware stores. I also have some large one gallon jars that I picked up at our local beer brewing shop. You’ll want to use a glass or other non-reactive container for this so the vinegar doesn’t react with the metal. Also, the beneficial bacteria don’t like the metal either. Finally, look for a wide mouth jar since you want a good air to liquid contact area. The bacteria need oxygen to do their job on the vinegar.

I use fruit scraps to get my vinegars started. I love knowing that I’m not throwing away all those apple peals or slightly mushy strawberries. You can use the stems, peels, brown spots, and mushy fruit for this. Just make sure everything is clean – both the jar and the fruit scraps. Basically, you’ll ultimately end up making something out of nothing. Fill the jar about half full of the fruit scraps. Add anywhere from a tablespoon to a quarter cup of sugar per quart and top the jar off of with water. The sugar gives the bacteria a little boost to get to work and it will affect the sweetness of your final product. Try to use water that has not been chlorinated since the chlorine will stop the natural processes that we are aiming to encourage.

As the fermentation process proceeds, the jar may start attracting fruit flies. I normally cover  my containers with a breathable cover (such as a coffee filter, paper towel or cheesecloth) held on with a rubber band. Once I start seeing the flies, the jar usually gets kicked out of the kitchen to either the garage or basement. The temperature range for the fermentation process is pretty wide – between 59 and 94 degrees F – so this gives you a lot of flexibility on where to store your jars as they are fermenting.

During the first step, natural yeast and bacteria (Acetobactor) in the air start to go to work on the sugar and they produce alcohol, essentially turning the water into alcohol. Meanwhile, your fruit is also flavoring the water into juice. You’ll notice some bubbling in the mixture, which is a good sign that your reaction is taking place. Stir the container once a day to keep it oxygenated. Stirring also helps redistribute the fruit so that the pieces sticking out of the top don’t go moldy. If you get a moldy piece of fruit, just pick it out and keep going.

After about a week or so, the bubbling will stop and you can strain off the fruit and let the yeasts and bacteria keep working on the alcohol. At this point, your chemical reaction will change and the alcohol will ferment into vinegar.

This is the point where the process gets really fun – and some people may get grossed out by this stage. But you will start seeing a gelatinous mass begin to cover the top of the vinegar. At first it will look like a foam forming on the top. This mass is called the mother of vinegar and it is actually a cellulose mass of the Acetobactor bacteria. It consumes the alcohol in the liquid and expels acetic acid – or vinegar. The mother will get thicker as the fermentation proceeds. If you have a little unpasteurized apple cider vinegar or mother from a previous batch of vinegar, you can jump start the mother formation by adding a couple tablespoons to your jar. But I’ve actually seen mothers start to form within the first day of removing the fruit scraps.

Once the mother forms, try not to disturb the jar so that the mother can remain floating on the top. If it sinks to the bottom, don’t worry. The fermenation will keep proceeding, but the jar will probably start forming a second mother on the top.

The entire process is an aerobic process, which means that your jar of liquid needs to have oxygen for the chemical processes to occur. So keep the breathable lid on the container this whole time. After about 3-8 weeks, the vinegar will be finished.

Finishing & Bottling

Now the tough question – how do you know when the vinegar is done? For me, it is mostly a matter of taste and smell. Does it smell like vinegar? Yes? Good. To taste it, stick a straw in the container, slide it under the edge of the mother, and see what you think. It’s really a matter of personal taste. The acidity level can have a pretty high range to give you a weaker or stronger vinegar. If it’s too strong, you can always water it down.

What if you let the vinegar go too long? It’ll get stronger – to a point. And then the chemical reactions start backfiring on you and it actually will start converting back to water. This can take a few months or more.

Once you have a vinegar you like, you can filter and bottle the vinegar. First, remove the mother. You can save it for future vinegars. Most of mine get composted. Then filter the vinegar through a cheesecloth and bottle into narrow necked jars. Now you can cap the jars for storage. At this point, you don’t want oxygen contact with the vinegar because you want to stop the fermentation process.

You may find a new mother form in you stored bottles. This is most likely to happen if you don’t bottle it into narrow jars. If it happens, just fish it or strain it out of  there.

Your vinegar will continue to develop flavor as it ages. I have some two year old raspberry vinegar that has wonderfully deep flavor. You can even store the vinegar for three years or more, depending on the vinegar and storage conditions.

Ideas  for Using Vinegar

Obviously, cooking is a great use for flavored vinegars. Homemade vinegar can be used in almost any recipe calling for vinegar – including salad dressings, potato salad, coleslaw, and barbeque sauce. Just don’t use your vinegar in canning recipes that call for 5% vinegar since you don’t know the actual acidity of your vinegar.

If you make up a bunch of apple cider vinegar, you can use it for all sorts of health, cleaning and beauty products. While I do use vinegar in cleaning, I don’t use it for much of the health and beauty stuff myself. If you are interested in this, do a search for uses of apple cider vinegar and you’ll find lots of ideas such as wart remover or a digestive aid. I personally like the ideas for a hair conditioner, but then again I haven’t actually attempted it myself. Although, I will admit to giving the chickens a little apple cider vinegar in their water as a probiotic.

Along the idea of probiotics, as long as you don’t pasteurize or can your vinegar, it contains natural bacteria that are good for your gut. This is the same reason that yogurt and kiefer are good for us. Even using your homemade vinegar in your salad dressings is a great way to help introduce some additional good bacteria to our systems.

Filed Under: Clatter in the Kitchen Tagged With: fruit, homemade, recipe, scraps, vinegar

Posts

  • Clatter in the Kitchen
  • recipes
  • Uncategorized

Recent Comments

  • andrea on Whole Wheat Bread (small batch)
  • andrea on Sourdough Beer Pizza Crust
  • andrea on Recipe for Holiday Jam
  • andrea on (Sourdough Optional) Carrot Muffins
  • andrea on Lentil and Ham Bone Soup

Recent Comments

  • andrea on Whole Wheat Bread (small batch)
  • andrea on Sourdough Beer Pizza Crust
  • andrea on Recipe for Holiday Jam
  • andrea on (Sourdough Optional) Carrot Muffins
  • andrea on Lentil and Ham Bone Soup

Posts

  • Clatter in the Kitchen
  • recipes
  • Uncategorized
  • Facebook

Copyright © 2025 · Foodie Child Theme by Shay Bocks · Built on the Genesis Framework · Powered by WordPress